
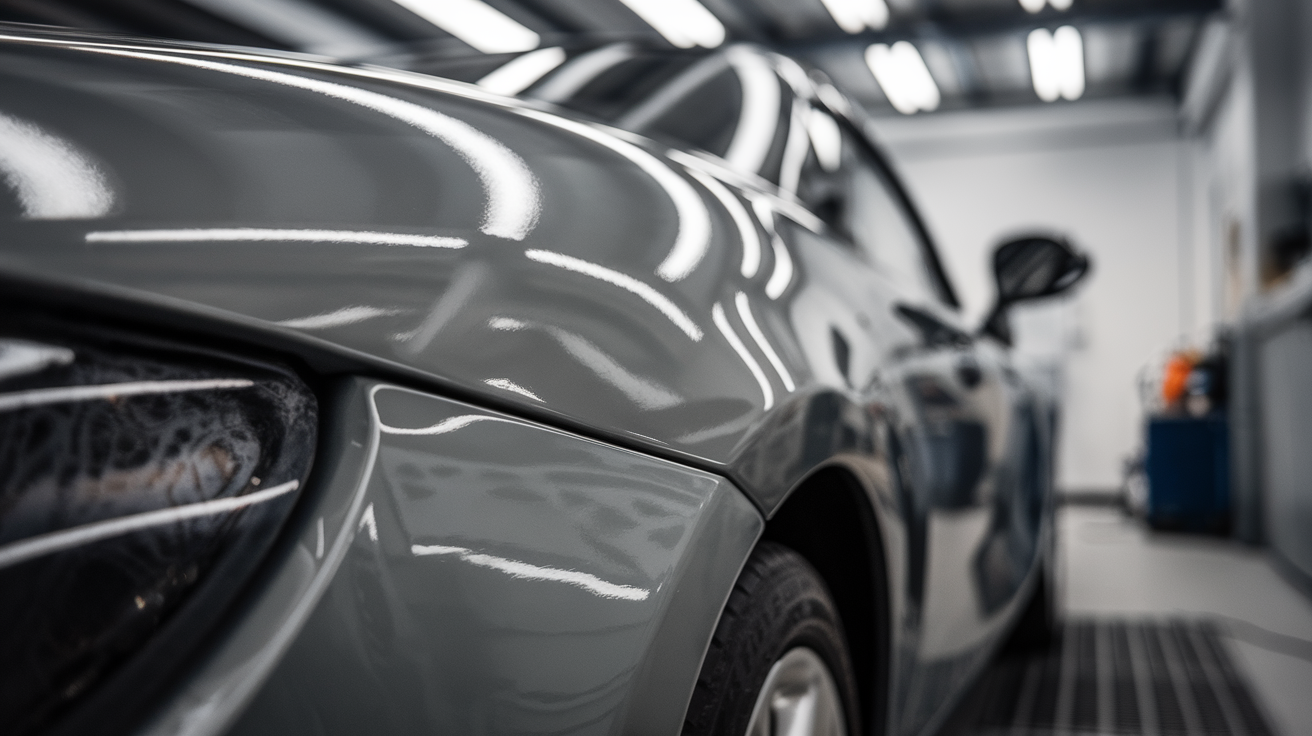
Fresh clear coat. Spotless booth. The final pass goes smooth until it doesn’t. Suddenly, dust specks catch the light. The surface ripples with orange peel. Maybe it’s blistering. Maybe you’re staring down bleed-through from that old repair no one prepped properly. These car paint defects hit where it hurts in time, trust, and reputation. In Dubai’s fast-paced refinishing scene, there’s no room for second passes. So if you’re chasing perfection, or just trying to avoid that dreaded panel resand at 2AM, this guide is for you. We’ll unpack the most frustrating defects, decode how they happen, and break down prevention that actually works. No fluff. No shortcuts. Just hard-earned insight and smarter workflow.
Dust Contamination | The Smallest Sabotage in Car Paint Defects
You walk out of the booth. The gloss is deep, the color looks spot-on until sunlight hits the panel and the horror sets in. Tiny specs. Gritty particles. A thousand points of failure in a thousand-dollar finish. This is dust contamination, and it ranks among the most unforgiving car paint defects in real-world refinishing. It is not just about dirt. It is about discipline. That’s why many car owners trust our professional auto body repair in Dubai when it comes to spotless finishes and long-lasting results.
Dust doesn’t ask permission. It settles into clearcoat like it owns the place. We’ve seen this ruin bumper repairs in Jebel Ali, and full-body jobs fresh out of Al Quoz booths. The defect is small but the message it sends is loud.
Why It Happens
Let’s skip the theory and hit the street-level causes:
- Spray booth filters? Not cleaned often enough
- Compressor lines? Moisture and particulate buildup, especially in humid conditions
- Tack cloths? Reused when they should be tossed
- Static charge? Builds up on plastic bumpers, especially when prepping in dry air
- Panel prep? Rushed between jobs, no proper blow-off
“Dust isn’t in the paint—it’s in your process. That’s the difference between a clean finish and just a painted car.”
Prevention That Holds
Fighting this defect means building habits, not just swapping tools.
- Clean booth surfaces on schedule not when it looks dirty
- Use anti-static wipes on plastic panels before basecoat
- Never reuse tack cloths, just don’t
- Inspect and drain air lines every morning before the first job
- Blow off panels with filtered air, not just compressed blast
Car paint defects like this leave no room for “good enough.” If you’re chasing deep-gloss perfection on high-end Dubai builds, this one deserves zero tolerance.
Orange Peel Texture | The Ripple That Wrecks Perfection in Car Paint Defects
You get the lighting just right… but instead of mirror-smooth reflection, the surface rolls like citrus skin. That textured mess is called orange peel, and yes, it’s one of the most common car paint defects found in shops from Sharjah to Dubai Creek. But here’s the catch: it rarely shows up mid-spray. It creeps in quietly, then stares back at you under LED inspection like it owns the panel.
So where does it come from? And no, it is not always bad technique. We’ve seen trained techs struggle with this because the environment was off by a few degrees or the paint mix was lazy.
Real causes of orange peel:
- Gun setup? Fan pattern too narrow, fluid tip misaligned
- Paint mix? Too thick or thinned with a poor-quality reducer
- Air pressure? Starved airflow equals poor atomization
- Booth environment? Cold airflow slows leveling
“You don’t apply orange peel, you inherit it from what you didn’t fix.”
Prevention with Punch
Finesse matters more than force here.
- Check fan pattern with a test pass | Wide, even, balanced
- Thin paint to exact spec | Don’t guess ratios, read the TDS
- Hold your gun like a surgeon holds a scalpel | Distance, angle, rhythm
- Control climate inside booth | Warm up panels if the temp drops below spec
This type of car paint defect fools the eye at first. But once it’s cured, it demands flattening, polishing, maybe even a full redo. You do not want to battle this after clear hits the panel. Our car painting services use advanced spray booths and precision workflows to eliminate orange peel and ensure a flawless finish.
So if you’re aiming for that Dubai showroom gloss tight reflection, clean flake pop, zero distortion, orange peel is your number one enemy hiding in plain sight.
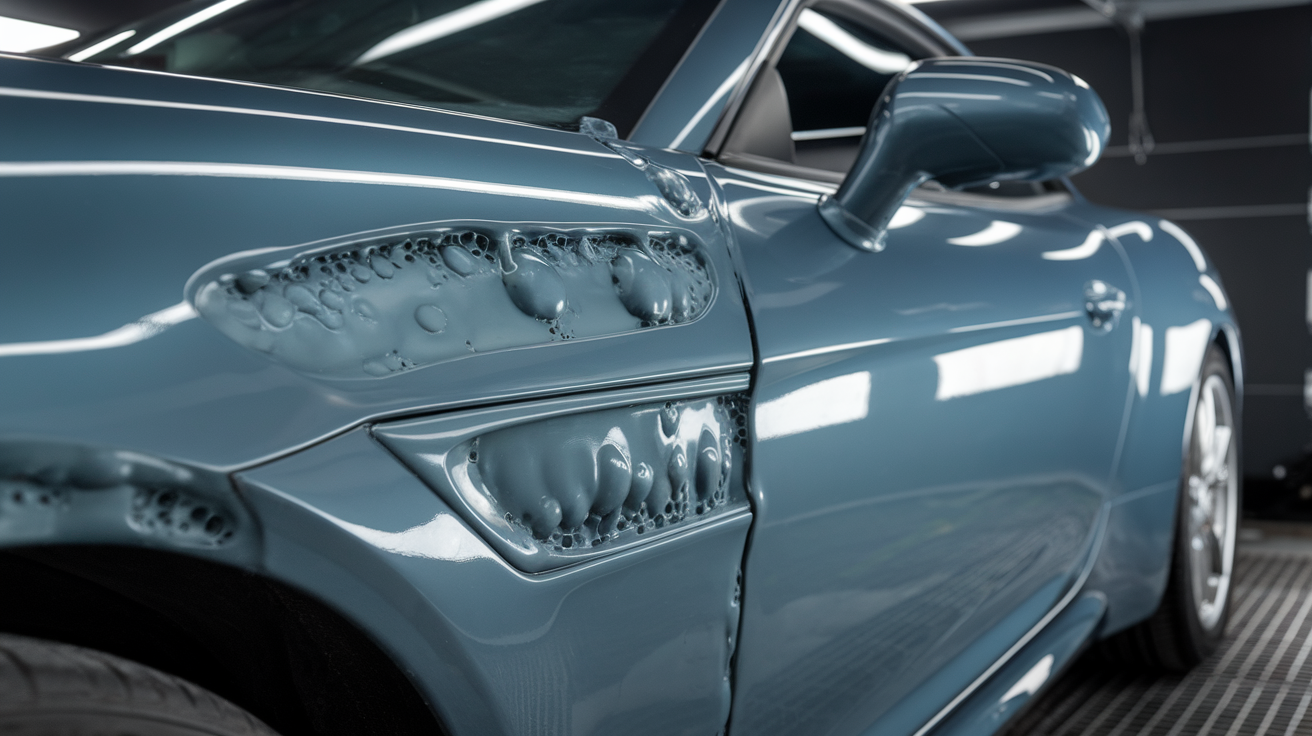
Blistering | The Bubble That Means You Blew It
It looks fine in the booth. Even flashes well under clear. You wrap up, log out of the job, and maybe grab karak on the way home.
Then next morning? Raised bubbles. Tiny, scattered like the surface is holding its breath. That’s blistering, and it is one of the sneakiest car paint defects out there. This usually shows up after drying, which makes it even more painful. There’s no easy buff-out. No spot fix. The defect lives deep trapped solvents, moisture pulled through the substrate, or shortcuts taken between coats. In Dubai’s heat and humidity swings, blistering doesn’t just happen. It waits to happen.
Why it happens | Forget theory. Let’s talk failure points.
- Flash times ignored to meet delivery windows? That’s your culprit.
- Dirty airline? Moisture or oil sneaks through.
- Substrate skipped during prep? Oils, waxes, or dust build up under the base.
- Booth temp climbed too fast? Flash doesn’t mean cure.
“Blistering doesn’t shout during application. It whispers after—when the client’s watching.”
Prevention | No shortcuts. Ever.
- Flash means flash. Not ‘fast’ | Let solvents escape completely
- Moisture traps on every line | Especially in humid bays near loading docks
- Degrease once, then again | Silicon residue hides in used panels like it owns them
- Control climate with discipline | 72–80°F sweet spot, stable airflow
When painters talk about dreaded car paint defects, this one lands near the top—not because it’s common, but because it’s unpredictable.
You can follow every step and still get stung—if one part of your process slips. So be ruthless. Not just with your materials, but with your habits.
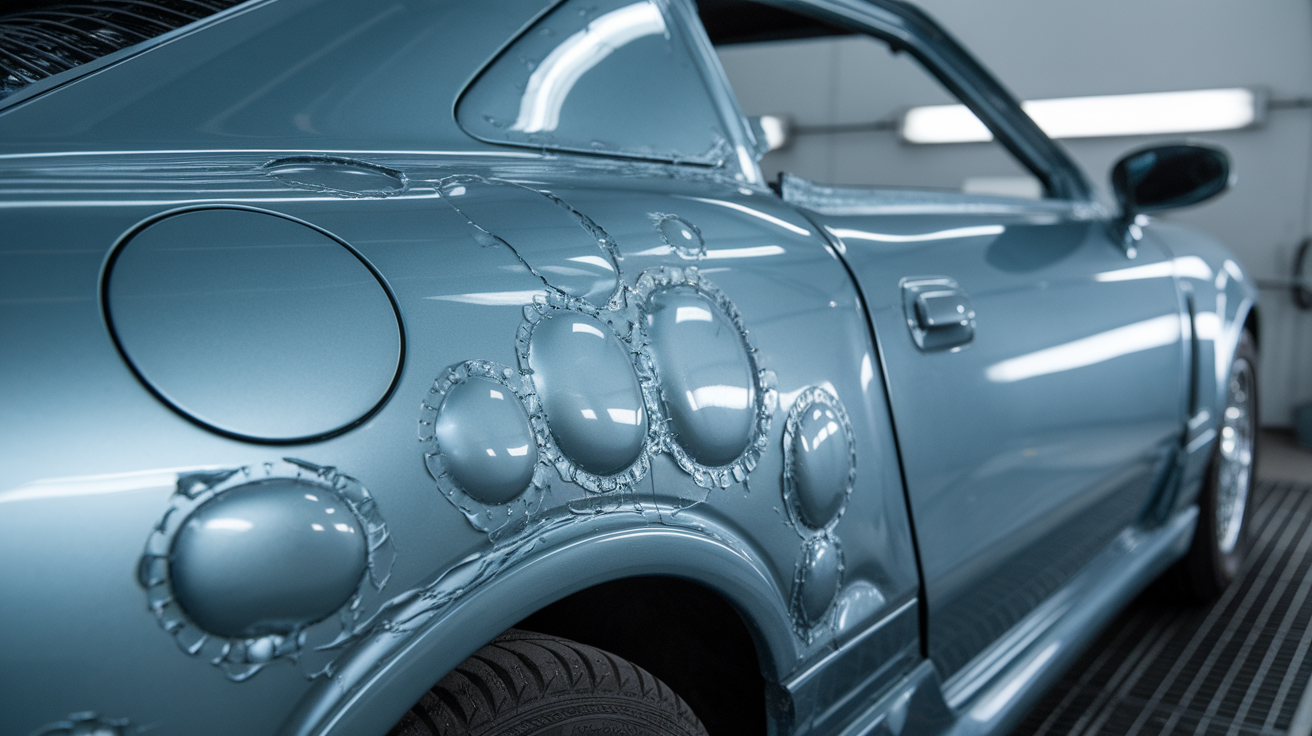
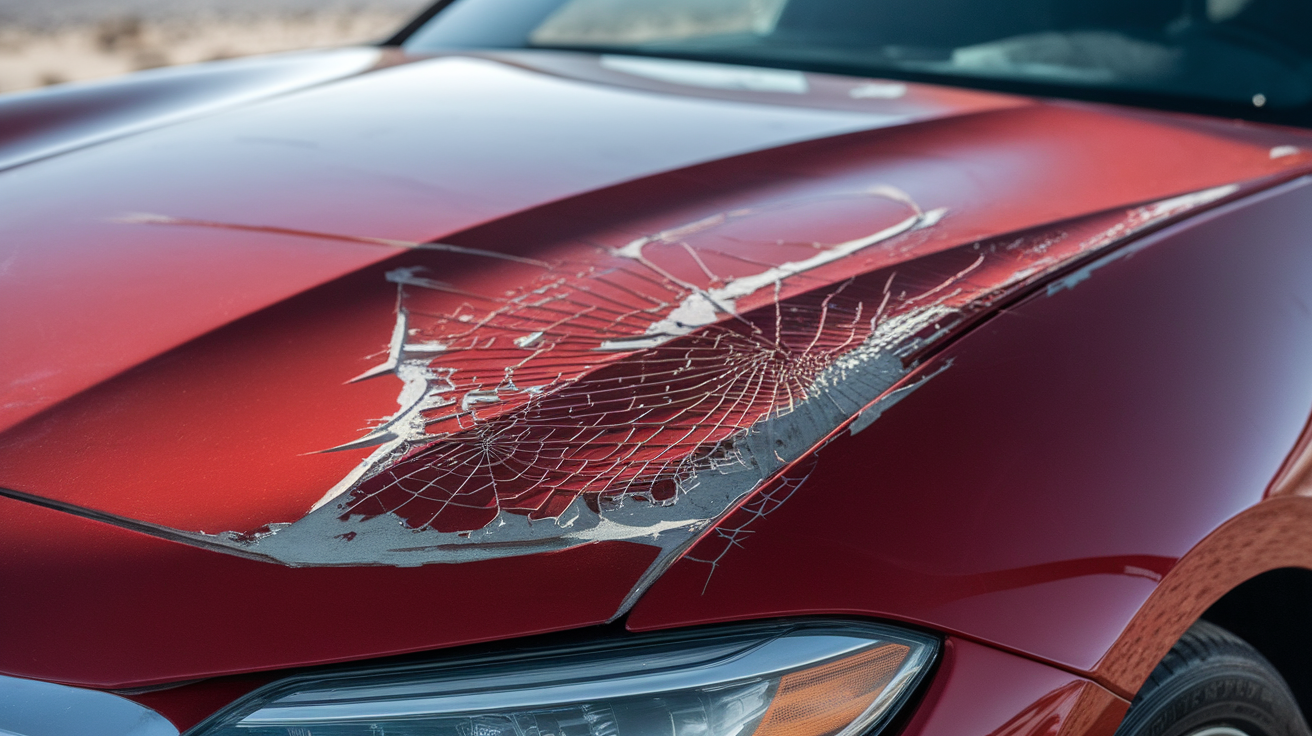
Bleed-Through | When the Past Shows Up in Your Finish
It is dry. You inspect it. But something feels off. Beneath the surface, there’s discoloration ghosting from an old repair, primer halo, or that one pass you thought was sealed well enough. This is bleed-through, and it’s one of the more frustrating car paint defects that tends to catch even seasoned techs by surprise. This defect is not loud. It does not flake or bubble. It just quietly ruins the finish especially noticeable on solid colors and metallics under bright Dubai sun or showroom lighting.
What actually causes it?
Let’s skip the textbook and talk about what really happens:
- Primer layer not sealed properly it bleeds pigment or solvents into the topcoat
- Recoat too soon the solvents dive through the uncured base
- Sanding that exposes sensitive substrate beneath a filler or primer zone
- Mix-and-match systems topcoat attacking primer with zero compatibility check
“Bleed-through is not just ugly. It’s the paint telling you something wasn’t prepped to stay buried.”
How to shut it down
If you want the finish to stay clean, your process has to seal the history beneath it.
- Use sealing primers specifically designed to lock in filler, old paint, and patch zones
- Match systems don’t pair random primers and topcoats, hoping chemistry won’t matter
- Sand with intent, not aggression. Over-feathering exposes substrate layers that weren’t meant to be seen again
- Let every layer fully cure not “touch dry” but chemically set
Car paint defects like bleed-through tend to show up when you thought you were already done. That’s what makes it painful. We’ve also shared a detailed guide on automotive paint matching methods that shows how correct prep and layering make all the difference in long-term results.”
In Dubai’s market, where expectations run high and margin for error runs low, this is one of those flaws you can’t explain to a client after delivery. They do not want reasons. They want results. So if you’re blending panels or restoring older UAE fleet vehicles with mixed substrates, bleed-through needs more than casual prep. It needs respect. Because every layer you bury… has a chance of resurfacing.
Fisheyes | The Tiny Crater That Wrecks Big Finishes in Car Paint Defects
You’re halfway through a blend. It’s flowing smoothly. Then drying hits, and boom, tiny pinholes, like the paint dodged certain spots. That is a fisheye, and it’s among the most deceptive car paint defects you’ll face. Small? Yes. But it ruins full panels, especially in solid blacks and pearls common across Dubai’s high-end dealership work. We’ve seen it flip a 3-hour job into a 3-day reprocess all because someone grabbed a waxy rag or missed an airline drain.
These little craters are caused by surface contamination oil, silicone, wax, or by moisture intrusion during application. And yes, even the cleanest-looking panel might be hiding those problems.
Why Fisheyes Happen
Let’s break down what shops mess up:
- Wax residue from old detailing work—not cleaned off
- Silicone traces from previous polishing compounds
- Dirty gloves are transferring oils from the prep area
- Air lines pushing out micro moisture into base or clear
“Fisheyes aren’t just paint rejection. They’re your workflow saying ‘you missed a spot.’”
In Dubai’s climate, with big shifts in humidity from indoor booths to loading docks, this defect becomes frequent unless you’re brutally consistent. For panels with both dents and paint issues, tools like glue pullers play a big role in keeping paint intact, check our breakdown on choosing the best dent puller kits.
How to Prevent These Car Paint Defects
Fisheyes demand prep discipline and system control:
- Degrease with purpose—not assumption | Use solvent cleaners, clean cloths, and go panel by panel
- Check airlines for trapped water | Use inline moisture traps, no exceptions
- Keep gloves and tools spotless | Replace mid-job if needed, cheap gloves cost expensive fixes
- Add a fisheye eliminator when the substrate history is unclear | Only if the chemical system allows it
Among all car paint defects, fisheyes are sneaky. No lifting, no bubbling, just quiet failure by contamination. And once they’re in, they’re permanent. You are not just spraying paint; you are layering trust. And fish eyes break it.
Paint Runs & Sags | The Slip That Screams “You Rushed It”
You’re halfway through the clear. Gun’s moving, booth’s lit, everything feels dialed in. Then it hits: droopy streaks. Thick ridges down a door edge. Vertical sag creeping across the quarter panel like it owns the surface. Welcome to paint runs, one of the most visible, annoying, and downright embarrassing car paint defects in the game.
Unlike some defects, this one doesn’t wait for curing. It shows up mid-pass, especially on vertical surfaces. Gravity wins when technique fails, and Dubai’s heat doesn’t help when you’re rushing dry times.
What causes it?
- Laying down too much material at once
- Slowing your arm mid-sweep without realizing it
- Wrong gun angle—especially on vertical panels
- Overlap stacking that builds up product in hot spots
“Paint runs don’t mean you’re a bad painter. They mean you weren’t paying attention for 2 seconds, and that’s all it takes.”
How to prevent it
If you want this car paint defect out of your booth, you’ve got to rethink how you move:
- Spray lighter coats with correct flash between passes | Build your finish, don’t flood it
- Maintain consistent hand speed and gun distance | Too close or too slow invites gravity
- Watch your overlaps | A good pattern is even not stacked
- Adjust for vertical panels | You can’t spray a roof the same way you spray a door
This defect wastes more than the product; it eats time. And in Dubai shops where output matters as much as finish quality, every redo cuts profit and trust. So if you’re serious about eliminating the obvious car paint defects, the ones clients see before they even speak, running control isn’t optional. It’s the line between a clean coat and a shop callback.
Solvent Popping | The Silent Saboteur Among Car Paint Defects
Everything looks fine until it dries. Then out of nowhere, tiny pits, pinholes, and surface craters. Like your paint finish got ambushed by trapped gas bubbles you never knew existed. This is solvent popping, and it’s a quiet killer in the lineup of avoidable car paint defects.
You won’t see it mid-pass. It shows up during curing, usually when the paint film locks up faster than solvents can escape. In Dubai, where booth temperatures rise quickly and shops push fast-turn panels, solvent popping is a real threat, especially in hot, high-volume bays.
What goes wrong?
Here’s the reality painters face, not just theory:
- Drying too fast | Heaters cranked up without checking ambient airflow
- Laying paint too heavy | A thick coat traps solvent gas inside
- Ignoring flash times | Rushing base or clear, hoping booth temps compensate
- Poor ventilation during cure | Still air equals trapped pressure
“Solvent popping isn’t loud. It’s subtle. But once it’s in the clear—it’s permanent.”
How to prevent this car paint defect
Tight workflow and patience are your best tools:
- Let each layer flash completely | Don’t trust touch-dry, verify chemical cure
- Apply moderate wet coats—never flood the surface | Build quality, not quantity
- Avoid excessive heat dry cycles | Control booth ramp-up speeds
- Ventilate actively during curing | Airflow helps solvents escape cleanly
Solvent popping is often overlooked, but among car paint defects, it’s the one techs blame themselves for most. Because it’s a timing problem. A process error. And if you’ve ever cut into a panel post-cure only to find cratered clearcoat under the shine you already know this is a defect that punishes impatience.
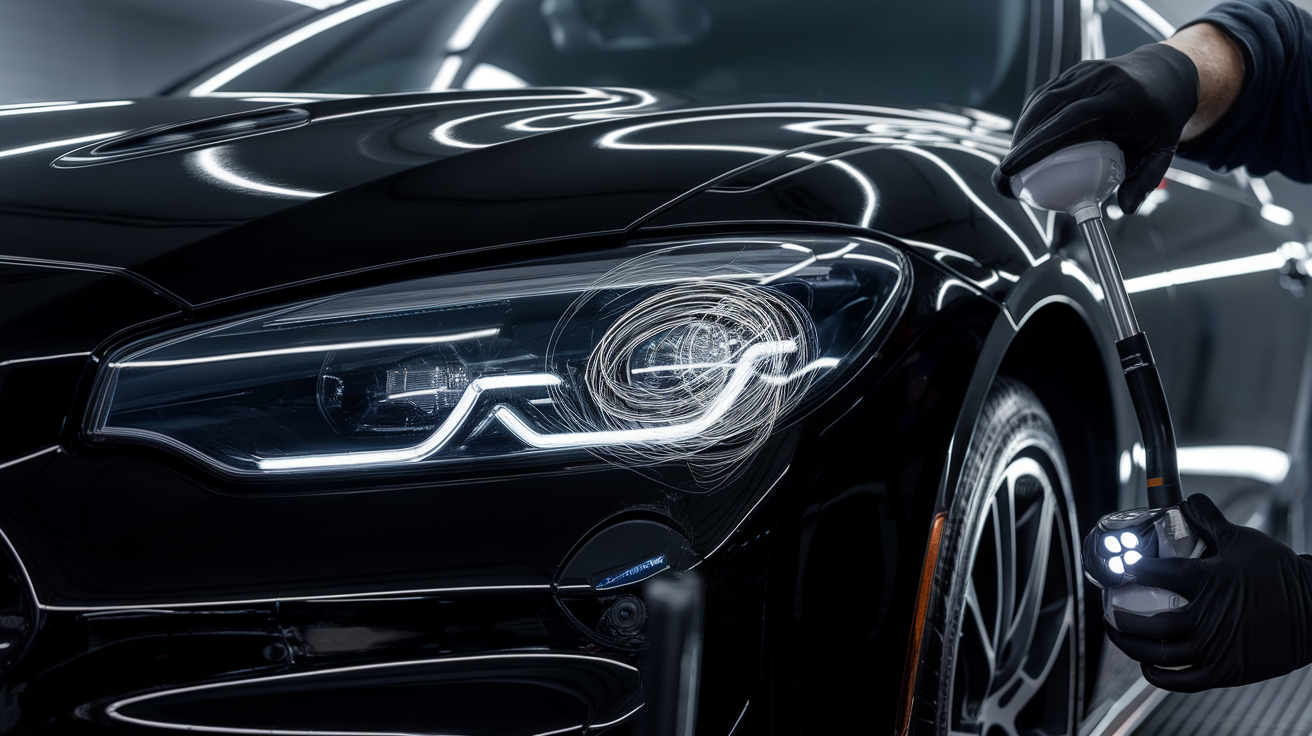
Quality Control Workflow | Your Best Defense Against Car Paint Defects
Great finishes do not come from instincts they come from systems. If you’ve battled fisheyes, runs, or solvent popping, you already know: fixing car paint defects is ten times harder than avoiding them. That’s why smart shops build a reliable, repeatable workflow that crushes variables before they surface. Here’s how the pros in Dubai are doing it whether it’s a full-body respray in Al Quoz or tight refinishing on high-turnover fleet panels in Deira.
Pre-Spray Prep | Where 90% of Car Paint Defects Begin
- Degrease every panel not just once. Use fresh cloths each time.
- Tack-rag before base, not just clear.
- Confirm air pressure is locked and the gun setup matches material type.
- Stabilize booth climate humidity spikes or cold air kill flow and flash.
“Panels don’t forgive sloppy prep. That’s where defects start—and that’s where your name gets attached.”
During Spray | Your Rhythm Is Your Reputation
- Apply thin, wet coats not floods
- Flash times matter verify with a timer, not memory
- Monitor overlaps and pattern stretch
- Adjust technique for each panel’s geometry, especially verticals
This step is where most car paint defects sneak in under your radar because technique is personal, but flaws are public.
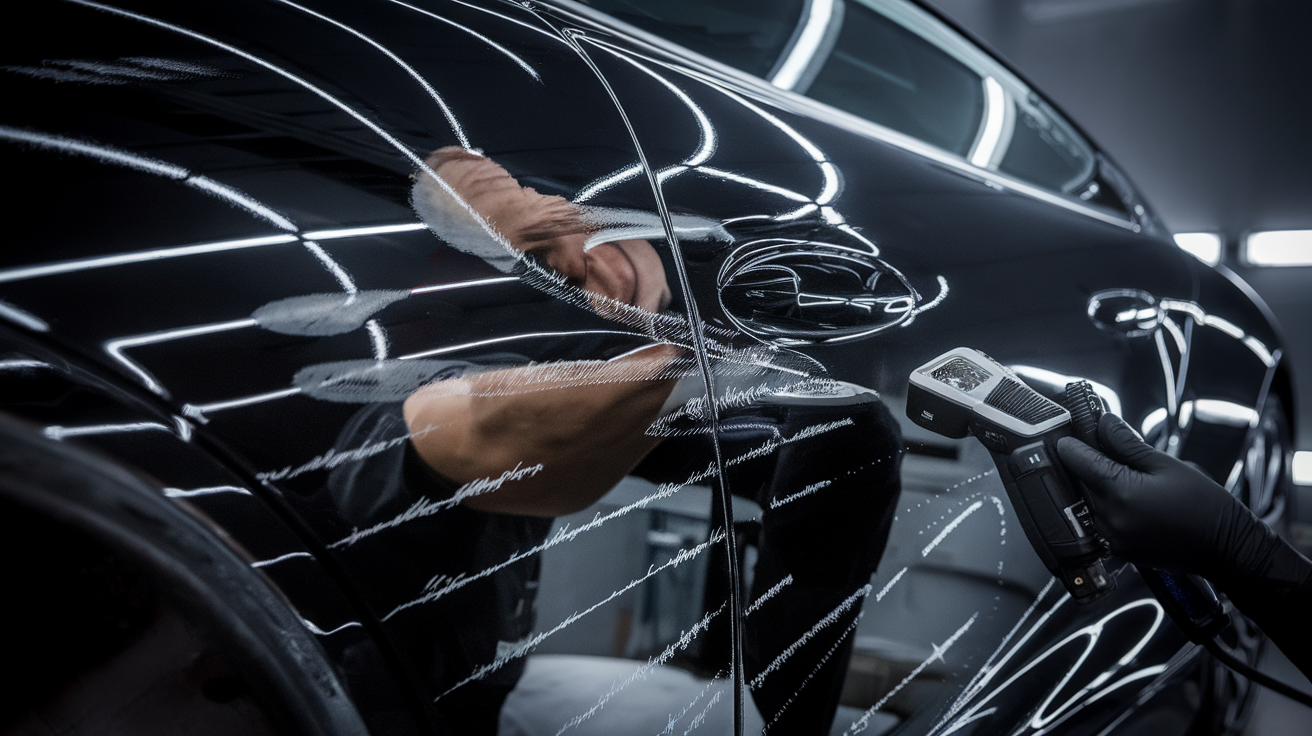
Post-Spray Discipline | Inspection Isn’t Optional
- Inspect finish under multiple light angles not just booth fluorescents
- Record booth temp, humidity, air pressure for repeatability
- Polish only after full cure not when it “looks dry”
Consistency is not just about good habits it is about traceability. Every missed step has a consequence. In Dubai’s market, quality control is not luxury it’s survival.
TIP: Log every job’s settings and environmental data. Over time, this builds a defect map and your own troubleshooting manual.

