

Panel shape, wheel arch and adjoining gaps
Car Fender Repair Dubai
A fender dent can sit beside the bonnet, door, bumper, lamp and wheel without affecting all of them. Our inspection follows the impact across those relationships, checks the arch lip and accessible liner area, then separates a suitable local repair from damage that needs a wider plan.
Start with what the fender connects
A fender is one panel inside a larger visual system
The visible dent is important, but the first useful question is whether the impact remained within the fender skin and its mounting edges.
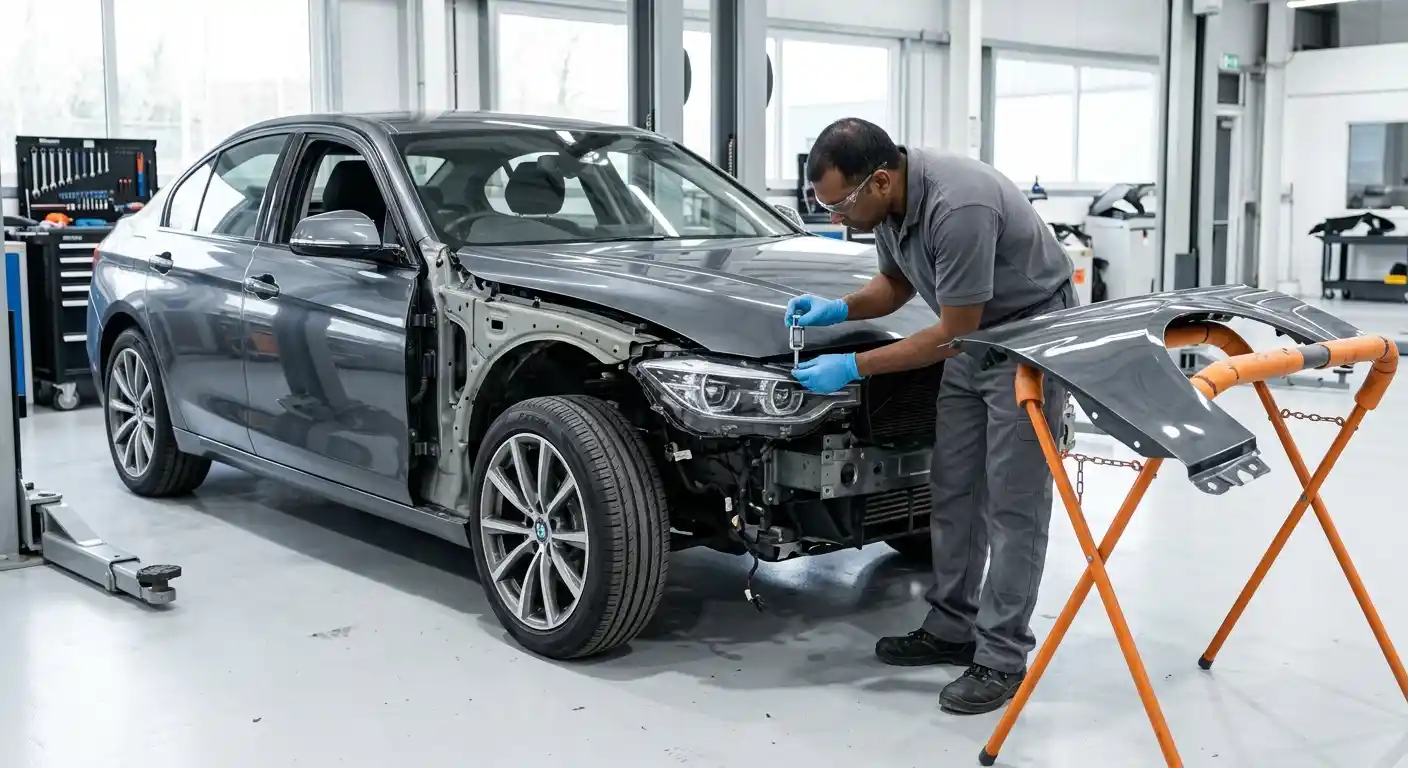
A front fender usually sits between the front door, bonnet, bumper, headlamp area, sill end and wheel opening. Its exact construction and attachment vary by vehicle. Many front fenders are separate bolt-on panels, but that should be confirmed rather than assumed. A rear fender is often part of the larger quarter panel and can extend around the rear door opening, lamp area, boot aperture and roof-side structure. That difference changes access, replacement scope and refinishing decisions. On performance estates with widened arches, the Audi RS6 body repair guide explains the additional relationship between arch shape, adjoining panels and paint finish.
Inspection begins with a clean, dry surface under useful reflections. We look for the impact centre, low areas, raised crowns, sharp folds and changes in the designed character line. The panel is viewed from the front, side and along the vehicle length because a dent that seems small face-on can reveal a longer wave at a shallow angle.
We then examine the wheel-arch lip, accessible mounting edges and adjoining gaps. A front door that now approaches the fender too closely, a bumper corner that sits proud or a bonnet edge that appears uneven does not automatically identify one failed part. It shows that the relationships need to be understood before shaping, adjustment or replacement begins.
Damage patterns
Different shapes point to different repair limits
The name of the damage is only a starting point. Paint condition, material, access, stretch, edges and previous work decide what can be done responsibly.
Shallow parking dent
A smooth low with intact paint may suit paintless dent repair when access and metal condition permit. The arch and body line still need to be read.
Sharp crease
A narrow fold concentrates deformation. If it crosses a styling line or arch lip, restoring the original contour becomes more demanding.
Scuff with paint loss
Transferred paint may polish away, but exposed primer, metal or cracked clear coat needs preparation and refinishing appropriate to the substrate.
Folded mounting edge
Damage near bolts, retainers, the bumper corner or lamp area can affect fit even when the centre of the panel seems repairable.
Wheel-arch distortion
A changed radius, folded lip or displaced liner can affect appearance and clearance. Reverse-side coating condition also matters.
Multi-panel contact
Scrapes that continue into the bumper, door or quarter panel need one coordinated plan so gaps, colour and repair order make sense together.
Front and rear are not interchangeable
The location changes the repair conversation
Front and rear fender areas can look similar from outside, but their construction, access and replacement scope can be very different. The repair plan should follow the actual panel and the surrounding impact path.
Usually the more accessible repair route
A front fender is often a separate panel, which can make controlled removal, access or replacement more practical. The real decision still depends on material, mounting points, corrosion, lamp and bumper relationships, and whether a harder impact has changed bonnet or door gaps.
If those neighbouring relationships have moved, the answer is not to keep adjusting the fender until the gaps look right. The surrounding mounting and body references may need a wider check first.
Often part of a much larger body section
The rear fender commonly forms part of the quarter panel rather than behaving like a simple bolt-on front panel. A local dent may still be repairable, but replacement can involve a much wider operation, vehicle-specific joint locations and more extensive refinishing.
The rear-side caution
Quarter-panel damage can hide complexity behind a simple description
Identify the actual panel
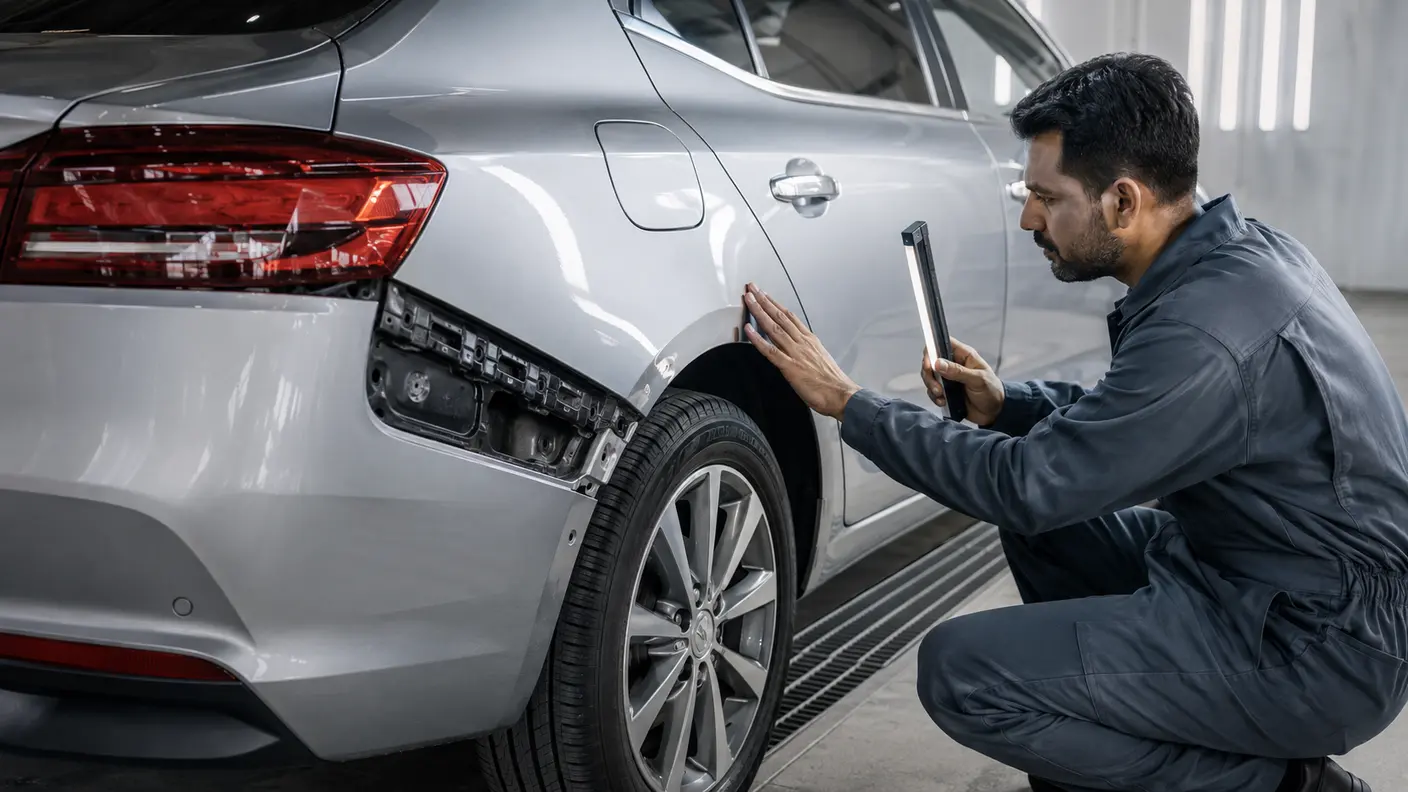
Customers often use rear fender and quarter panel to describe the same visible area. The estimate should identify the actual panel and scope instead of relying on casual naming. A local repair near the wheel arch is very different from replacement of a larger welded panel.
Separate confirmed and conditional access
The accessible inner area, boot-side trim, wheelhouse relationship, fuel-filler location and adjoining openings may affect inspection or protection. None of these should be removed without a reason and authorisation. The initial estimate can distinguish confirmed visible work from conditional access items.
Document previous-repair findings
A previous repair can change the decision. Thick filler, corrosion beneath a coating, a poor earlier edge repair or incompatible material may only become clear after preparation begins. The correct response is documentation and a revised plan, not burying the finding under another finish.
When the damage is part of a wider collision, our accident repair service explains how visible and conditional findings can be documented as one coordinated scope.
Choose the route after inspection
PDR, conventional repair and replacement solve different problems
Paintless dent repair
PDR may preserve the original finish when the paint is intact and the dent can be moved in a controlled way. Fender access can be limited by liners, braces, tight arch edges or adjacent components.
- Best considered for suitable smooth dents.
- Not confirmed from diameter alone.
- Sharp edges and stretched metal reduce suitability.
Conventional panel repair
Where paint is damaged or the shape needs broader correction, the panel can require controlled metal work, preparation, primer, colour and clear coat. Filler, where appropriate, refines a restored form rather than replacing metal correction.
- Useful for repairable creases and scrapes.
- Allows coating damage to be addressed.
- May require adjacent colour management.
Panel replacement
Replacement may be sensible when deformation, torn metal, severe edge damage, corrosion or prior repair makes a lasting repair impractical. The scope differs greatly between a bolt-on front fender and an integrated rear quarter panel.
- Confirm part identity and material.
- Trial fit before final refinishing.
- Account for transferred attachments and coatings.
For suitable local dents with intact paint, see our dent removal service. A physical inspection is still required because a wheel arch, edge or blocked access point can change the method.
Planning figures, not a blind quote
Car fender repair cost in Dubai
These indicative bands help place common repair routes in context. The current quotation follows inspection of the exact fender, paint, material, access, edges and adjoining damage.
Current-market caution: final pricing can change with vehicle variant, fender material, parts source, paint system, colour, previous repair, liner or retainer damage, nearby panels and insurance requirements. These figures do not replace a written inspection-based estimate.
If refinishing is required, our car painting service provides more detail about preparation, colour assessment, blending and finish checks.
Paint, corrosion and previous work
A good finish depends on what sits beneath it
Paint damage is assessed in layers. A surface transfer may sit on the clear coat. A deeper scrape can cut through colour and primer. A sharp crease can fracture coating along a line even when the surrounding paint appears intact. Each condition needs a different preparation decision.
Colour matching starts with the vehicle colour information but does not end there. Age, sun exposure, earlier refinishing, metallic orientation and panel position affect how a colour appears. The fender is compared with adjoining panels under useful light. Where blending is justified, it should be explained as part of colour management rather than presented as automatic.
The wheel arch lives in a difficult environment. Moisture, grit and road debris can reach damaged coatings or a compromised lip. Visible rust bubbles may indicate activity beneath the surface. Grinding only the visible spot and covering it can leave the underlying issue unresolved. The extent and accessible reverse side need to be considered.
Previous filler or paint is not automatically a reason to replace the panel. It is a reason to verify adhesion, thickness, corrosion and the integrity of the earlier repair. If preparation exposes a condition that was not visible during the first estimate, the finding should be recorded before the scope expands.
A controlled sequence
From intake to handover
Record
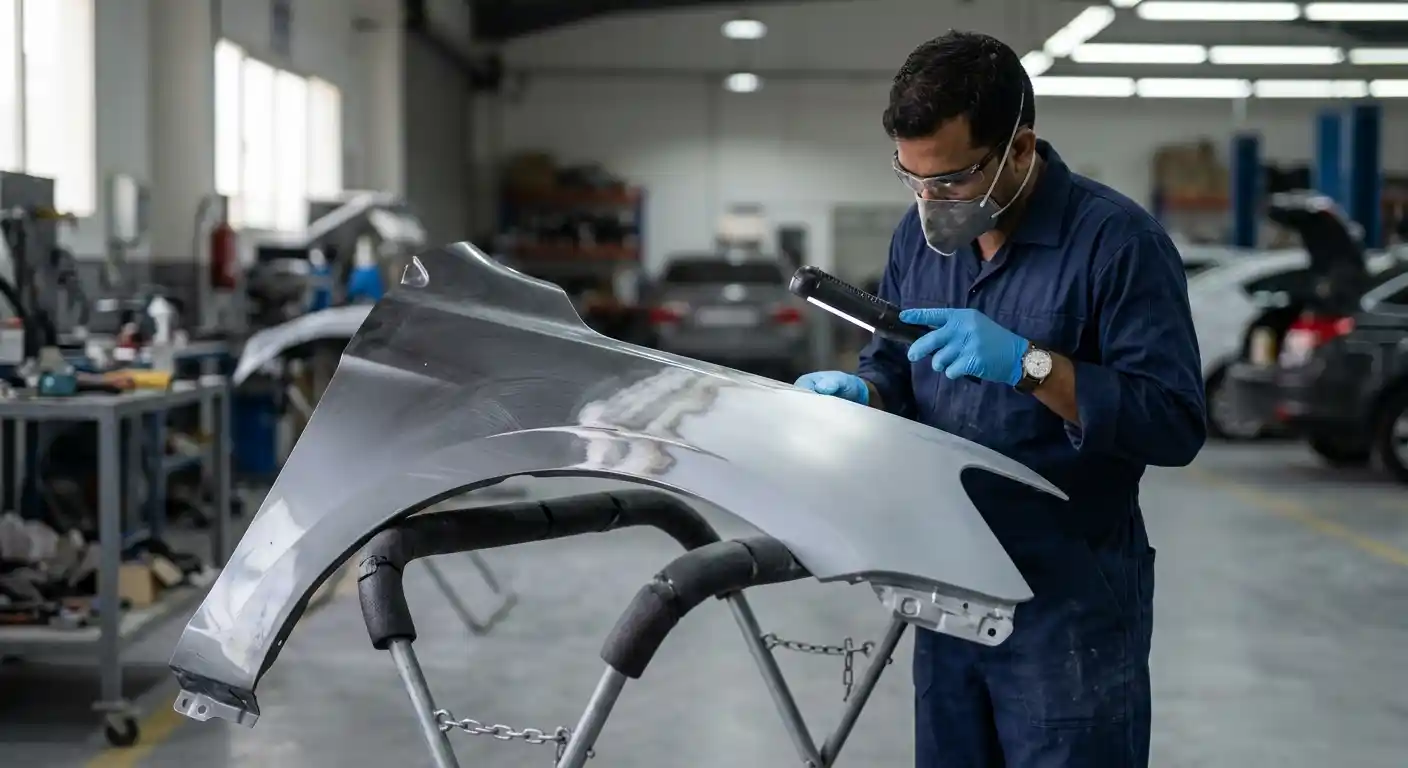
Photograph the fender, wheel arch, gaps, nearby panels and existing marks before disturbance.
Map
Read lows, crowns, body lines, edges, mounting areas, liner condition and adjoining relationships.
Define
Separate confirmed work from parts checks, authorised access and conditional findings.
Protect
Plan safe access, masking, removal and protection for trim, wheel, lamp, bumper and nearby panels.
Restore
Use the agreed PDR, conventional repair or replacement route without hiding unresolved shape.
Refinish
Prepare the actual substrate, apply the selected paint system and protect accessible edges.
Reassemble
Refit agreed liners, retainers and attachments, then review gaps and secure fit.
Verify
Inspect contour, colour, arch clearance, adjoining fit and items disturbed by the work.
Insurance, parts and timing
Separate active repair time from approval and parts waiting
For insurance-related fender damage, useful documentation includes the incident information available to the owner, vehicle identification, wide and close photographs, a visible-damage estimate and clear conditional notes. The insurer and policy decide coverage, excess, liability, reports and approval. A workshop estimate does not make those policy decisions.
A damaged liner, hidden mounting edge or second affected panel may become clear after authorised access. If it relates to the incident, the finding should be photographed and connected to the repair area. Where approval is required, the additional scope can be submitted rather than quietly absorbed into the first estimate.
Front fender parts can vary by side, model year, trim and fitted features. A replacement panel may arrive bare and require transferred mouldings, brackets or other items. Rear-quarter parts involve a different level of planning. Part identity, condition and availability should be confirmed before a completion promise is made.
PDR can be relatively direct when access and paint condition cooperate. Conventional repair adds shaping, preparation, paint and curing. Replacement adds sourcing, trial fit and transfer work. A wider collision, insurance review or delayed part can extend calendar time even when active workshop stages are controlled.

Final quality review
Handover returns to contour, clearance and relationships
Contour and reflection
A fender can be glossy and still look wrong along a body line or wheel arch. The finished surface is reviewed through long reflections and from several standing angles. The arch radius, upper contour and designed lines should read continuously rather than reveal a flat patch or abrupt crown.
Gaps and adjoining panels
Nearby gaps and flushness are checked against the agreed repair. At the front, that can include the bonnet edge, door, bumper and lamp area. At the rear, it can include the rear door, bumper, lamp and boot-side relationships. The aim is not to force every gap to a generic number, but to verify a coherent result for the vehicle and scope.
Attachments and clearance
The liner, retainers and accessible attachments disturbed by the work are checked for secure fit. Tyre clearance is reviewed visually around the repaired arch. A body repair handover does not substitute for separate wheel, steering or suspension diagnosis where symptoms called for it.
Repair record and aftercare
The owner should know what was repaired, painted or replaced, whether adjoining paintwork was included, what parts were transferred and what aftercare applies. Any separate recommendation should remain visible rather than disappearing from the file.
Final handover checklist
- Review the fender under clean, long reflections.
- Follow the wheel-arch radius and body lines.
- Check colour, texture, gloss and masking edges.
- Review bonnet, door, bumper and lamp relationships.
- Confirm agreed liners and retainers are secure.
- Inspect accessible edge and coating protection.
- Confirm visible tyre clearance around the arch.
- Compare the result with intake documentation.
- Explain paint aftercare and separate findings.
Common questions
Car fender repair FAQs
Can a dented car fender be repaired without painting?
Sometimes. Paintless dent repair may suit a smooth dent when the paint is intact, metal stretch is limited and controlled access is available. A sharp crease, cracked coating, wheel-arch edge damage, previous refinishing or restricted access can make conventional repair and painting more appropriate.
How much does car fender repair cost in Dubai?
Indicative bands are AED 150 to AED 350 for a suitable small PDR dent, AED 350 to AED 700 for a suitable medium PDR dent, and AED 700 to AED 1,200 or more for conventional dent and paint repair. Panel painting starts from AED 450 as a planning point. Inspection is required for a current quotation.
Is a front fender the same as a rear fender?
No. A front fender is often a separate panel around the front wheel, although construction must be confirmed. The rear fender commonly forms part of a larger quarter panel. Access, attachment, replacement scope and refinishing can therefore differ substantially.
Should a damaged fender be repaired or replaced?
The decision considers material, dent shape, metal stretch, tears, arch and mounting-edge condition, corrosion, previous repair, access, adjoining fit, parts availability and expected finish. Replacement may suit severe or compromised damage, while many local dents and scrapes remain repair candidates.
Can a wheel-arch crease be repaired?
It can be possible, but the arch is a shaped edge that may include a folded lip, coatings, seams and restricted access. Paint condition, deformation, corrosion and the accessible reverse side need assessment before a repair route is confirmed.
Can you quote fender repair from photos?
Photos help with initial triage when they show the full corner, angled reflections, wheel arch and nearby gaps. They cannot reliably confirm material, metal stretch, reverse-side coating, hidden mounting damage, previous filler or all adjacent impact. A final method and quote require physical inspection.
Why is the tyre rubbing after fender damage?
Possible causes include a changed arch or liner, displaced retainers, tyre or wheel damage, or another wheel-area concern. Fender damage alone does not identify the cause. Avoid continued rubbing and arrange a broader inspection before assuming the repair is cosmetic.
Will the bumper, bonnet or door also need repair?
Only if inspection identifies damage within the agreed scope. These panels meet or sit close to a fender, so their gaps and surfaces are checked. A shifted appearance can come from more than one relationship and should not be assigned to a part without evidence.
Can rust around a fender arch be covered with paint?
Simply covering a rust bubble is unlikely to address activity beneath the coating. The affected area, accessible reverse side, arch lip and earlier repair condition should be evaluated. The practical route depends on how far corrosion extends and whether sound material remains.
Can fender damage be included in an insurance claim?
We can document visible damage and prepare an estimate. Coverage, excess, liability, reports, approval and settlement depend on the insurer and policy. Hidden incident-related findings may need supplementary photographs and approval after authorised access.
How long does car fender repair take?
Timing depends on PDR suitability, conventional shaping, paint preparation, curing, liner or trim work, replacement-part availability, trial fit, hidden findings and insurance approval. A useful schedule separates active workshop time from parts and approval waiting.
What should be checked when fender repair is handed over?
Review contour, body lines, wheel-arch radius, colour, texture, gloss, nearby gaps, bumper and lamp relationships, agreed liner and retainer fit, and visible tyre clearance. The handover should identify repaired, painted and replaced items plus aftercare and separate recommendations.
Start with the complete wheel corner
Arrange a car fender repair assessment in Dubai
Send clear photographs and tell us whether the damage followed a parking dent, side scrape, bumper contact or collision. We will inspect the fender, wheel arch and nearby relationships, then explain the proposed route and quotation before work begins.