
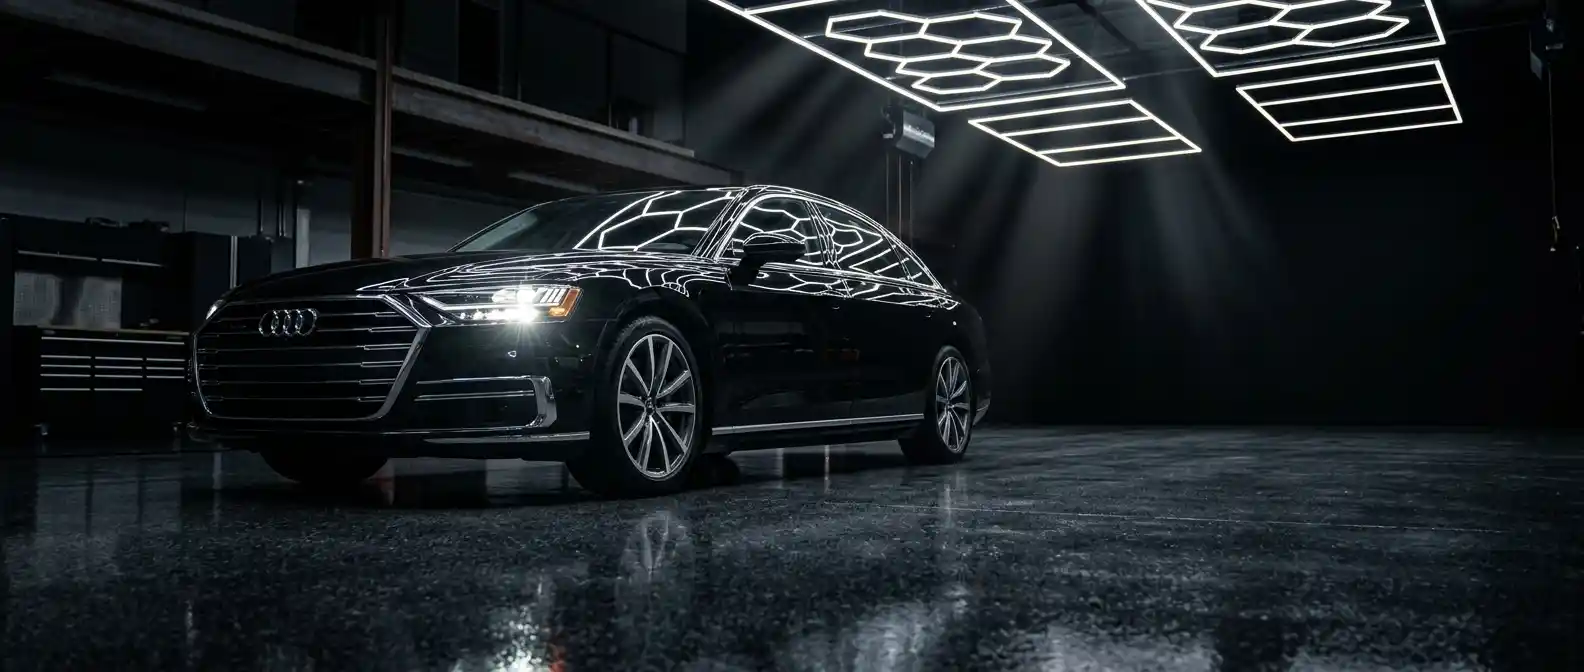
Audi A6 body repair · Al Quoz 4 Dubai
Audi A6 Body Repair Dubai
Audi A6 body repair needs more than surface correction. Long panels, mixed materials, tight closure lines, effect paint and fitted assistance hardware all influence the repair route. We inspect the complete impact area, identify the component and material, then connect body repair, paint and verification into one documented scope.
Damage-led assessment
The A6 inspection connects appearance with construction
A dent, scuff or crease is only the visible start. The surrounding panel line, opening geometry and mounted hardware decide whether the repair remains cosmetic or becomes a wider body-structure job.
We compare the damaged area with the opposite side where useful, check gaps around doors, bonnet, boot lid, lamps and bumpers, and note whether a wheel, sill or pillar sits differently after impact. Previous paintwork, filler and earlier repair also matter because they change access, heat tolerance and finish risk.
The exact A6 generation and derivative are verified before repair information is applied. Material distribution and assistance equipment vary, so a generic “Audi method” is not enough for a safe repair plan.
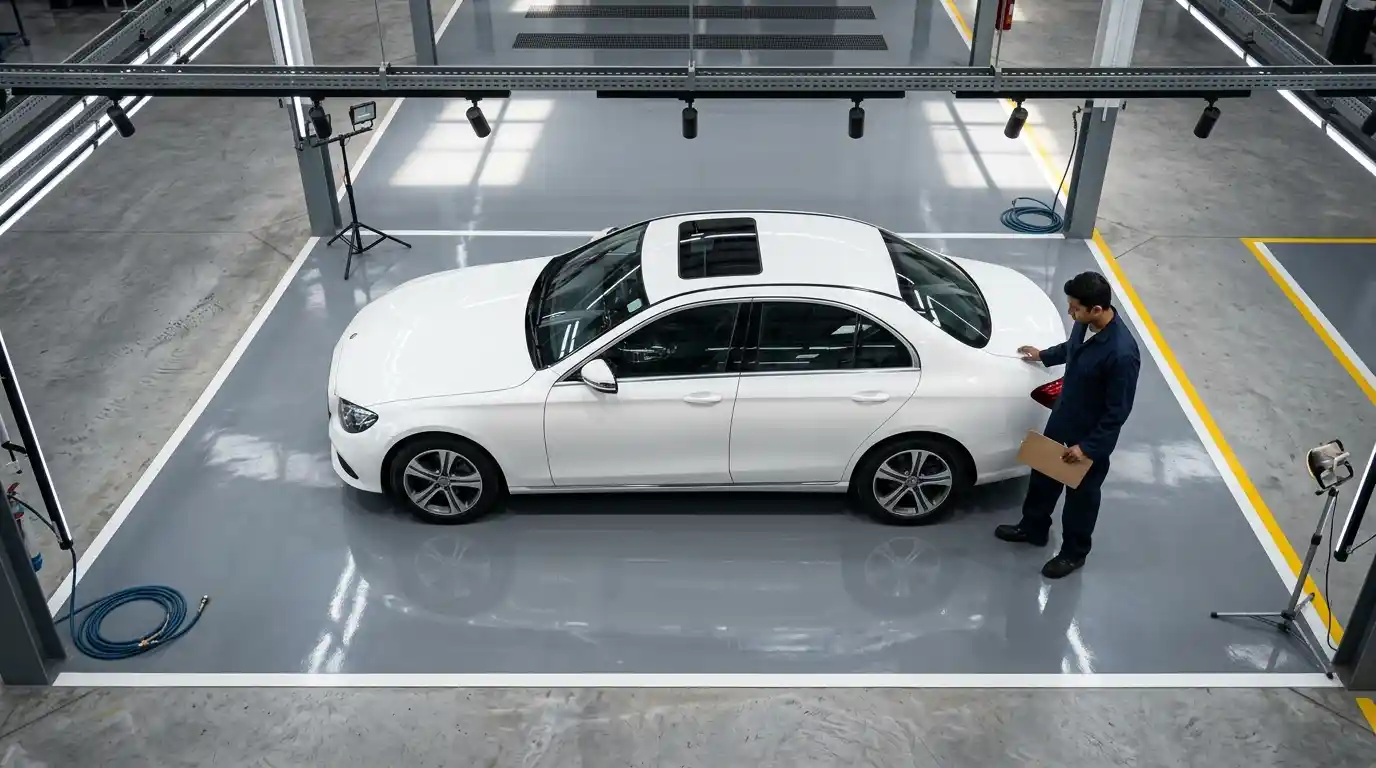
Repair sequence
The repair closes one uncertainty at a time
Record
Map damage, gaps, warning messages, old marks and the complete line of impact.
Expose
Remove only what is needed to inspect supports, joints, wiring and hidden attachments.
Decide
Approve repair, replacement, paint and verification as one connected scope.
Restore
Correct material, structure, seams, corrosion protection and panel geometry.
Refinish
Confirm colour variant, spray-out, blending boundary, texture and gloss.
Verify
Reassemble and recheck fit, functions, diagnostics and calibration requirements.
Material and panel decisions
Panel identity comes before repair habit
Door or bonnet
Material, edge condition, reinforcement and access determine whether accurate repair remains practical.
Pillar, sill or rail
Structural measurement and the applicable repair boundary come before pulling, heating or sectioning.
Bumper or trim
Plastic type, guides, reinforcement, sensor apertures and adjacent fit control the repair plan.
Joint or seam
Removal, fastening, adhesive, welding, sealing and corrosion protection must work as one process.
Previous repair
Old filler, welds or excessive paint depth can change what is technically safe and visually achievable.
Electrified derivative
Floor, sill, charging and cooling proximity add vehicle-specific safety and repair considerations.
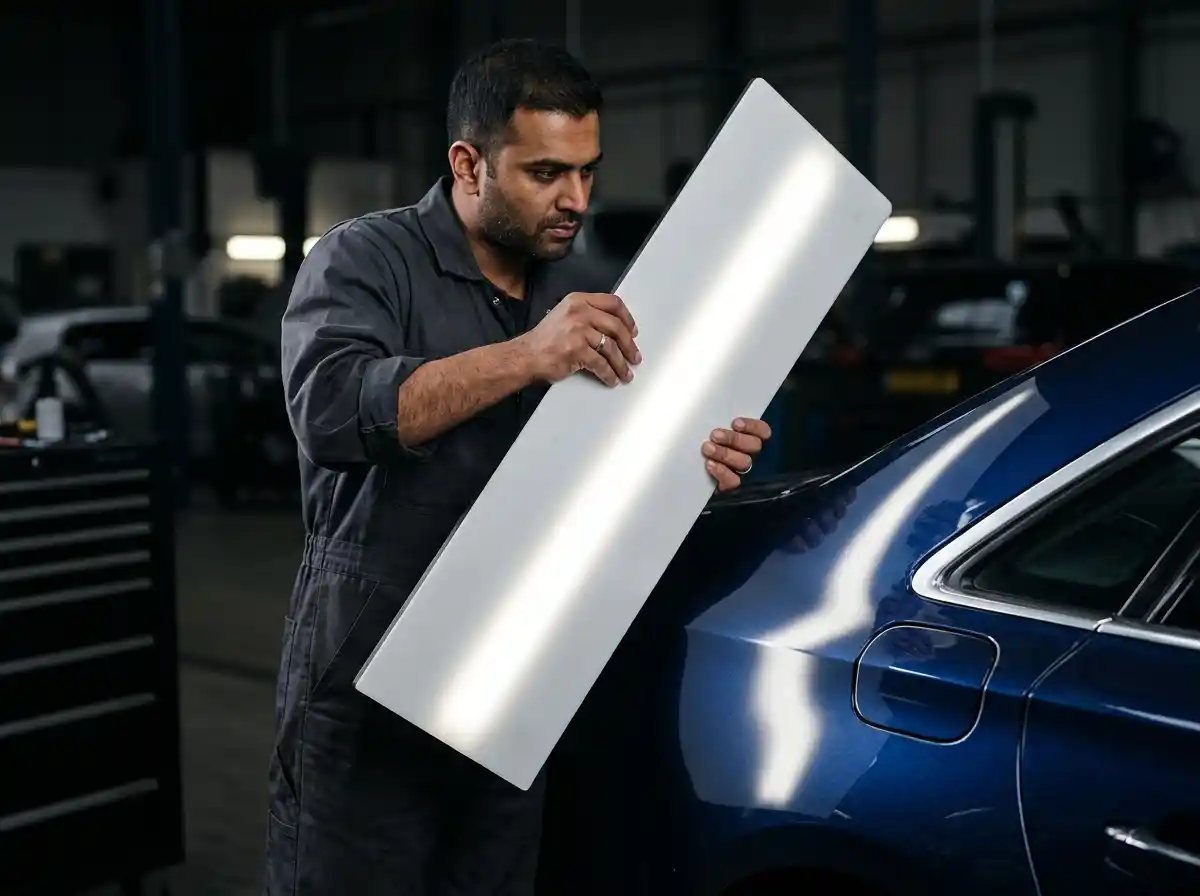
Contour control
Long panels demand reflection control before primer
Metal correction is judged across the full panel rather than the centre of the dent. Straight linear lighting helps expose a low area, hard filler edge or wave that might disappear under soft workshop light but return after gloss is applied.
Primer refines a correctly shaped surface; it should not be used to build a new contour over unresolved metalwork. Door-to-door continuity, swage lines, wheel-arch shape and adjacent panel flushness are checked before the paint stage begins.
Repair versus replacement
Repair and replacement are compared as a total-risk decision
| Question | Evidence for repair | Evidence for replacement |
|---|---|---|
| Can shape return? | Deformation is controlled, material is sound and access supports accurate correction. | Severe stretch, tear, kink or a restricted structural zone prevents a reliable result. |
| Will fit remain stable? | Edges, mounts and adjoining panels can return to designed relationships. | Hems, apertures, reinforcement or critical attachment points are irreversibly distorted. |
| What is the full scope? | Repair labour and refinishing remain lower-risk than replacement operations. | New part, joining, corrosion protection and paint provide the stronger total outcome. |
ADAS and bumper hardware
Sensing hardware follows the affected component
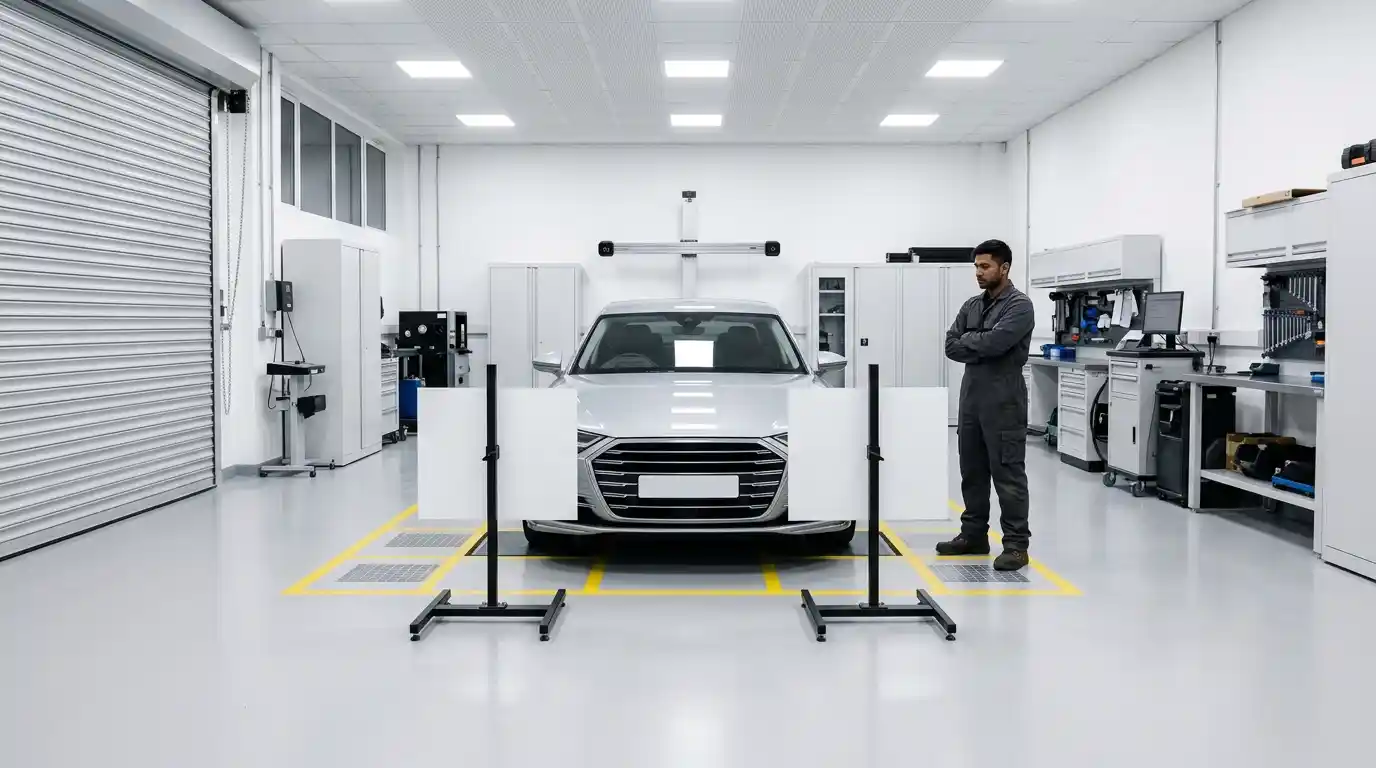
A6 equipment can include cameras, parking sensors and radar-based systems depending on generation and specification. We record what the car actually carries and which component was removed, replaced or displaced.
A connected sensor is not automatically correctly positioned. The applicable repair information may call for scanning, aiming, wheel alignment, static calibration, dynamic calibration or a combination after body geometry is restored.
Paint, primer and repair material are also controlled where the component or sensing zone has material restrictions.
Paint and finish
A6 paint matching needs face, side tone and texture agreement
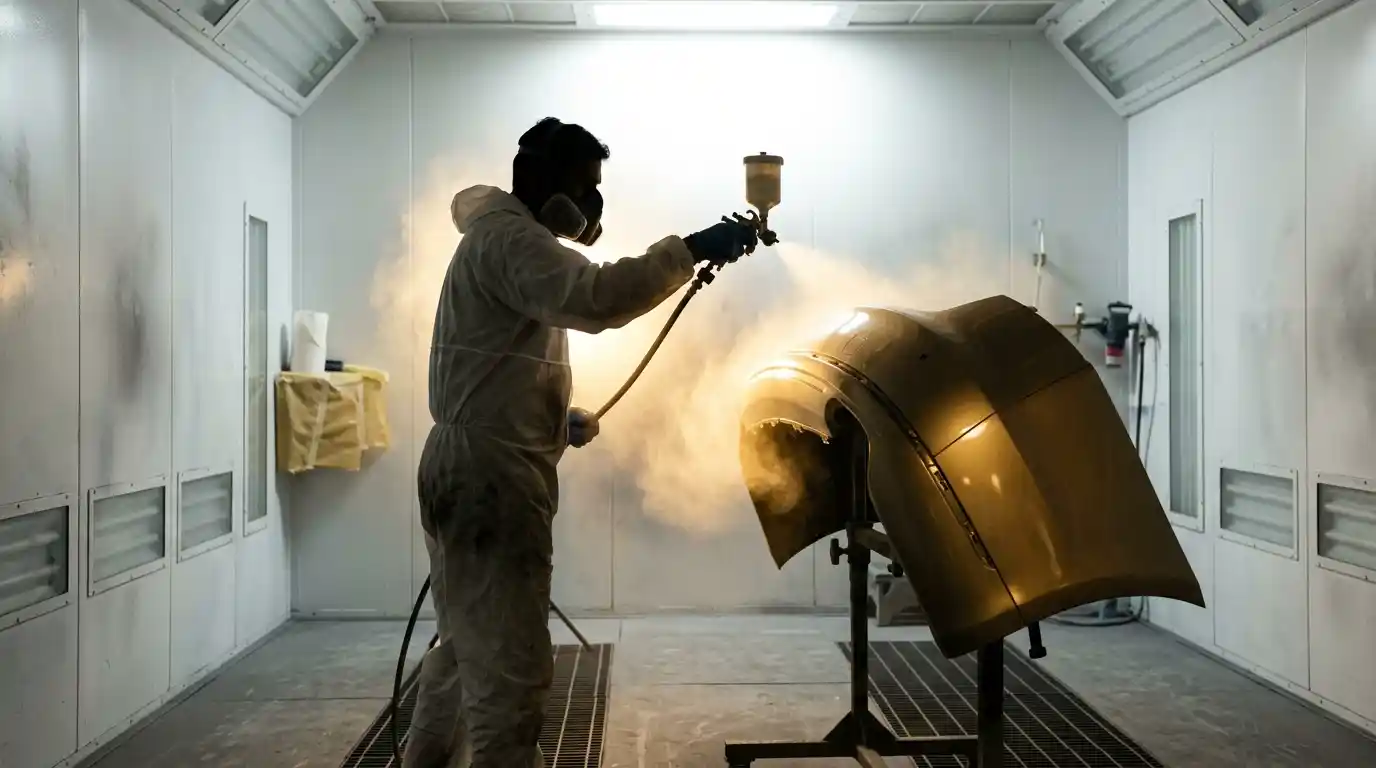
Paint code and electronic measurement identify the formula family, but the adjacent vehicle finish remains the visual reference. A spray-out confirms the useful variant and application technique before the repaired panel is committed.
Metallic and pearl finishes can change at different viewing angles. Previous repainting and Dubai exposure are considered because both can shift the apparent match from the original formula.
After curing, the finish is checked for hue, metallic orientation, gloss, texture, dust, edge coverage and blend transition. Polishing refines the coating; it does not hide poor geometry or incorrect spray texture.
Side-impact diagnosis
Door, sill and wheel relationships reveal more than the outer dent
Door fit
Opening effort, latch alignment, glass operation and door-to-door flushness are recorded before adjustment.
Centre opening
A concentrated impact near the B-pillar or sill may require measurement before cosmetic repair proceeds.
Wheel position
A changed wheel-to-arch relationship can point to suspension or structural involvement that bodywork alone cannot explain.
Hidden repair quality
Mixed-material joining and corrosion protection sit behind the finish
Material control
Aluminium preparation is kept separate from steel contamination and material-specific limits are respected.
Joint restoration
Fasteners, adhesive, welding, seams and cure requirements follow the component-specific process.
Protection restoration
Primer, seam sealer and cavity protection are restored where repair disturbed the original corrosion-control system.
Quotation clarity
The estimate separates confirmed work from hidden possibilities
Confirmed scope
- Visible dents and paint damage
- Clearly broken exterior parts
- Known removal and refit operations
- Approved repair and refinish areas
Conditional scope
- Guides, absorbers and hidden brackets
- Wiring or support damage behind trim
- Joint condition after access
- Additional calibration or alignment findings
Cost and turnaround depend on generation, material, parts availability, previous repair, paint scope, electronics and concealed findings. A photograph can guide preparation but cannot confirm every hidden attachment.
Handover proof
Final quality follows the original damage line
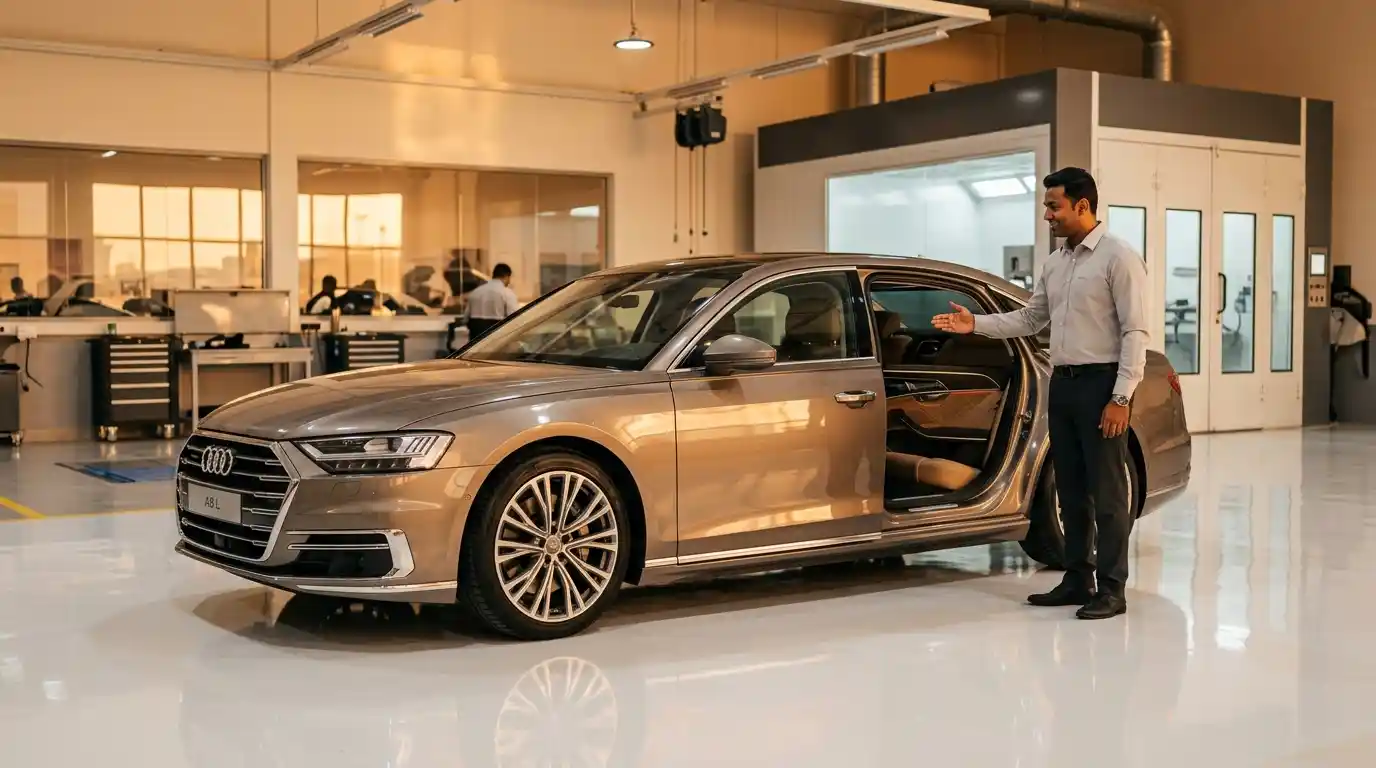
We recheck reflection continuity, panel gaps, flushness, closure effort, bumper corners, lamps, trim and the functions included in the job. Scan, alignment or calibration evidence remains connected to the repair record where required.
Fresh-paint aftercare is explained for the coating used. Pre-existing marks, unrelated warnings and any deferred part are listed separately so they are not confused with the repaired work.
Common A6 questions
Audi A6 body repair FAQs
Can an Audi A6 dent be repaired without painting?
Sometimes. Paintless dent repair can suit intact paint, practical access and controlled metal stretch. Creases, broken paint, difficult access or previous filler can move the repair towards conventional bodywork and refinishing.
How do you decide whether to repair or replace a panel?
We compare material condition, stretch, tears, structural role, access, joints, finish risk, parts and the total operations needed for a stable repair.
Does an A6 bumper repair require calibration?
It depends on the exact equipment and what was disturbed. Sensors, radar, cameras, brackets or alignment-related prerequisites can trigger scanning, aiming or calibration requirements.
How is Audi A6 paint matched?
The paint code, electronic reading, spray-out, adjacent panel condition and viewing angle are used together to select the variant and application method.
Can photos provide a final quotation?
Photos can support an initial assessment, but concealed brackets, reinforcement, wiring and structural measurements may require physical inspection or controlled dismantling.
What should be checked at handover?
Panel geometry, reflections, gaps, closures, trim seating, finish quality and the relevant diagnostic or calibration evidence should connect back to the original repair scope.
Start with the complete damage line
Send your Audi A6 damage photos for assessment
Include the A6 year and derivative, one wide view, one shallow reflection angle, a close detail and any warning message. Tell us whether doors, boot lid, camera view, steering or wheel position changed after the impact.