Car paint fisheyes are small craters formed when wet coating pulls away from contamination. They are different from orange peel in car paint, which is a broader texture and levelling defect rather than an isolated contamination crater.
The safe fisheye correction depends on which layer contains the defect and whether the contamination has affected primer, colour or clear coat. Widespread fisheyes usually require the defective coating to be removed to a stable boundary, the contamination source eliminated and the affected paint layers reapplied.
Do not polish before identifying the defect
Aggressive sanding can break through clear coat, alter metallic colour and turn a contained problem into a larger repaint. Clean the panel, inspect it in side light and measure the available film before choosing correction.
Separate the two defects by shape and reflection
| Check | Fisheyes | Orange peel |
|---|---|---|
| Appearance | Round craters where coating pulls away | Wavy texture that distorts reflection |
| Main process issue | Oil, wax, silicone or other surface contamination | Poor atomisation, viscosity, solvent choice or levelling |
| First diagnosis | Find contamination source and affected layer | Compare texture, film build and clear-coat thickness |
| Possible correction | Sand out, clean and reapply affected coating | Flatten and polish or prepare and repaint |
| Why polishing may fail | Craters can extend through the coating | Texture may be too deep for safe clear removal |
Fisheyes begin with surface-tension contamination
Automotive coatings need a uniformly clean surface so the wet film can spread. Oil, wax, grease, silicone, polish residue, compressor contamination or unsuitable cleaning material can make the coating pull away into circular craters. Contamination can come from the vehicle, tools, air supply or products used elsewhere in the workshop.
A painter does not solve the process by filling each crater while contamination remains. The source is traced, the defective layer is removed to a stable boundary and the surface is cleaned using the paint-system procedure. Air lines, filters, cloths and nearby silicone products may need review.
Fisheyes are easy to confuse with solvent pop
Solvent pop creates small holes or bubbles as trapped solvent or gas escapes from the coating. Heavy application, insufficient flash time and incorrect drying conditions can contribute. Fisheyes form because the wet coating withdraws from a contaminated spot.
The timing, crater edge and layer cross-section help distinguish them. The workshop should not label every pinhole contamination, because prevention and correction differ.
Process clue
If craters repeat across several panels or jobs, the investigation extends beyond one car. Air supply, cleaning products, spray equipment, booth contamination and preparation habits all become evidence.
Fisheye correction removes the contaminated layer
- Identify whether the craters sit in primer, base colour, clear coat or a single-stage finish.
- Trace likely contamination from the surface, cloths, air system, equipment and nearby products.
- Sand or strip the affected coating to a stable edge.
- Clean with compatible products and fresh materials.
- Prepare a test area or spray-out when the process has changed.
- Reapply primer, colour and clear coat as required.
- Inspect for recurring craters before completing the full panel.
- Record the cause and prevention change.
Fisheye eliminator additives are not a universal cure. They alter surface tension and may be restricted by the paint system. Using an additive without removing the contamination source can transfer the problem into future work.
Do not repaint over a weak foundation
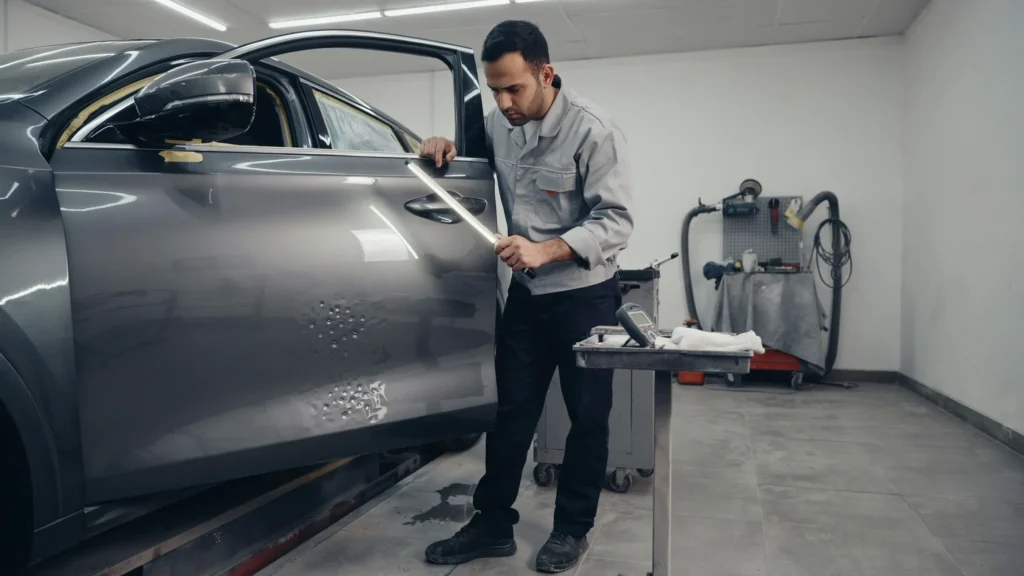
Orange peel and fisheyes can coexist with sanding scratches, poor adhesion, moisture blistering or solvent pop. The workshop checks the entire paint stack before adding material. If the primer or old repair is unstable, the correction extends to the sound layer.
Edges, chips and previous repairs are feathered properly. Compatibility and drying are confirmed. A glossy topcoat cannot make uncured or contaminated material underneath durable.
Colour matching remains part of defect correction
Removing a defect may require new base colour, especially after sanding through clear coat or when craters reach the colour layer. The painter scans the current vehicle, selects a variant and validates it with a spray-out.
The paint colour mismatch guide explains face, side-tone and lighting checks. The computerised colour-matching guide covers measurement, formula selection and spray-out verification.
Dubai conditions make process control more visible
High ambient heat affects panel temperature, product choice and solvent behaviour. Workshop temperature and humidity are managed according to the paint system rather than guessed from outdoor conditions. Dust control matters because contamination can create separate nibs and defects.
Strong sunlight reveals texture, haze and metallic inconsistency. Final inspection should therefore include outdoor light after the finish is cured and clean.
Common mistake
Calling all rough paint orange peel can miss dry spray, dust nibs or overspray. Orange peel is a formed texture in the coating. Dry spray feels rough for a different application reason, while overspray may sit on top of an otherwise sound finish.
Root-cause review prevents the same defect returning
The workshop reviews preparation materials, cleaning sequence, air supply, spray gun maintenance, product batch, mixing record, booth conditions and flash times. A defect on one small panel may trace to local contamination; repeated defects across jobs suggest a process source.
The correction file records what changed before respray. This may include replacing a contaminated hose, servicing filters, separating silicone products, changing reducer speed or correcting gun pressure. Without that step, sanding the panel only resets the surface for the same failure.
Choose the smallest correction that remains technically complete
One isolated dust nib may need only controlled de-nibbing and polishing. Mild uniform orange peel may allow measured flattening. Deep texture, colour disturbance or thin clear coat moves the decision toward repainting. Fisheyes that reach base colour require removal and reapplication of the affected layers.
The smallest visible area is not always the smallest correct paint area. Preparation, colour blending and clear-coat boundaries need room. The quote explains why a complete panel or adjacent blend is included instead of hiding the extension inside a lump sum.
Edges and body lines carry the greatest correction risk
Clear coat is naturally harder to measure at sharp edges and can be thinner after previous polishing. Technicians reduce pressure and protect those zones during sanding. A burn-through at an edge forces colour repair and can enlarge the job.
Body lines also distort reflected inspection lights. The panel is viewed from several positions so a normal styling break is not mistaken for orange peel and a genuine texture ridge is not overlooked.
Aftercare should not contaminate fresh paint
The owner follows the workshop’s curing guidance before applying wax, polish, ceramic coating or paint-protection film. Silicone-rich dressings and sprays are kept away from fresh repair edges. Washing uses clean materials rather than a cloth carrying tyre or interior dressing.
If a crater or texture difference appears after collection, photograph it before polishing. The workshop can then distinguish a process defect from later contamination, chips or abrasive damage and review the repair while evidence remains clear.
A professional correction quote names the affected layer
- Defect identification and panel area.
- Existing paint and previous repair condition.
- Film-thickness or correction-depth assessment.
- Sanding and polishing only or repainting.
- Panels receiving colour and clear coat.
- Blend requirements for metallic or pearl finishes.
- Removal of trims, sensors and handles.
- Materials, curing and final inspection.
- Warranty limits and aftercare.
Use the BodyShop.AE car painting service when the defect needs controlled refinishing. Pricing depends on the affected layer, panel, finish, previous paint and whether safe correction is possible without repainting.
Inspect the corrected finish as a system
- Reflections remain consistent across the repaired and adjacent areas.
- Texture matches the vehicle rather than becoming an isolated mirror patch.
- No craters, pinholes, dust clusters or sanding marks remain.
- Colour and metallic effect match from more than one angle.
- Edges and styling lines show no burn-through.
- Trims and sensors are refitted cleanly.
- No overspray appears on glass, rubber or neighbouring panels.
- The invoice states whether the panel was polished, cleared or repainted.
Preventing recurrence is part of the repair
For fisheyes, prevention means contamination control across the car, materials, air supply and booth. For orange peel, it means correct product selection, mixing, equipment setup, application and drying. The final surface is evidence of the entire process.
Bring low-angle photographs and the original repair invoice if available. BodyShop.AE can determine whether the defect is correction-ready, needs repainting or points to a deeper paint-system failure.
Use a defect map before sanding begins
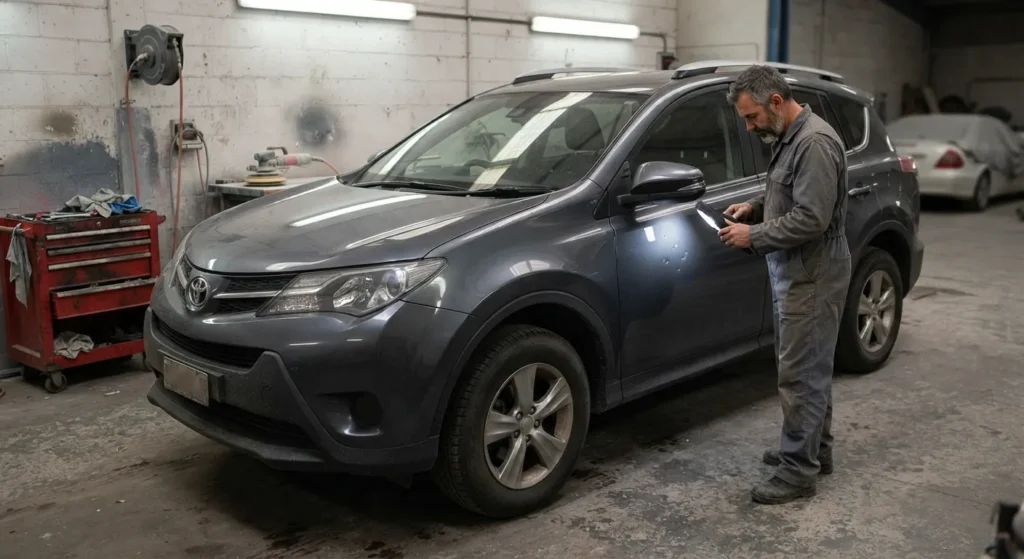
The inspector marks every crater, texture zone, dry edge, dust concentration and polishing mark under consistent light. The map records whether defects repeat at panel edges, across several panels or only near one repair. This pattern can reveal gun movement, contamination direction or a local preparation issue.
Photographs are taken before wax, polish or abrasive work changes the evidence. A clean masking marker or digital annotation is safer than scratching circles into the finish. The planned correction area is compared with the defect map so isolated faults are not missed after the panel is levelled.
Primer texture can print through the topcoat
A rough or poorly sanded primer foundation can remain visible through base colour and clear coat. Adding wetter clear may increase gloss without removing the underlying shape. The painter checks the defect through the layer stack and rebuilds the foundation when necessary.
Sanding scratches and feather-edge swelling can also distort reflection. They require the correct abrasive progression, primer surfacer and drying rather than a polishing-only response.
Panel removal and trim handling affect defect risk
Handles, mouldings, lamps and badges are removed when masking them would create dry edges or contamination traps. Clips and one-time seals are identified in the quotation. Careless removal after painting can chip a sound finish and create a separate warranty issue.
When a bumper is painted off the car, it is supported in the orientation and shape intended by the procedure. Flexing a fresh coating during installation can crack edges or expose weak preparation around clips and tabs.
Correction quality is judged after curing
A wet panel can look smooth before solvents leave and the film settles. Inspection waits for the required curing condition, then checks texture, gloss, colour and defects under clean light. Polishing too early can mask texture temporarily or disturb a soft coating.
The final check includes adjacent panels because one excessively flat correction can look as mismatched as the original orange peel. The goal is a durable, clean finish that belongs on the vehicle, not the lowest possible texture reading.
A paint-defect warranty needs a defined inspection
Report recurring craters, texture, peeling or haze before polishing or coating the panel. The workshop checks whether the issue returns from the original process, another underlying layer or later contamination. The warranty discussion should identify the corrected panel and operation rather than promise every finish on the vehicle.
Keep the invoice, formula record and handover photographs. Clear evidence helps the workshop act quickly and prevents a later chip, scratch or chemical mark from being confused with the original defect.
Inspect again after the first normal wash, following the workshop’s curing guidance, and report any change before abrasive correction.
Related repair guides