
Formula, effect and viewing angle must agree
Car Paint Matching Process Dubai
The car paint matching process begins with the vehicle colour identity, but it does not end at the paint code. Age, previous refinishing, colour variants, film build, metallic or pearl orientation and application technique all influence what the eye sees beside the repaired panel.
BodyShop.AE uses a controlled sequence of identification, measurement, spray-out testing, application planning and multi-light inspection before accepting the match.
The decision sequence
Seven controls turn a formula into a vehicle match
Identify
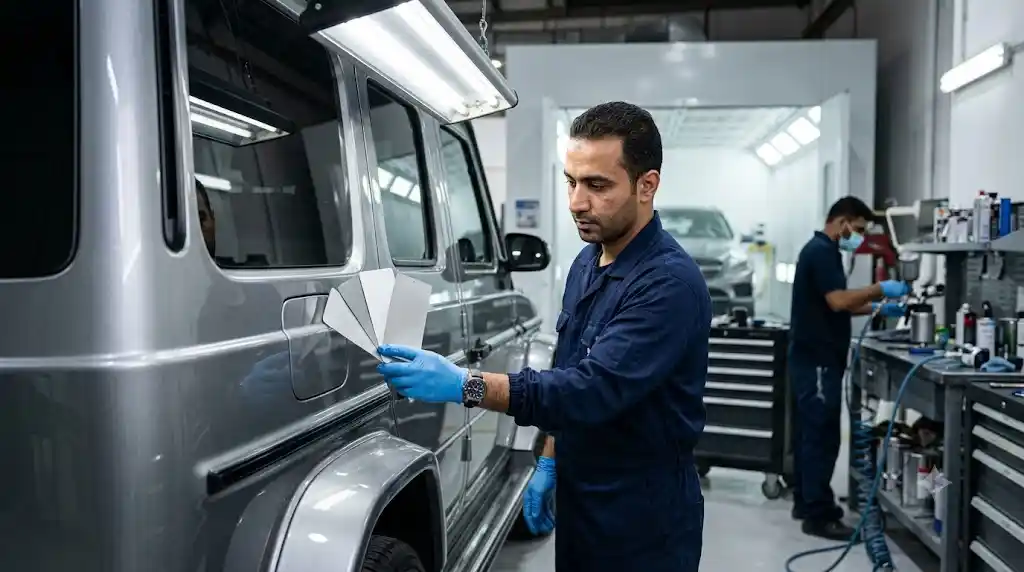
Confirm VIN, paint label, manufacturer code, model year and the panels involved. A code can lead to several production or service variants.
Inspect
Check adjacent panels for fading, previous paint, repairs, film thickness differences, scratches, contamination and texture.
Measure
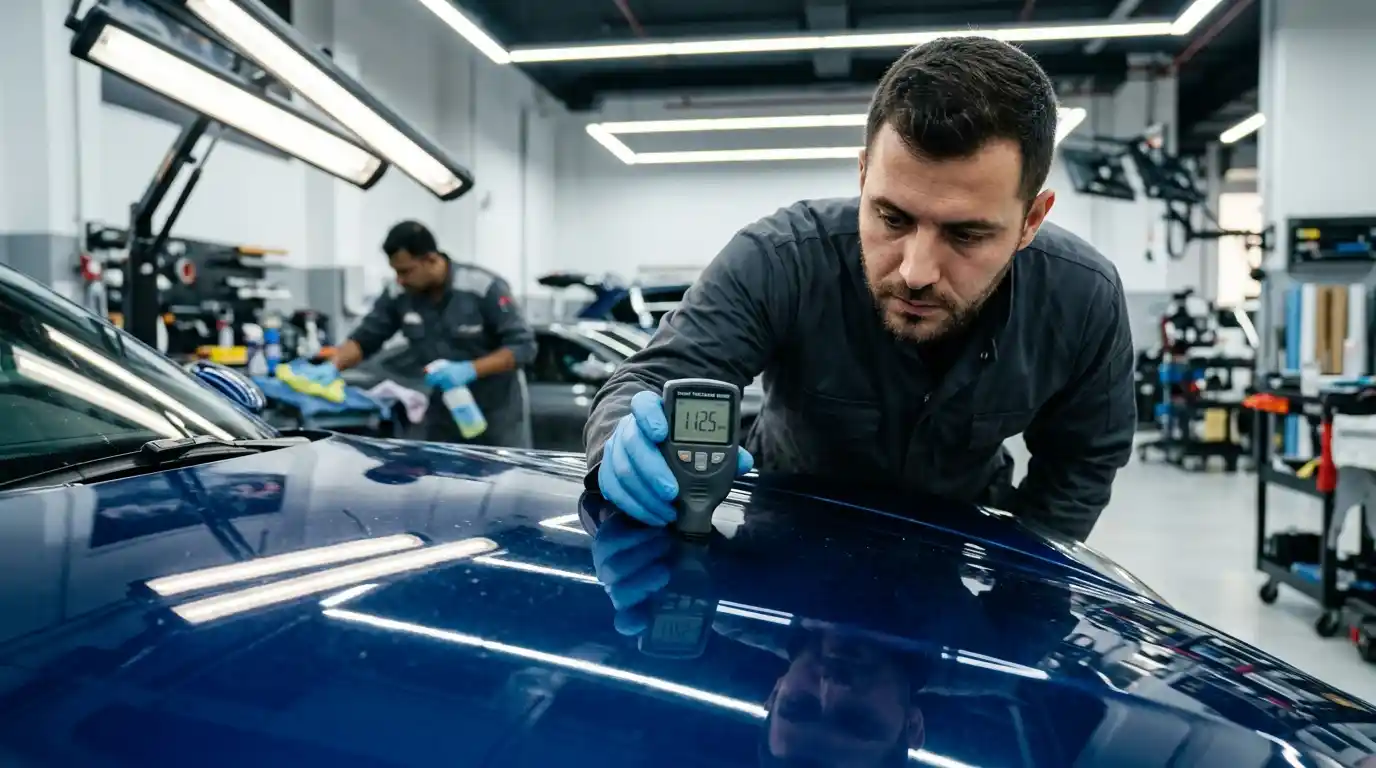
Use digital colour data where suitable and compare more than one reading on a clean, representative area.
Select
Review available formula variants, effect coarseness and face-to-flop behaviour rather than choosing the first code result.
Spray out
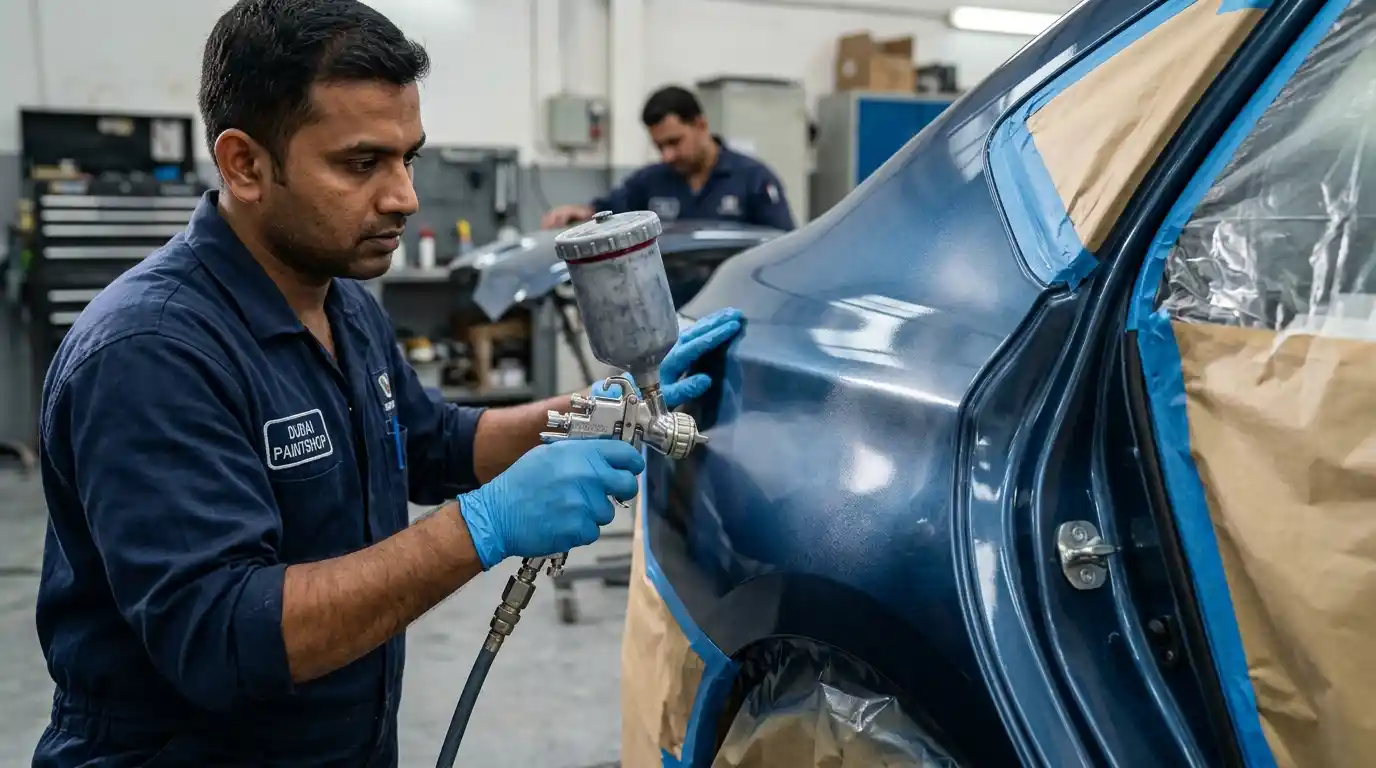
Apply candidate formulas on prepared test cards with the intended gun setup and technique. Record coats, pressure, reducer and effect-control steps.
Plan the transition
Decide whether edge-to-edge application is credible or whether colour should be blended within a suitable neighbouring panel.
Inspect and document
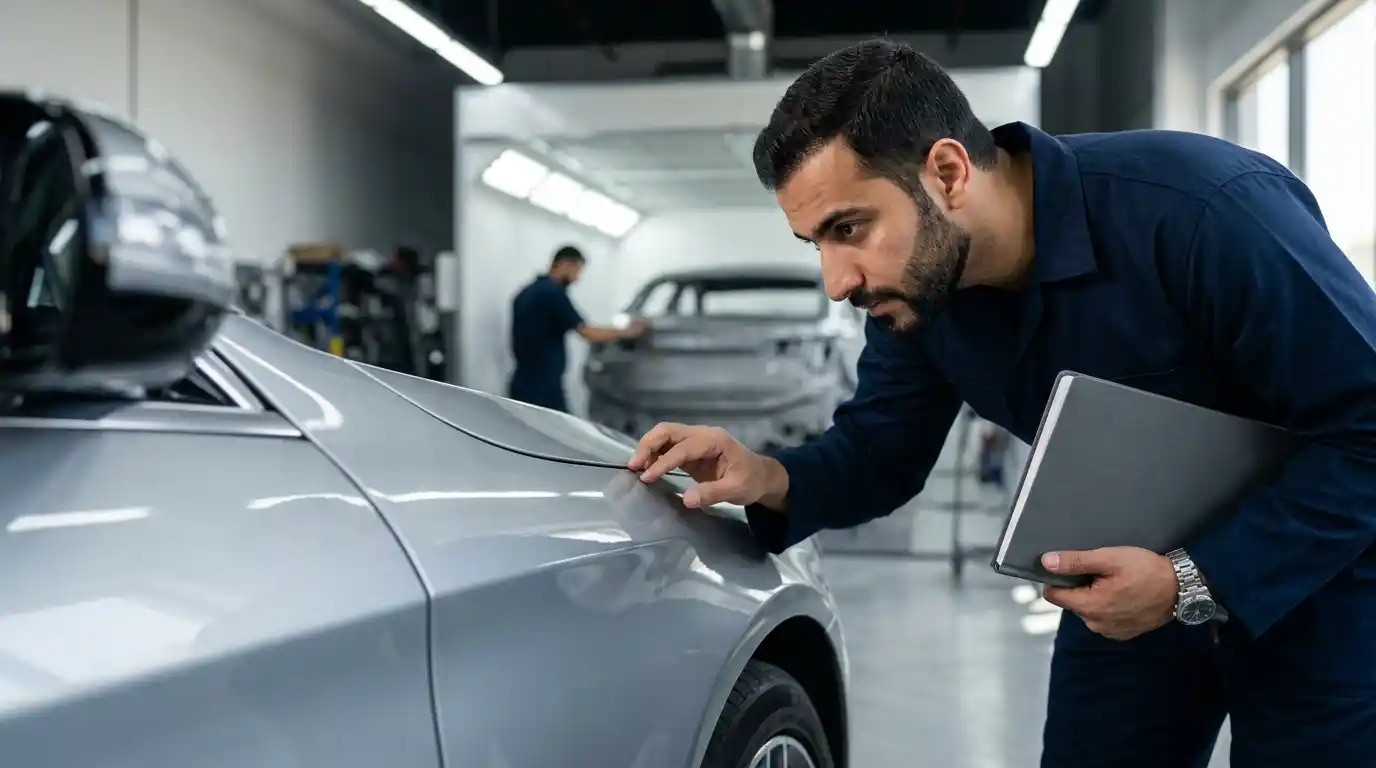
Compare colour, metallic or pearl effect, texture and gloss under more than one light and at several viewing angles.
Start with the real surface
The vehicle may no longer equal its factory formula
Paint code research provides the correct colour family and formula history. It does not prove that a specific batch will disappear beside the vehicle as it sits today. Two cars carrying the same code can differ because of production tolerance, exposure, panel material, previous repair and application.
Before taking a reading, the comparison area must be cleaned without polishing away evidence. Dirt, oxidised clear coat, wax, ceramic products, fine scratches and fluorescent reflections can distort both human judgement and instrument data.
Film-thickness readings can help identify panels that may have been refinished. A repaired adjacent panel may be the wrong reference even if it looks acceptable from one position. The broader car painting service in Dubai must therefore treat matching as part of diagnosis, not as a colour-mixing shortcut.
Read colour in three dimensions
Metallic and pearl finishes change while you move
Face colour
The near-straight viewing angle can make a repair look lighter, darker, warmer or cooler. Formula toner balance strongly affects this view.
Flop colour
At an oblique angle, particle orientation changes the reflected light. A formula that matches face colour may still fail in flop.
Effect character
Particle size, sparkle, pearl travel, cloudiness and mottle influence whether the repaired area behaves like the surrounding finish.
Application technique is part of the formula. Gun distance, overlap, pressure, flash time, viscosity, substrate shade and control-coat technique can alter how effect particles settle. That is why a digital reading cannot replace a painter’s controlled test.
The spray-out card is the rehearsal
Test the chosen variant before painting the vehicle
A spray-out card converts formula data into the same physical process that will create the repair. It is useful only when its substrate, ground shade, application and clear coat represent the intended job.
| Control | What is recorded | Why it matters |
|---|---|---|
| Formula identity | Code, variant, batch and any approved tint adjustment | Prevents an acceptable sample from becoming an unrepeatable guess |
| Ground coat | Primer or sealer shade and coverage | Some colours depend on substrate value, especially low-opacity and multi-stage systems |
| Application | Gun setup, number of coats, flash and effect-control technique | Effect orientation changes with the way material reaches the panel |
| Clear coat | Clear system and application used on the sample | Gloss and film optics affect the apparent depth and value |
| Comparison | Daylight-equivalent, workshop light and angled observations | A single lamp or straight-on view can hide a poor transition |
For a deeper explanation of the measurement stage, the guide to spectrophotometer paint matching tools covers how instrument readings support variant selection. The new page owns the complete customer-facing process, while that guide remains focused on the tool itself.
Repair size does not decide the blend by itself
Choose edge-to-edge paint only when the evidence supports it
Painting only the damaged panel can look efficient, but the hard boundary at the panel gap leaves no space for a gradual colour transition. It is most credible when the tested colour is exceptionally close, the finish is forgiving, the adjacent panels are reliable references and the repair layout supports it.
Blending spreads a controlled amount of colour into a suitable adjacent panel so the eye sees a gradual transition rather than a sudden formula difference. It does not mean spraying the whole side without reason. The blend area, clear-coat boundaries, dismantling and protected edges must be planned for the exact vehicle.
Metallic silver, light gold, pearl white, some reds, faded colours and previously refinished vehicles often require especially careful judgement. A blend also needs consent because it adds preparation and clear-coat scope to a panel that may not be visibly damaged.
Quality inspection
A colour match can still fail on texture and gloss
Look straight on and along the side. Metallic and pearl behaviour must remain coherent through the viewing arc.
Daylight, shaded daylight and suitable inspection lighting can expose metamerism, where two colours agree in one light but separate in another.
The eye should not catch a sudden warm, cool, light or dark step across the nearest boundary.
Excessive orange peel, dirt, dry spray, polishing haze or an unnaturally flat surface can make a close formula look wrong.
Overspray, masking lines, poor coverage and unplanned colour in door shuts can reveal weak preparation.
Handles, mouldings, lamps and seals should sit correctly so panel fit does not distract from the finish.
A mismatch after previous work needs diagnosis before correction. The existing guide to automotive paint matching methods compares broader approaches, while this page explains the sequence our estimate and repair plan should follow.
When the result looks different
Describe the angle, light and boundary
Do not report only that the colour is wrong. State whether the repair looks darker straight on, lighter at an angle, coarser in sunlight, cloudy through the middle or different only under car-park lighting. Photograph the complete panel pair from several metres away and repeat from an oblique angle.
That evidence helps separate formula imbalance, effect orientation, blend transition, gloss, texture and lighting. Correction might involve polishing, texture refinement, a revised colour application or repainting. It cannot be chosen responsibly from one close-up.
The handover standard
Accept a match that works in the real viewing range
A professional target is not a formula number on a mixing screen. It is a repaired area that maintains an acceptable colour, effect, gloss and texture relationship with the vehicle under normal viewing conditions. The route to that result is documented identification, representative measurement, a repeatable spray-out, a justified transition plan and final inspection.
Ask which colour variant was selected, whether a spray-out was approved, why blending was or was not used, and how the finish was inspected. Those questions make the car paint matching process visible and give both the customer and workshop a clear basis for review.
Solid, metallic and pearl decisions
Finish type changes the matching problem
Solid colour
Solid colours do not use visible effect particles, but pigment strength, value, undertone, ageing and clear-coat optics still matter. Reds, whites and blacks can show a hard panel-to-panel step when the selected variant or substrate shade is wrong.
Metallic colour
Aluminium particle size and orientation add face, flop, sparkle and cloudiness to the match. Air pressure, gun distance, overlap, reducer and control-coat technique can make the same mixed formula look different.
Pearl and multi-stage colour
The ground coat and translucent effect layer work together. Coat count can alter depth and travel, so stepped spray-outs are often more useful than one sample. A small repair may require a wider visual transition.
Bumper and body colour
Substrate can change the acceptable visual relationship
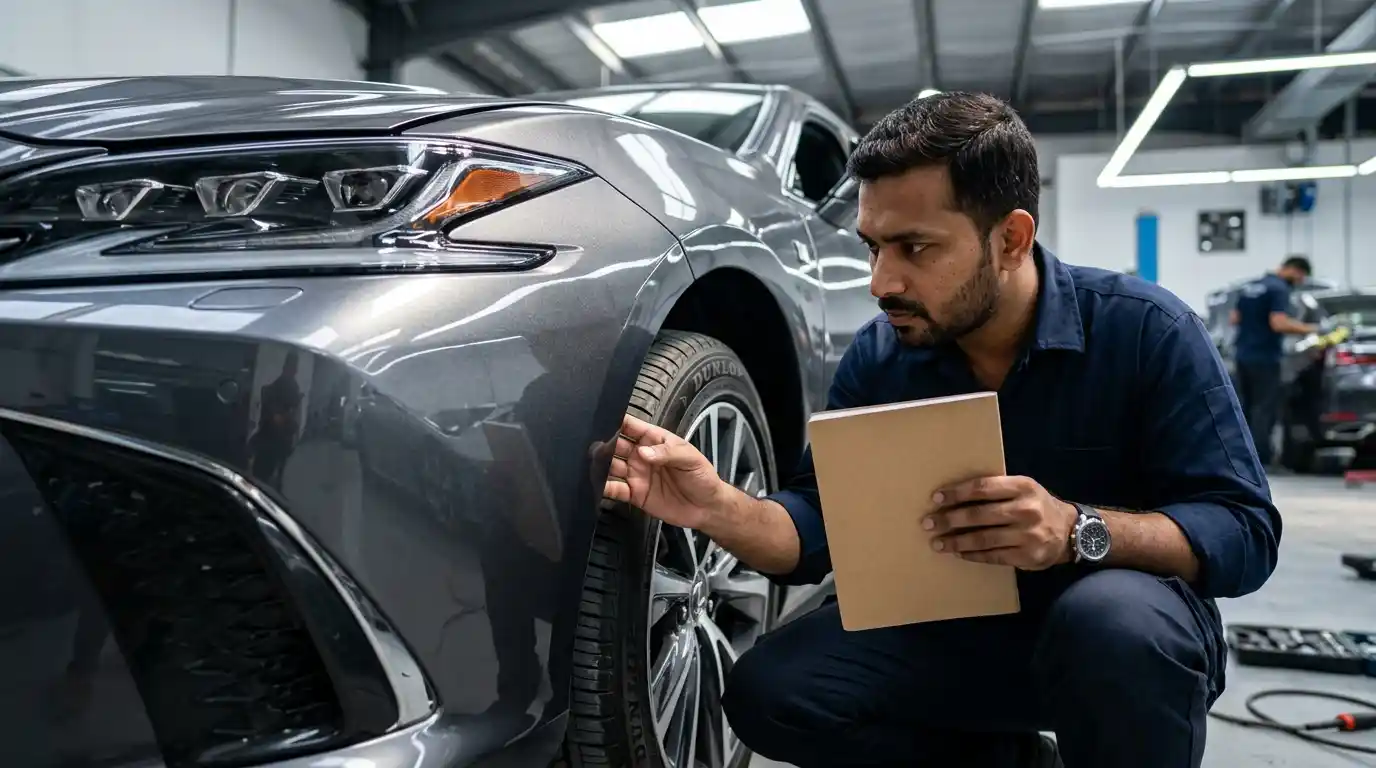
Plastic bumper covers and metal panels can present slightly different colour even from production. Substrate temperature, primer shade, shape and viewing angle influence what the eye sees. The target is not to force a bumper to match one small point on the wing while creating a worse difference across the rest of the vehicle.
Before correction, compare the opposite bumper corner and other original plastic-to-metal boundaries. If the whole vehicle shows a consistent relationship, that is useful evidence. If only the repaired corner changes sharply, formula, application, blend or clear-coat texture may need review.
Painted mirror caps, spoilers, handles and plastic trim create similar questions. The assessor should identify whether the customer is seeing material difference, previous paint, ageing or a new repair error.
Correction pathway
Identify the failure before sanding the panel
A colour concern may come from the mixed formula, wrong variant, substrate shade, effect orientation, blend placement, clear-coat gloss, texture or polishing. Sanding and repainting without isolating the cause can reproduce the same mismatch.
Review code, variant, toner direction and accepted spray-out against the vehicle.
Review gun setup, coat sequence, wetness, overlap, flash and effect-control technique.
Review whether edge-to-edge paint created a hard step and whether a suitable blend area exists.
Inspect orange peel, haze, dust correction and gloss before deciding the colour itself is wrong.
A repeatable car paint matching process keeps the accepted sample, notes the application and records the final viewing conditions. That evidence makes any later correction narrower and more reliable.
Owner approval points
Agree the colour plan before the panel is masked
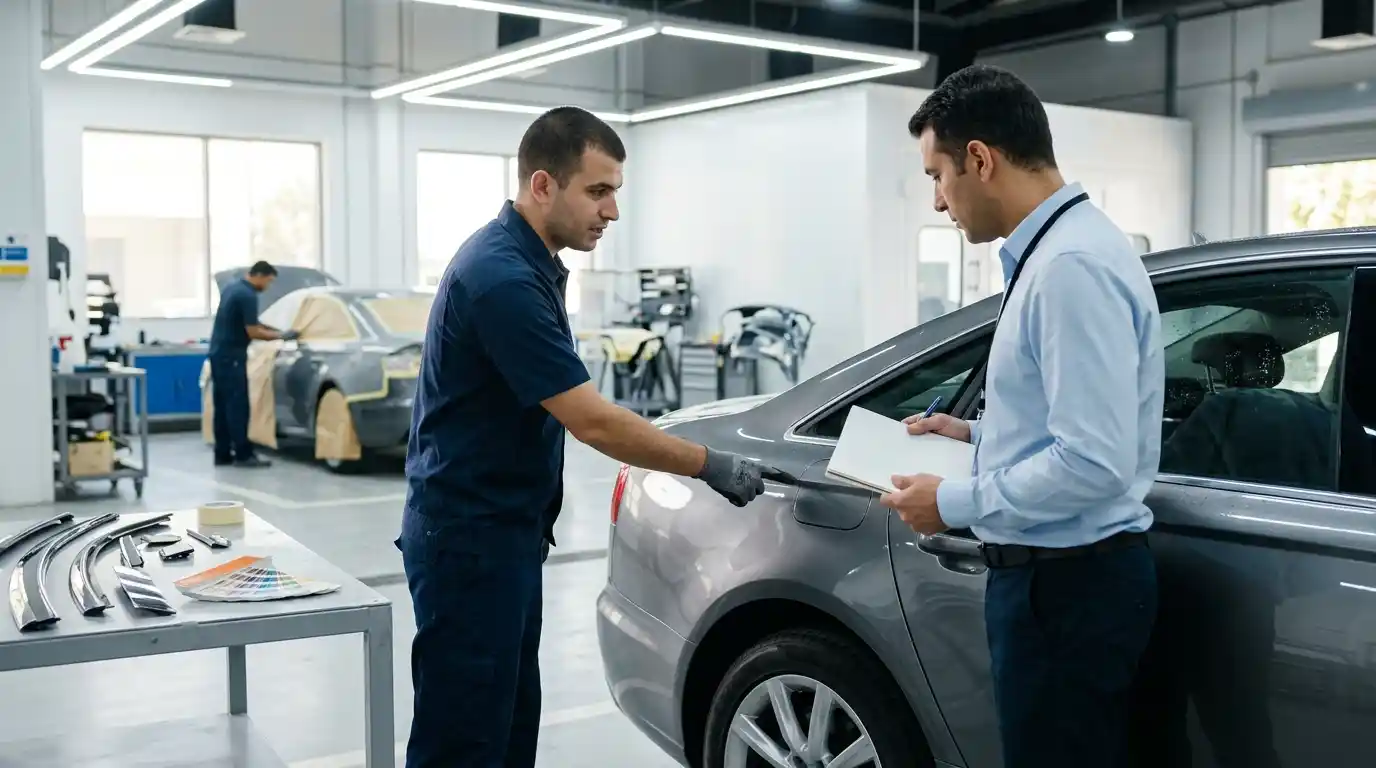
Ask which panel is being repaired, which neighbouring panel may be blended and which trim items will be removed. Confirm whether the quotation includes colour formulation, spray-out testing, clear coat across the blend panel, polishing and reassembly. These operations should not appear as unexplained extras after painting.
If the vehicle has paint protection film, wrap, decals, pinstripes or ceramic coating, decide who removes and reinstalls them. A blend panel may require a larger protection-film area than the damaged spot suggests. Fresh coating also needs product-specific timing before new film or coating is installed.
At collection, compare the repaired side from several metres away before inspecting close detail. Use open shade and daylight, then move along the panel to view face and flop. A phone torch held centimetres from the surface is useful for dust but poor for judging the complete colour transition.
Record any accepted limitation in writing. That gives the workshop a fair correction point and prevents normal plastic-to-metal difference or old adjacent paint from being mistaken for a new mismatch later.