

One printable record from roadside to handover
Car Accident Repair Checklist PDF
Use this car accident repair checklist to keep reports, insurer decisions, repair scope, hidden damage, parts, scans, calibration and collection evidence connected.
The downloadable PDF is designed for Dubai drivers and complements the accessible checklist on this page. It does not replace police, insurer, emergency or vehicle-specific instructions.
Download and print
Keep the PDF with your repair file
The PDF includes tick boxes, note fields and handover checks. Save one digital copy and keep the working copy with the police report, insurer correspondence, estimates, invoices and calibration records.
Use the HTML checklist below if you prefer a phone-friendly version. Both versions follow the same evidence path.
Checklist boundary
This page owns the repair record, not the roadside guide
Existing guides can explain what to do immediately after a collision or how to obtain a report. This page has a different job: it gives the owner one reusable sheet that follows the vehicle from the first official report through estimate approval and final handover.
The UAE Government’s official road-safety page lists online routes for reporting minor accidents, while its emergency guidance states that police can be contacted on 999. Follow current official instructions for the specific incident and location.
Do not use the checklist to decide whether a damaged vehicle is safe to drive. When steering, braking, tyres, wheels, cooling, restraints, latches, structure or high voltage may be affected, arrange inspection or recovery.
Once the vehicle is ready for assessment, the accident repair service connects the report, impact inspection, repair plan and insurer or cash route.
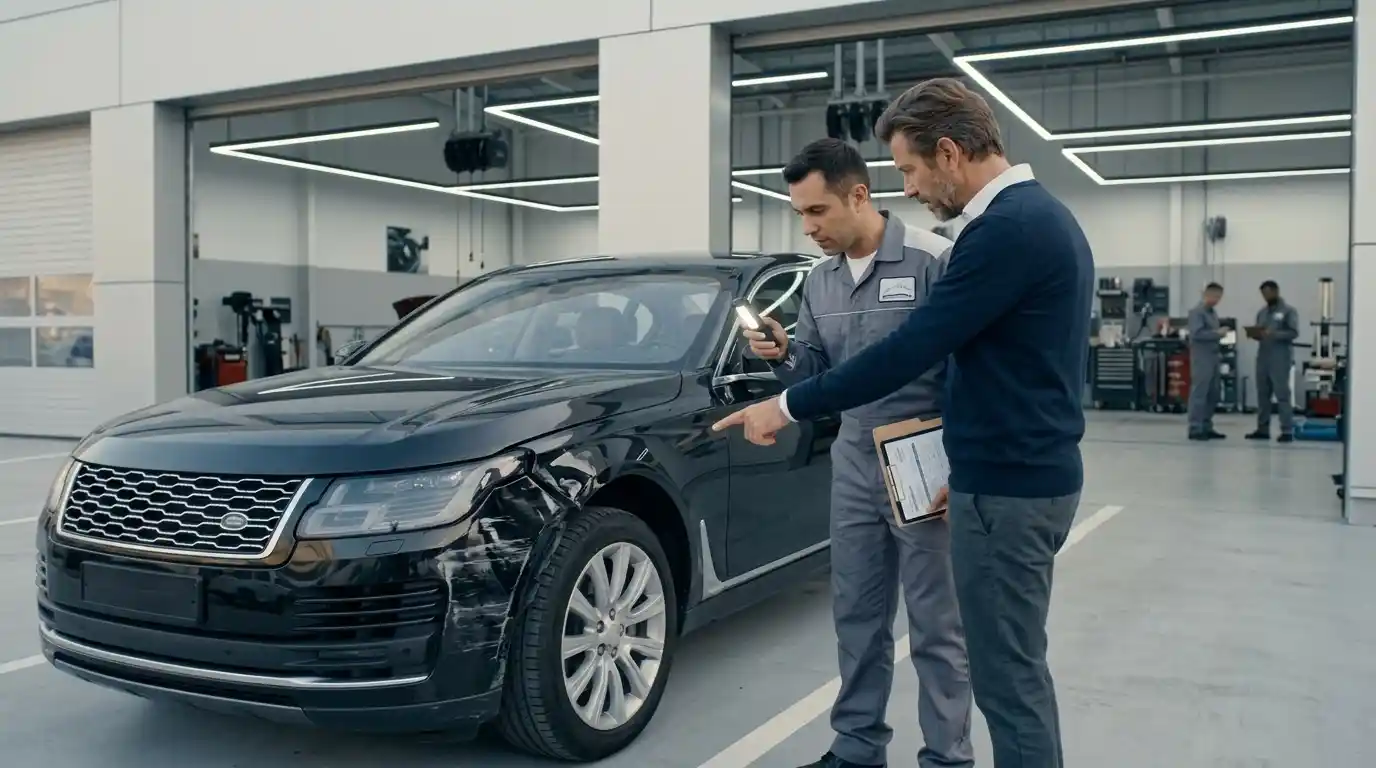
Phase one
Roadside and official report
Complete only what can be done safely and lawfully. Protect people before protecting repair evidence.
Immediate safety
- Check for injuries and call emergency services when required
- Move only when safe and instructed
- Use hazard warning and remain clear of traffic
- Do not touch leaking, smoking or high-voltage damaged areas
- Record the exact location
Official reporting
- Use the current police or approved reporting route
- Record report or reference number
- Check vehicle and driver details for accuracy
- Save the issued report or certificate
- Follow police instructions before leaving
Evidence
- Photograph vehicle positions only when safe
- Capture all sides and each impact area
- Photograph road context, debris and relevant signs
- Record dashboard warnings and fluid leaks
- Do not admit technical cause you cannot verify
Other records
- Exchange required details through the official process
- Note witness contact only with consent
- Save tow or recovery receipt
- Record belongings removed from the vehicle
- Keep communications in one folder
Phase two
Insurer and repair intake
Policy contact
- Notify the insurer through the required channel
- Record claim number and handler details
- Confirm excess, liability and approved route
- Ask which documents and photographs are required
- Do not authorise work beyond the agreed route prematurely
Vehicle intake
- Record mileage, fuel or charge and keys
- Photograph all four corners and unrelated damage
- List warning lights and driveability changes
- Identify EV, hybrid and ADAS equipment
- Agree the initial dismantling and diagnostic authority
Document pack
- Police report
- Registration and licence details as required
- Insurance policy or claim information
- Recovery and storage receipts
- Customer contact and approval method
Preliminary scope
- Visible damaged panels and parts listed
- Hidden-damage areas marked conditional
- Parts and repair-versus-replacement choices identified
- Structural, suspension and cooling risks escalated
- Scan and calibration decisions opened
Estimate comparison
Compare operations rather than the final number
Use the Dubai accident repair cost guide for a deeper cost explanation. The checklist below keeps two quotations comparable.
| Estimate line | Confirm | Common omission |
|---|---|---|
| Inspection and dismantling | What is included now and what needs further authority | Hidden damage presented later without a defined supplement process |
| Body and structure | Repair, replacement, measurement, joining and corrosion protection | Panel gaps corrected without structural evidence |
| Parts | New, used or aftermarket status where permitted, exact specification and one-time items | Clips, brackets, seals or sensor mounts missing |
| Paint | Prepared panels, blended panels, colour sample and clear-coat boundary | Only the visibly damaged spot priced |
| Mechanical | Suspension, steering, cooling, wheels, tyres and alignment | Body repair treated as proof that handling systems are correct |
| Electronics | Pre-scan, post-scan, programming, aiming and ADAS calibration responsibility | A warning light check used as the only evidence |
| Timing | Active labour, approval, parts and external waiting separated | One completion promise beginning from an undefined date |
| Warranty | Eligible work, duration, exclusions and claim route in writing | A verbal comprehensive warranty with no repair boundary |
Estimate and authorisation control
The checklist should follow every change from roadside record to invoice
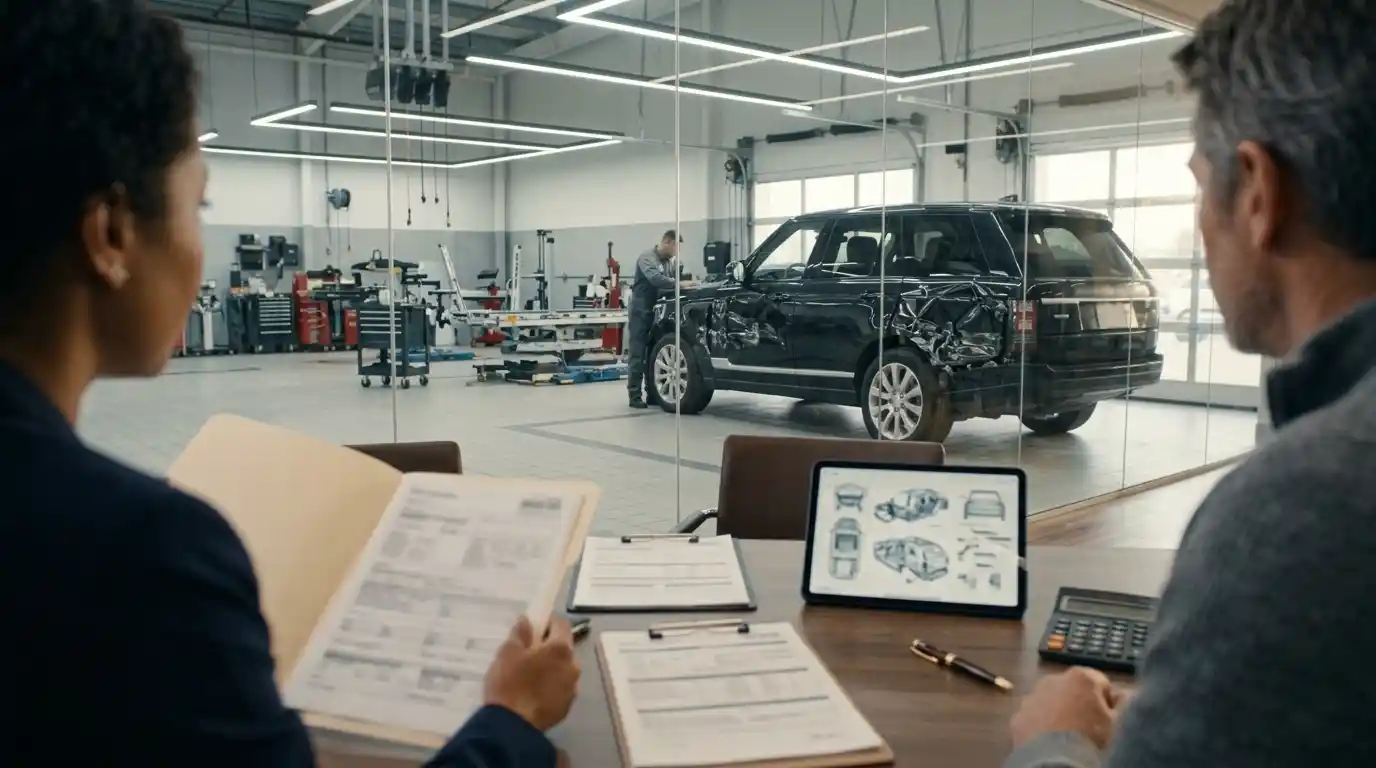
A car damage photo estimate can support early triage, but photographs do not reveal every attachment, reinforcement, structural point, suspension component, wiring fault or sensor alignment. Send wide views, each damaged corner, close details, wheel position, panel gaps, warning messages and the vehicle identification information requested by the workshop. Treat the response as preliminary until cleaning, access, measurement or diagnostics confirms the repair scope.
The first written estimate should separate visible operations from conditional work. Repair, replacement, refinishing, dismantling, measuring, scanning, calibration, wheel alignment, glass, tyres and outsourced work need their own lines where relevant. Parts descriptions should state new, used, aftermarket, repaired or customer-supplied status. A low total is not comparable with another estimate if major operations are only implied.
Authorisation records who approved the work and which estimate version applied. Do not rely on a phone conversation for a major repair decision. If the insurer authorises a different scope from the workshop recommendation, ask for the difference, responsibility and next action in writing. Keep excess, depreciation, non-covered items and direct customer additions separate so the final invoice can be reconciled.
A supplement is normal when controlled disassembly reveals damage that could not be seen earlier. The workshop should photograph the finding, explain its effect on repairability, parts, cost and timing, and obtain approval before continuing beyond the authorised scope unless urgent protective action has been agreed. The checklist gives each supplement a date and reference so changes do not disappear into the final total.
Collection begins before payment. Review the clean, dry vehicle under useful light, compare panel gaps and repaired areas, operate disturbed closures and equipment, and check warning-light status. Ask for measurement, alignment, scan, calibration and parts records when they were part of the job. Do not assume that a clean exterior proves hidden work or that a cleared dashboard proves calibration.
The final file should contain the official accident or police record, insurer correspondence, estimates, approvals, supplements, parts information, photographs, measurement and diagnostic evidence, invoice, payment record, written warranty, aftercare and outstanding actions. Store the printable PDF with those documents. If a later question arises, the chronology will be more useful than isolated screenshots or messages.
Name digital files consistently so evidence remains searchable. A practical pattern combines the repair-order reference, date, vehicle, stage and document type without exposing personal data in shared filenames. Keep the original PDF and signed or annotated copy separately. When a revised estimate or supplement is issued, retain the previous version rather than overwriting it, then mark which version received authorisation.
Control the document trail
Use one decision log for approvals and changes
Create one folder using the claim or vehicle reference, then separate official report, insurer messages, estimates, photographs, approvals, invoices and technical records. Rename images by date and repair stage so the intake condition cannot be confused with a dismantled or completed vehicle.
Record every approval with the date, person, channel and exact operation. A message approving the repair is too broad when the estimate later changes. Identify the supplement line, revised amount, part choice, paint boundary or external operation being authorised.
Keep declined work visible as well. If an insurer, owner or workshop decides not to include an unrelated scratch, worn tyre, previous paint failure or recommended calibration, the handover record should show the decision and any safety limitation. Hidden omissions create later disputes.
Parts substitutions need their own entry. Record the original proposed part, revised source or specification, reason, price effect, warranty effect and approval. Do not accept a generic parts as available note for a sensor bracket, lamp, structural component or one-time fastener.
At collection, close each open line with completed, cancelled, outstanding or referred. The PDF checklist has note fields for this purpose, and the digital folder preserves the documents that support each status.
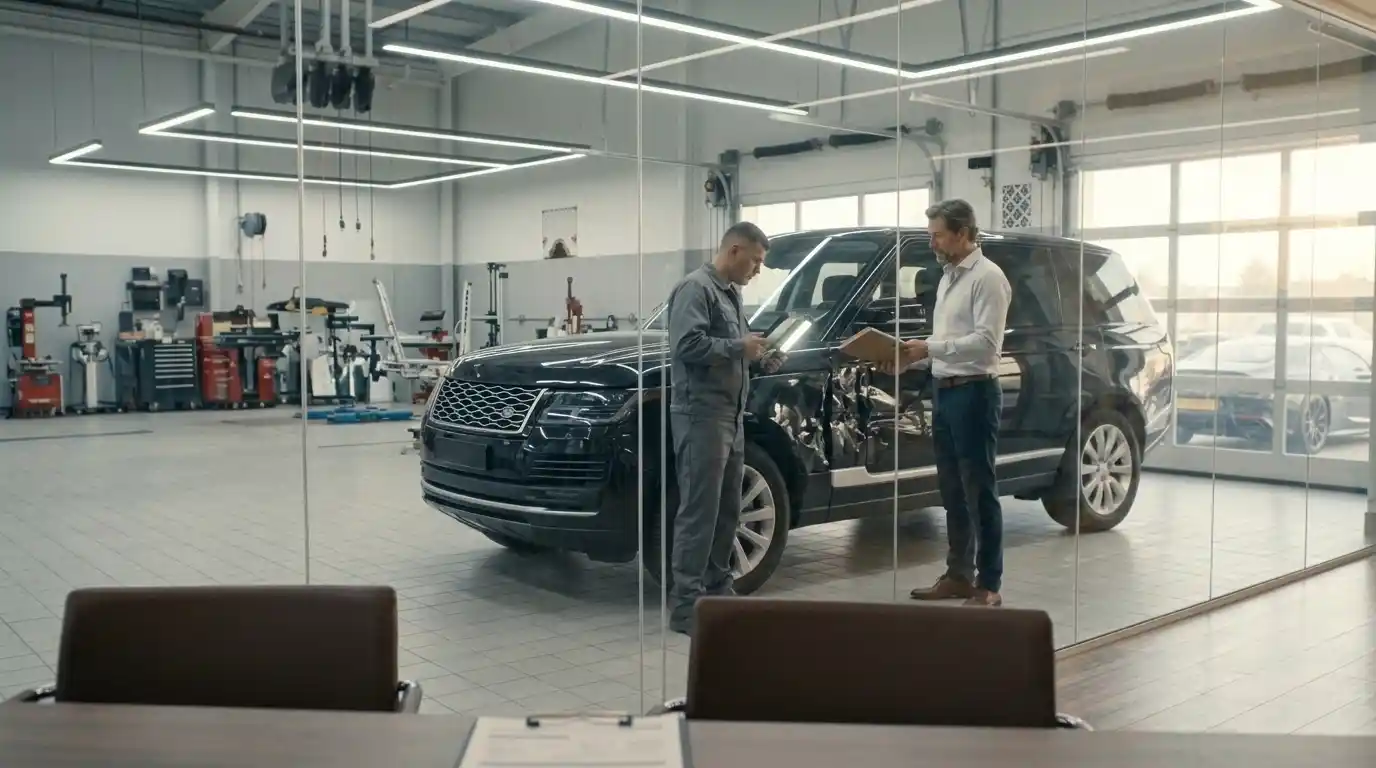
Use the checklist during the first estimate
Send the report and damage record for assessment
Share the vehicle details, official report reference, impact photos, warnings and insurer or cash route. Bodyshop.ae can explain the visible scope and which operations remain conditional after access.
Phase three
Repair progress and authorised changes
Keep each newly revealed finding connected to evidence, approval and the final repair record.
After disassembly
After controlled disassembly, request photographs of hidden findings and match every supplement item to the related damage evidence. Confirm whether each affected part will be repaired or replaced, approve all changes in writing and update the parts requirement, cost and completion logic before work continues beyond the authorised scope.
Structural and mechanical
Retain initial and final measurements whenever structural correction is involved, and confirm the joining and corrosion-protection operations used in disturbed areas. Record suspension or subframe findings, keep the wheel-alignment result and escalate any unresolved safety limitation instead of allowing it to disappear inside the general repair status.
Paint and finish
Confirm which panels are painted and which are blended, and approve a complex-colour sample when the finish requires one. Record any matte, metallic or pearl requirements, check the trim-removal and edge plan, and protect sensor paint zones so the refinishing scope remains clear from preparation through handover.
Electronics
Retain the pre-scan findings, identify every disturbed sensor and bracket, and check the manufacturer’s calibration triggers for the repaired vehicle. Record who is responsible for calibration, programming or aiming, then keep the post-scan and completion reports with the final repair file.
Phase four
Collection and handover
Inspect the vehicle clean and dry. Allow enough time to review the physical result and documents together.
Exterior finish
- View colour and effect straight on and obliquely
- Check gloss, texture, dust and repair outline
- Inspect edges, seals, glass and overspray
- Compare panel gaps and bumper seating
- Photograph the completed vehicle
Operation
- Open every disturbed door and closure
- Check lamps, windows, mirrors and locks
- Review parking sensors and cameras
- Confirm warning lights are explained
- Do not accept a road test as a calibration substitute
Driving and geometry
- Review structural measurement when relevant
- Keep wheel-alignment report
- Report pull, vibration, noise or steering change
- Check tyre and wheel condition
- Understand any remaining limitation
Final documents
- Final invoice matches approved variations
- Parts and external operations are listed
- Scans and calibration evidence supplied
- Written warranty and aftercare received
- All keys, belongings and documents returned

Do not close the repair file until the vehicle, invoice and evidence tell the same story.
If the invoice lists calibration but no completion record is available, ask for it. If a replacement part appears but the scope still says repair, resolve the discrepancy before signing.
Save the final PDF checklist with the complete document pack. It becomes the baseline for warranty, resale questions and any later repair.
Aftercare record
Keep the file after the vehicle leaves
Follow paint curing, washing and protection guidance. Recheck repaired edges, warning status and any agreed aftercare point without altering the area. If a concern appears, photograph it before polishing, dismantling or third-party repair.
For a broader non-collision cosmetic issue discovered later, use the auto body repair service route rather than adding it retrospectively to the accident scope.
The checklist is complete when every unchecked item has either been resolved or recorded as an accepted outstanding action with an owner and date.
Keep the file for warranty and resale questions. A future workshop can distinguish replaced parts, painted panels, structural measurements and calibration work without guessing from the current appearance.
If an insurer or repairer sends a revised document, retain the earlier version and mark which one was approved. Replacing files silently removes the decision history the checklist is designed to protect. Use dates and version labels rather than filenames such as final and final new.