
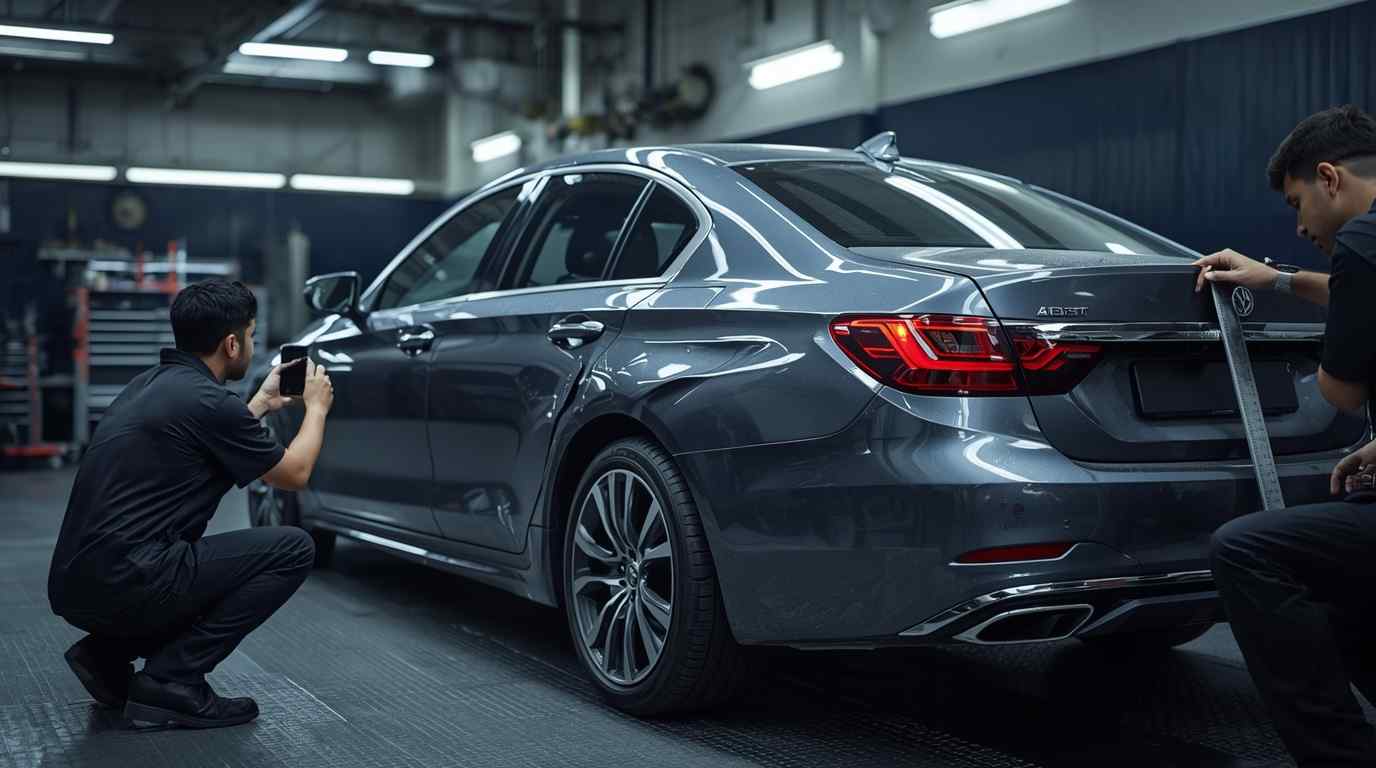
A useful first assessment starts with useful evidence
Car Damage Photo Estimate Dubai
A car damage photo estimate gives you an initial repair direction from clear images, vehicle details and a short description of what happened. It can identify visible panel, bumper, paint and fitment concerns, but it cannot confirm hidden damage, structural measurements, sensor faults or the final price without inspection.
BodyShop.AE uses the photo set to prepare the next sensible step, not to pretend that a photograph reveals everything beneath the surface.
What the first estimate can do
Use photos to narrow the repair route
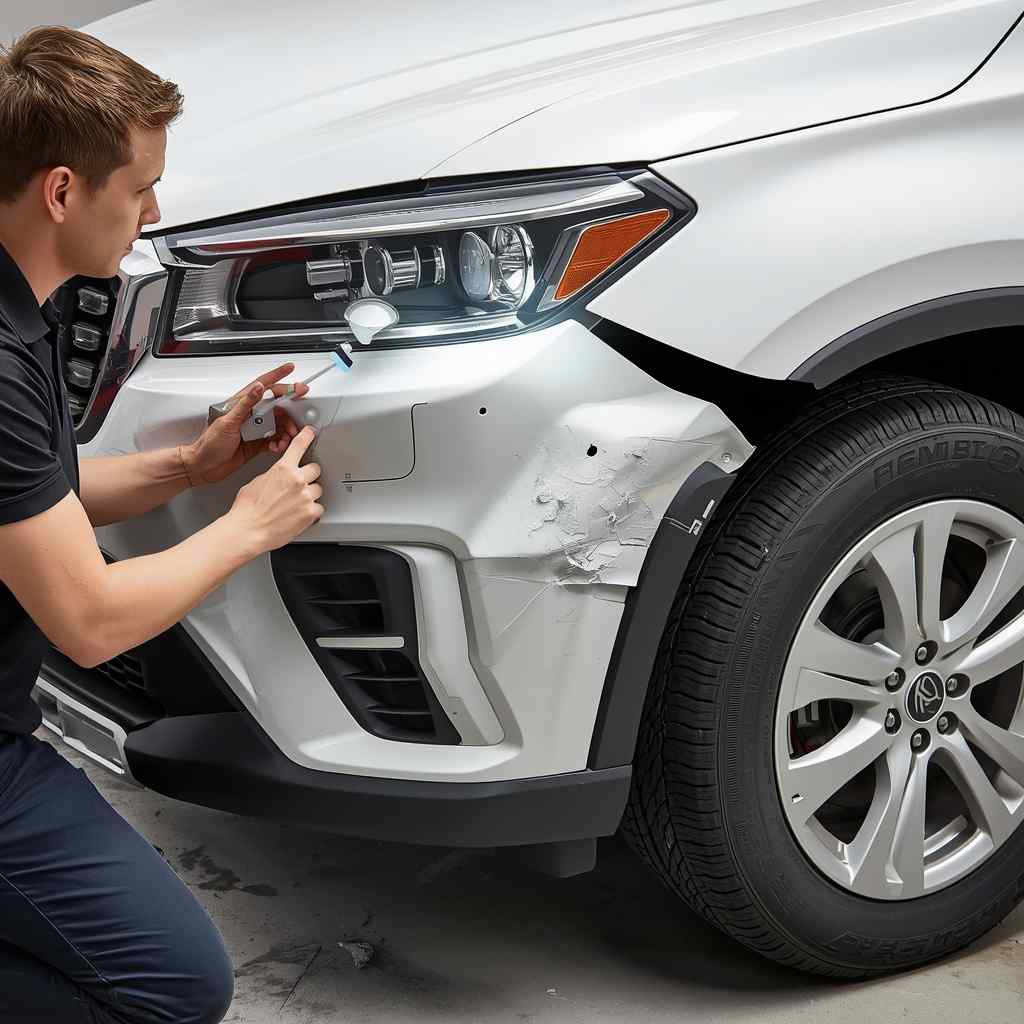
Clear photographs can show whether the visible concern is mainly a scuff, scratch, dent, split bumper, distorted panel, broken lamp, displaced trim or wider collision pattern. They also help us see the damage location, colour, wheel position and relationship between neighbouring panels.
The initial response may recommend a workshop inspection, a more detailed image, a likely repair category or recovery when the vehicle should not be driven. For straightforward cosmetic damage, photos can make the first conversation faster and more specific.
A photo estimate is not the same as an approved insurance estimate or final quotation. The final scope can change after cleaning, dismantling, diagnostic scanning, measurement, parts identification or paint-system checks. Our broader car body repair service explains why the visible mark is only one part of the decision.
The photo capture map
Build the estimate from outside to inside
Do not start with one extreme close-up. The assessor needs context first, then the damaged panel, then details that reveal depth, separation and nearby components.
Whole vehicle
Photograph the full front, rear and both sides in daylight or even shade. These images identify the vehicle, colour, stance and wider collision direction.
Damage in context
Stand far enough back to include the complete affected panel and its neighbouring gaps. Show where the mark sits relative to a wheel, lamp, door edge or bumper corner.
Close detail
Move closer without digital zoom. Capture cracked paint, exposed substrate, plastic splits, displaced trim, creases, chipped edges and broken mounts from more than one angle.
Functional evidence
When safe, show dashboard warnings, uneven gaps, a displaced wheel, leaking fluid, a lamp fault or a door that no longer closes correctly. Do not operate a damaged mechanism just to create a photograph.
Wipe the phone lens and hold it still. A blurred metallic reflection can hide a crease or suggest damage that is not present.
Avoid beauty filters, portrait blur and heavy editing. Paint colour and gloss need neutral evidence.
A ruler or familiar object can help with size, but place it beside the mark rather than across a scratch or dent.
A registration card or VIN may help parts and paint research, but send sensitive information only through the agreed private channel.
Safety boundary
Some damage should skip the photo-only stage
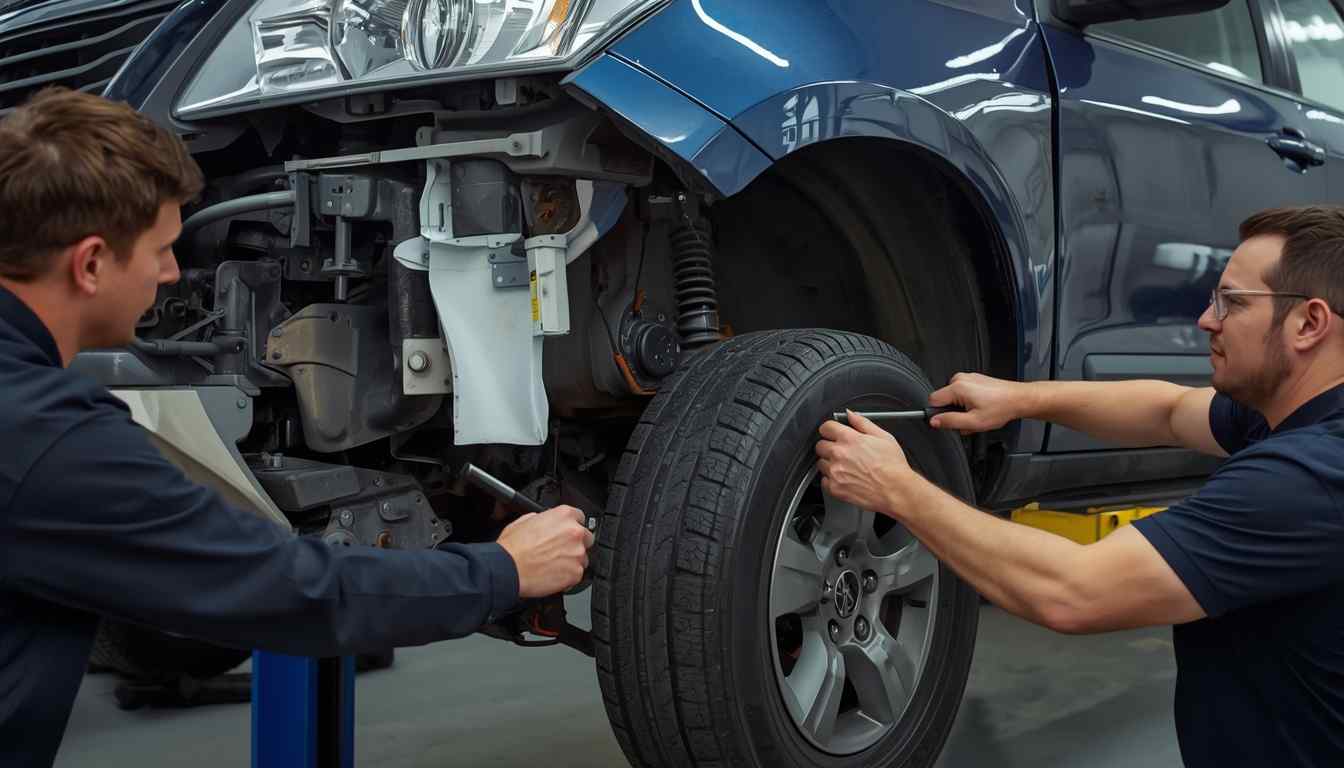
Arrange inspection or recovery when steering feels different, a wheel is displaced, a tyre rubs, fluid is leaking, airbags deployed, the bonnet or door cannot latch, warning lights remain on, or impact may involve the battery enclosure of an electric vehicle. A photograph cannot declare the vehicle safe to drive.
Front and rear impacts can affect cooling packs, reinforcement beams, absorbers, rails, boot floors, sensors and wiring behind an apparently manageable bumper mark. Side impacts can involve sills, pillars, intrusion beams, seat systems and curtain airbags.
What changes confidence
Photo estimate accuracy depends on the type of damage
| Damage type | Photos may help assess | Inspection still needs to confirm |
|---|---|---|
| Paint scuff or scratch | Area, location, visible depth, panel edge involvement and colour | Whether transfer can be removed, exact coating depth, previous paint and blend plan |
| Dent with intact paint | Approximate size, crease shape, body-line involvement and visible paint condition | Rear access, bracing, stretched metal, aluminium or steel construction and PDR suitability |
| Cracked bumper | Split location, missing pieces, paint damage and visible alignment | Material code, moulded tabs, guides, reinforcement, absorbers, sensors and repair strength |
| Collision panel damage | Impact zone, displaced gaps, visible folds, lamps and wheel relationship | Hidden structure, measurements, suspension, scanning, calibration and parts scope |
| Paint mismatch or defect | Broad colour difference, gloss issue and affected area under several lights | Paint formula, film condition, contamination, texture, blending and correction route |
From message to repair plan
What happens after the photos arrive
Evidence review
We check whether the set identifies the vehicle, damage location, visible severity and immediate safety concerns. Missing context is requested before assumptions are made.
Initial direction
We explain the likely category of work and whether the next step is more photos, workshop inspection, diagnostic assessment, insurer coordination or recovery.
Physical confirmation
The vehicle is cleaned and inspected. Access, material, panel fit, hidden components, paint, parts and electronics are checked as the job requires.
Written scope
The quotation states the agreed repair operations, parts, paint work, exclusions and inspection-dependent items. Work begins only after the appropriate approval.
The accident repair process in Dubai can also involve a police report, insurer estimate, approval, dismantling and supplemental damage evidence. Photos help start that path, but they do not replace its documentation.
Estimate boundaries
Why the final quotation can differ
The same visible dent can sit over open access or a closed reinforcement. A bumper scuff can be surface transfer or a sign of broken guides and absorber damage. A pearl white panel may need a wider colour-control plan than a solid colour. Parts availability, parking sensors, cameras, radar, decals, mouldings and protective film can also change the scope.
For this reason, the first figure or direction should identify its assumptions. It should say whether parts, calibration, blending, VAT, insurance requirements or hidden damage are excluded. Where a reliable range is not possible from photographs, the honest answer is an inspection rather than a false precision.
Prices are indicative. The final quotation depends on inspection, vehicle make and model, damage severity, panel material, required parts, paint system, electronics, calibration and current market conditions.
Your final photo brief
Send context, detail and the symptom
Begin with four whole-vehicle views, add two or three images that show the complete damaged panel, then take close details from different angles. Include warning lights or fit problems only when they can be photographed safely. Add the vehicle details and a plain description of the impact.
That set gives the car damage photo estimate a clear job. It supports a faster first decision while preserving the need for inspection wherever safety, hidden damage, paint matching, parts or electronics remain uncertain.
Photo set by damage type
Change the evidence to match the repair question
Dent assessment
Use long reflections across the panel so the dent boundary, crown and body line can be seen. Photograph from both ends of the panel and include the nearest edge. State whether paint is cracked and whether protective film is installed. A straight-on close-up can flatten the shape and make a deep crease look minor.
Scratch and paint assessment
Show the complete panel in shade, then take close images without flash. Photograph exposed metal, primer, colour and clear-coat edges. If the mark changes after gentle washing, send before and after photos but do not compound it. Mention a previous repaint, ceramic coating, wrap or protective film because those layers change the correction plan.
Collision assessment
Capture the impact side, opposite side, wheel position, panel gaps, lamps and dashboard. Add the boot or engine-bay opening only when it opens normally and can be viewed safely. Photos of the damaged cover alone cannot show reinforcement, cooling, rail, floor or sensor movement.
Insurance and cash estimates
The same photos support different documents
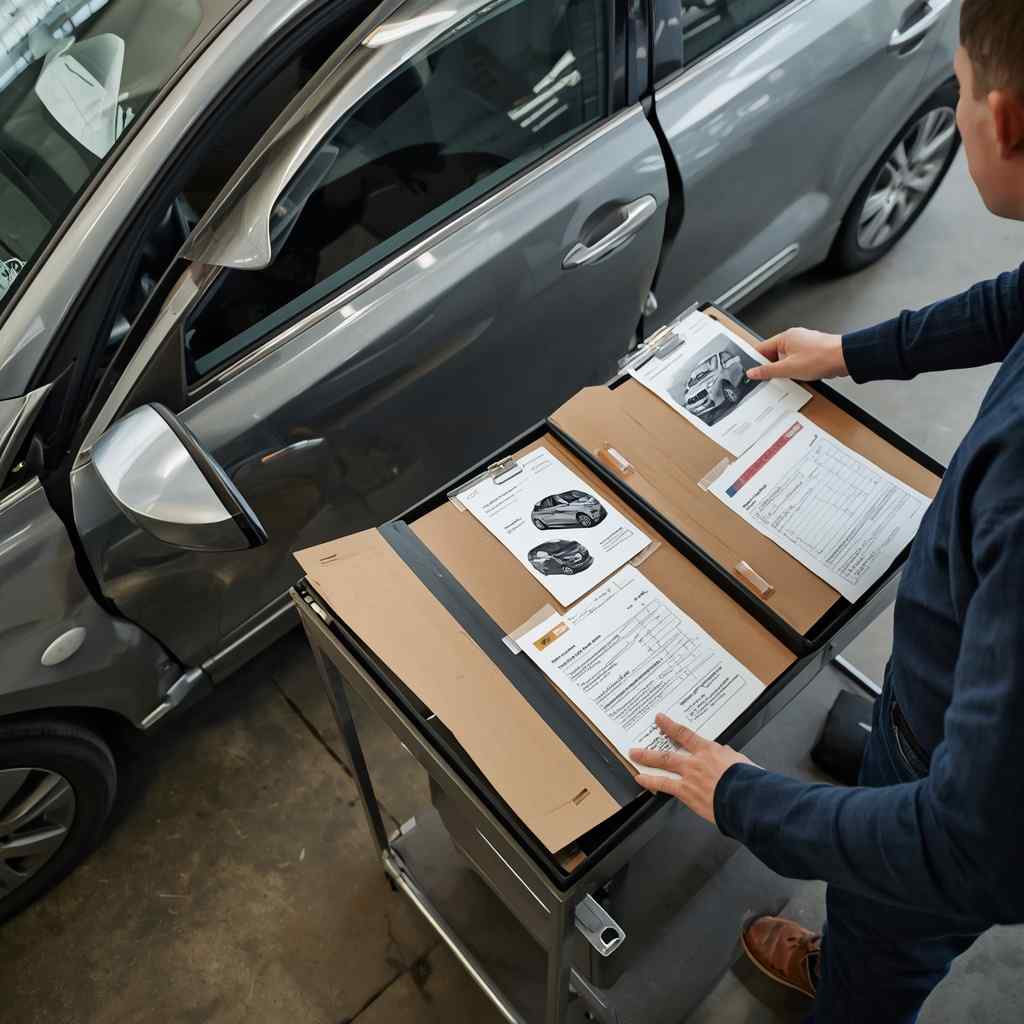
A cash-repair conversation can begin with a practical repair range and inspection appointment. An insurance repair may need police-report details, insurer instructions, an approved estimate format and photographs that connect each operation to accident damage. The first customer photo set is useful, but the insurer or workshop may require additional images after dismantling.
Do not crop away the vehicle context or send only screenshots from a messaging app when original files are available. Dates, resolution and a consistent sequence can help establish which image belongs to intake, dismantling, repair and handover. Personal documents should remain in the agreed private channel.
If you are comparing the first figure with the accident repair cost guide, match the repair category. A bumper respray, bumper replacement with sensors and front-end structural repair are not interchangeable price examples.
Poor photo patterns
Fix the evidence before asking for a firmer answer
Add the whole panel and complete vehicle side so location and impact direction are clear.
Repeat in daylight or even shade. Flash can hide a dent edge and change metallic appearance.
Photograph the condition, then clean only when safe and send a second set. Water and dirt can hide scratches.
Move closer safely rather than enlarging pixels. Keep one wide image for scale.
Do not push a bumper back, cycle a damaged door or turn the steering to expose damage. Describe the restriction instead.
Include the complete dashboard message and ignition state. Do not clear faults before they are recorded.
When to book instead of sending more photos
Stop refining the estimate when inspection is the missing evidence
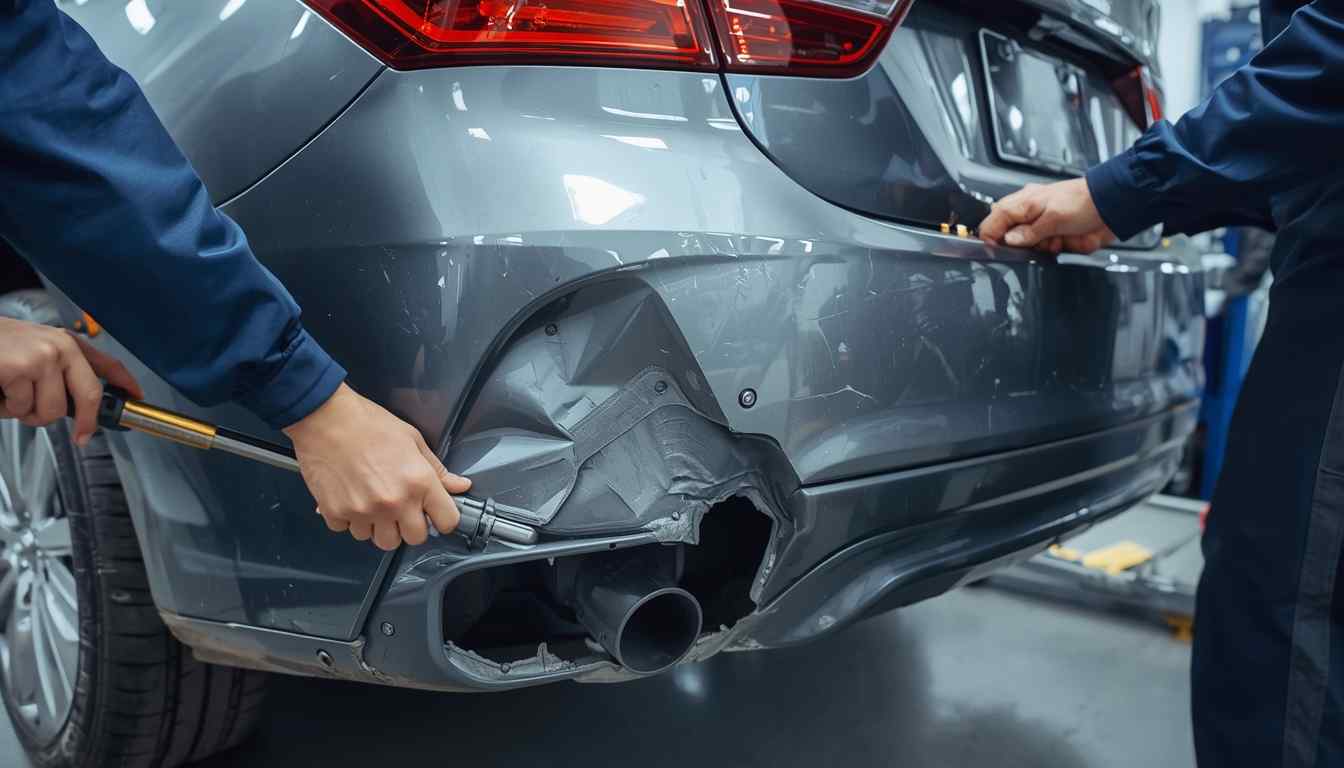
More images will not reveal rear access behind a dent, the strength of a cracked bumper repair, the depth of corrosion, the position of structural reference points or the condition of a sensor bracket. When the assessor has already identified that uncertainty, the next useful step is workshop inspection.
Bring the vehicle clean enough to see the panel, but do not polish, push, glue, tape across paint or dismantle parts first. Carry the keys, vehicle details, police or insurer documents where relevant and any quotation you want explained. Point out previous repair, protective film, ceramic coating, unusual noise, water leak or warning message.
At intake, agree which panels may be dismantled, whether diagnostic scanning or measurement is authorised and how supplemental findings will be approved. That converts the photo conversation into a controlled repair record.
A good initial estimate saves time by sending the right vehicle to the right inspection. It should never delay recovery, structural assessment or safety-system work simply to make the remote answer appear more complete.
Photo estimate record
Save the first answer with the final invoice
Keep the original photo set and initial assumptions. When the final quotation changes, the two records should show whether the reason was hidden damage, parts identity, paint system, electronics, calibration or a customer-approved scope change. That comparison improves future estimates and gives the customer a clear explanation instead of an unexplained price difference.