
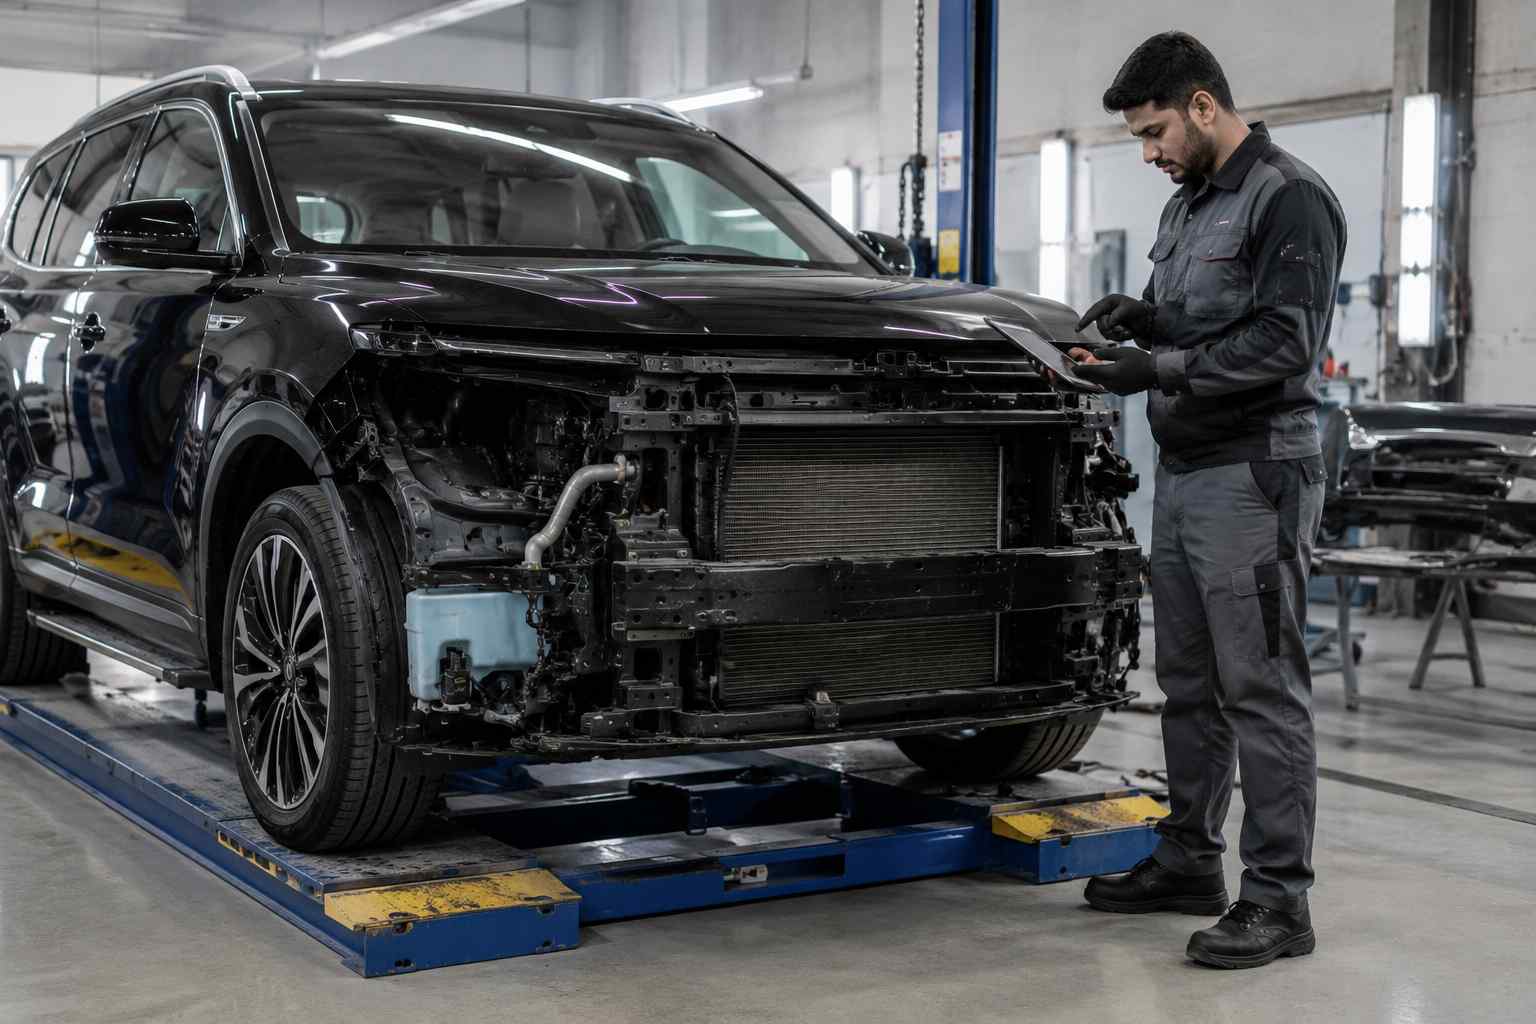
SUV body repair begins with model and equipment identity
Jetour Body Shop Dubai
A Jetour body shop in Dubai should inspect the actual SUV, not a generic model photograph. Variant, model year, cameras, parking sensors, radar, lamps, side steps, wheel-arch trim, underbody protection and paint finish can change the parts and repair plan.
BodyShop.AE assesses Jetour collision, panel, bumper and paint damage, documents hidden findings and builds alignment, diagnostics and calibration decisions into the job where the exact equipment requires them.
Identity before estimate
The Jetour range creates different repair questions
The official UAE line-up includes urban crossovers, seven-seat family SUVs, adventure-oriented models and electrified variants. Similar-looking trim can hide different apertures, brackets and electronic equipment.
T1 and T2 families
Boxy panels, wheel-arch mouldings, underbody features, tailgate trim and off-road use can create mixed cosmetic and alignment concerns. T1 i-DM and T2 i-DM add electrified-system questions.
X70 range
X70 FL and X70 Plus variants can differ in lamp, grille, bumper, camera and driver-assistance specification. Seven-seat use also makes rear floor and tailgate function important after a rear impact.
Dashing and X50
Urban parking damage often involves sculpted bumper corners, painted panels, lamps, cameras and mouldings. A small visible scuff can sit over broken guides or sensor mounts.
G700 and newer models
New or less common variants require careful VIN-led parts identification and current repair information. Availability should be confirmed before a handover date is promised.
Use the official Jetour UAE model range to confirm current naming, but use the VIN and physical vehicle to confirm parts and equipment.
Parking and urban damage
Bumper corners connect appearance to equipment

Jetour bumpers can integrate grilles, lower valances, textured trim, lamps, cameras, parking sensors and radar depending on the model. A corner that clips back into place may still have a split moulded tab, distorted side guide or damaged sensor bracket.
The technician inspects the cover material, crack or gouge, attachment points, reinforcement, absorber and nearby panel gaps. Repair is chosen only when the location and material can support a durable result. Replacement may be more sensible where a crack crosses a critical mount, material is missing or distortion prevents correct sensor alignment.
Painted bumper colour is compared with adjacent metal under several lights. Substrate and viewing angle can create an acceptable slight difference even on original vehicles, so colour correction needs a documented reference rather than a single indoor photograph.
Adventure use and underbody evidence
Scrapes and side impacts can travel beyond exterior trim
Wheel-arch strike
Check flare, liner, tyre clearance, wheel position, suspension, wing or quarter panel and the fasteners connecting cosmetic trim to the body.
Side-step or sill impact
A bent step bracket can transfer load into mounts or hide deformation near the sill. Door gaps and underbody edges need comparison.
Lower front contact
Inspect valance, guards, cooling openings, tow or recovery features, reinforcement and fluid leakage before treating the damage as a scraped plastic part.
Do not drive to test a tyre rub, steering change or vibration after an impact. Stop using the vehicle when a wheel has moved, steering or braking feels abnormal, fluids leak, warning lights remain on or an electrified underbody area may be involved. Arrange recovery and inspection.
Damage map
Each visible area leads to a different checklist
| Area | Visible concern | Hidden checks | Decision drivers |
|---|---|---|---|
| Front end | Bumper, grille, lamp, bonnet or wing damage | Reinforcement, cooling pack, mounts, wiring, camera, radar and wheelhouse | Cooling integrity, bracket geometry, sensor equipment, parts and paint transition |
| Side body | Door dent, sill scrape, flare or step damage | Intrusion beam, hinge, latch, pillar, sill, step mounts and side sensors | Door function, structural involvement, trim availability and corrosion protection |
| Rear end | Bumper, tailgate, lamp or quarter-panel damage | Rear body panel, floor, spare-wheel area, sealing, camera, sensors and exhaust | Floor geometry, water sealing, tailgate operation, calibration and parts |
| Roof and glass | Dent, glass crack or roof-rail movement | Aperture, bonded glass, windscreen camera view and curtain-airbag area | Glass procedure, corrosion protection, leak test and calibration event |
| Underbody | Scrape, bent guard or impact mark | Floor, mounts, fuel or hybrid components, exhaust, cooling and jacking points | Containment, leakage, repair limits and specialist inspection |
Camera and radar equipped models
Do not treat every warning as a damaged sensor

Confirm installed equipment
Jetour UAE model pages show that equipment such as 360-degree cameras, adaptive cruise control, automatic emergency braking, blind-spot detection and lane warnings is available on some models and trims. The exact vehicle must be checked before the estimate assumes any system is present.
Diagnose the warning source
A warning can result from impact damage, a moved bracket, disconnected wiring, wheel alignment, low voltage, obstruction or another stored fault. Pre-repair scanning preserves the starting condition. Physical inspection then checks the bumper aperture, mount, camera view, radar position and surrounding structure.
Verify calibration completion
After repair, required calibration follows the system and event. Clearing the fault memory does not prove aiming. Calibration prerequisites can include tyre condition, ride height, wheel alignment, target setup, road conditions and a level work area depending on the procedure.
Panel repair and parts
VIN confirmation reduces expensive fitment mistakes
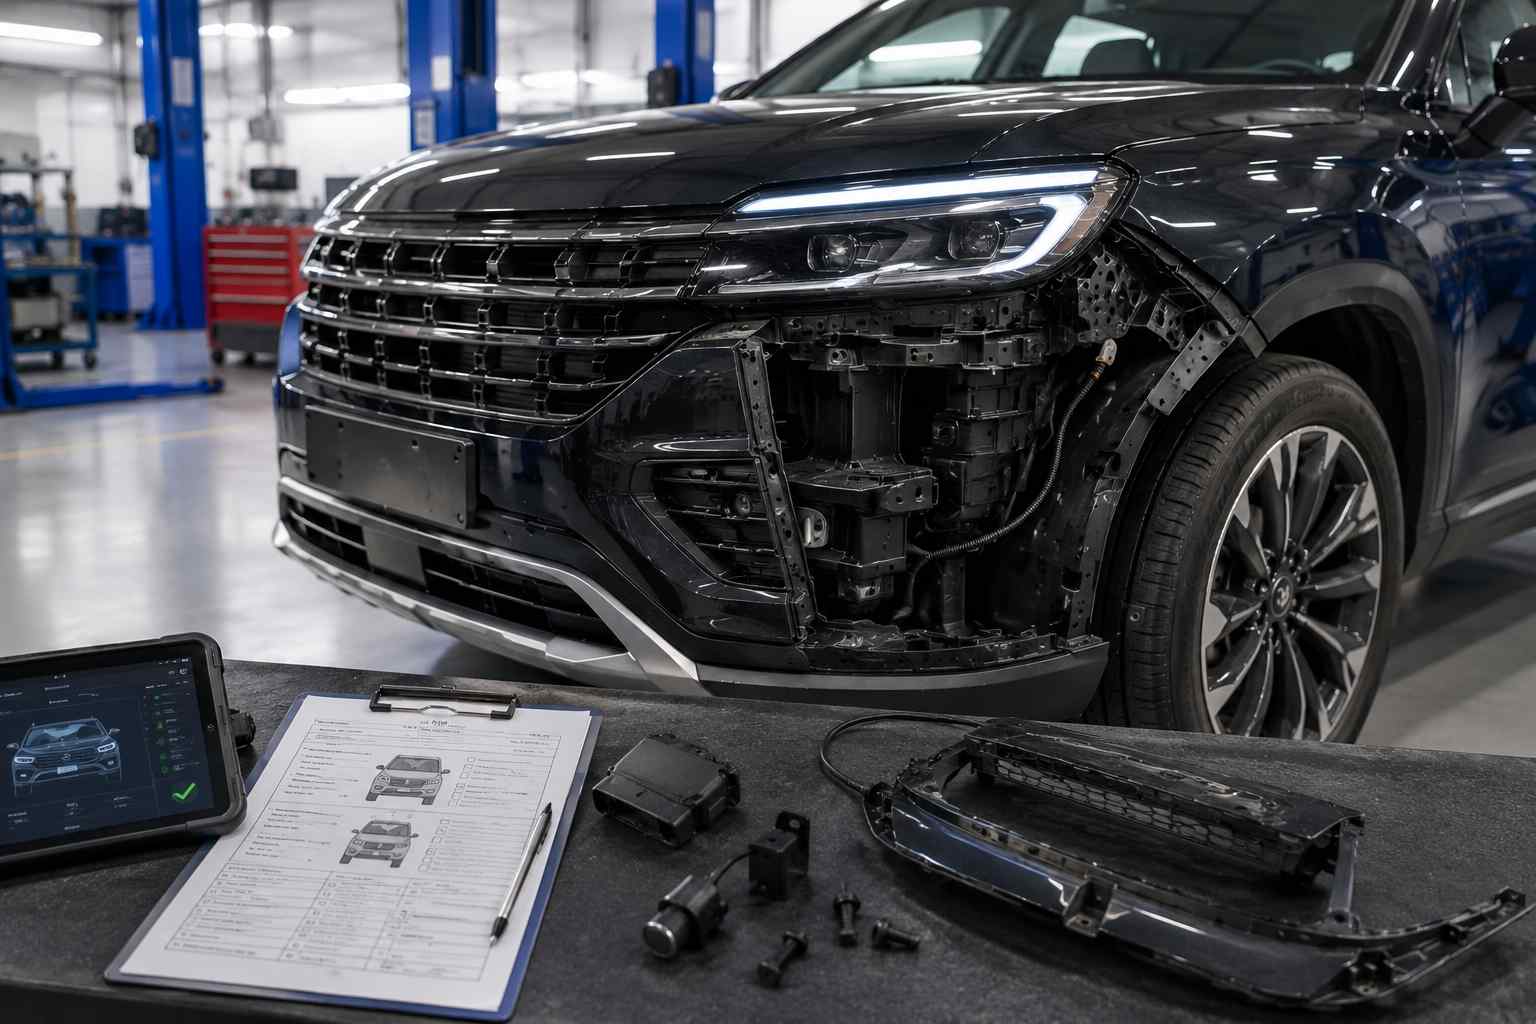
Bumper covers, grilles, lamps, mouldings, flares, tailgate trim, cameras, sensors and brackets can change within one model family. The quotation should identify confirmed parts, reusable parts, inspection-dependent clips and any components awaiting VIN or supplier confirmation.
Repairing the original panel may preserve fit and reduce parts dependence when the material, damage and access support it. Replacement may be required when a mounting area has failed, a lamp housing is cracked, material is missing or the structural repair procedure does not permit correction.
Used or aftermarket parts require explicit approval and fit, condition, equipment and warranty checks. A low part price can create additional labour, paint, calibration or return delays if the variant is wrong.
Parts timing should be updated after dismantling because hidden brackets and single-use fasteners may not appear in the first photo estimate.
Paint and exterior finish
Match colour, effect, texture and trim together
Jetour colours can include solid, metallic and pearl effects. The paint code begins formula research, while the actual vehicle determines the best variant and blend plan. Exposure, previous repair and panel substrate can change the visible relationship.
Inspect straight and angled views for value, hue, metallic coarseness or pearl travel.
Test candidate colour with the intended ground shade, coat sequence and clear system.
Unpainted mouldings, flares and lower bumper pieces need cleaning, repair or replacement without unwanted gloss or overspray.
Lamps, badges, cameras, seals, clips and wheel-arch trim must sit correctly beside the new finish.
The car painting service covers the complete refinishing system. On a Jetour repair, the paint plan must also coordinate model-specific trim and sensor openings.
Repair journey
Use five approvals instead of one vague go-ahead
Model, VIN, damage, warnings, police or insurer status and safe-movement decision.
Hidden mounts, reinforcement, structure, parts and sensor equipment recorded.
Repair versus replacement, parts source, paint plan, scans and calibration responsibilities approved.
Body repair, corrosion protection, refinishing and reassembly pass stage checks.
Functions, gaps, finish, scans, alignment, calibration evidence and aftercare reviewed.
Insurance work may need supplemental evidence before hidden damage is repaired. Cash work should still receive a written scope and inspection-dependent terms. Prices are indicative. The final quotation depends on inspection, vehicle make and model, damage severity, panel material, required parts, paint system, electronics, calibration and current market conditions.
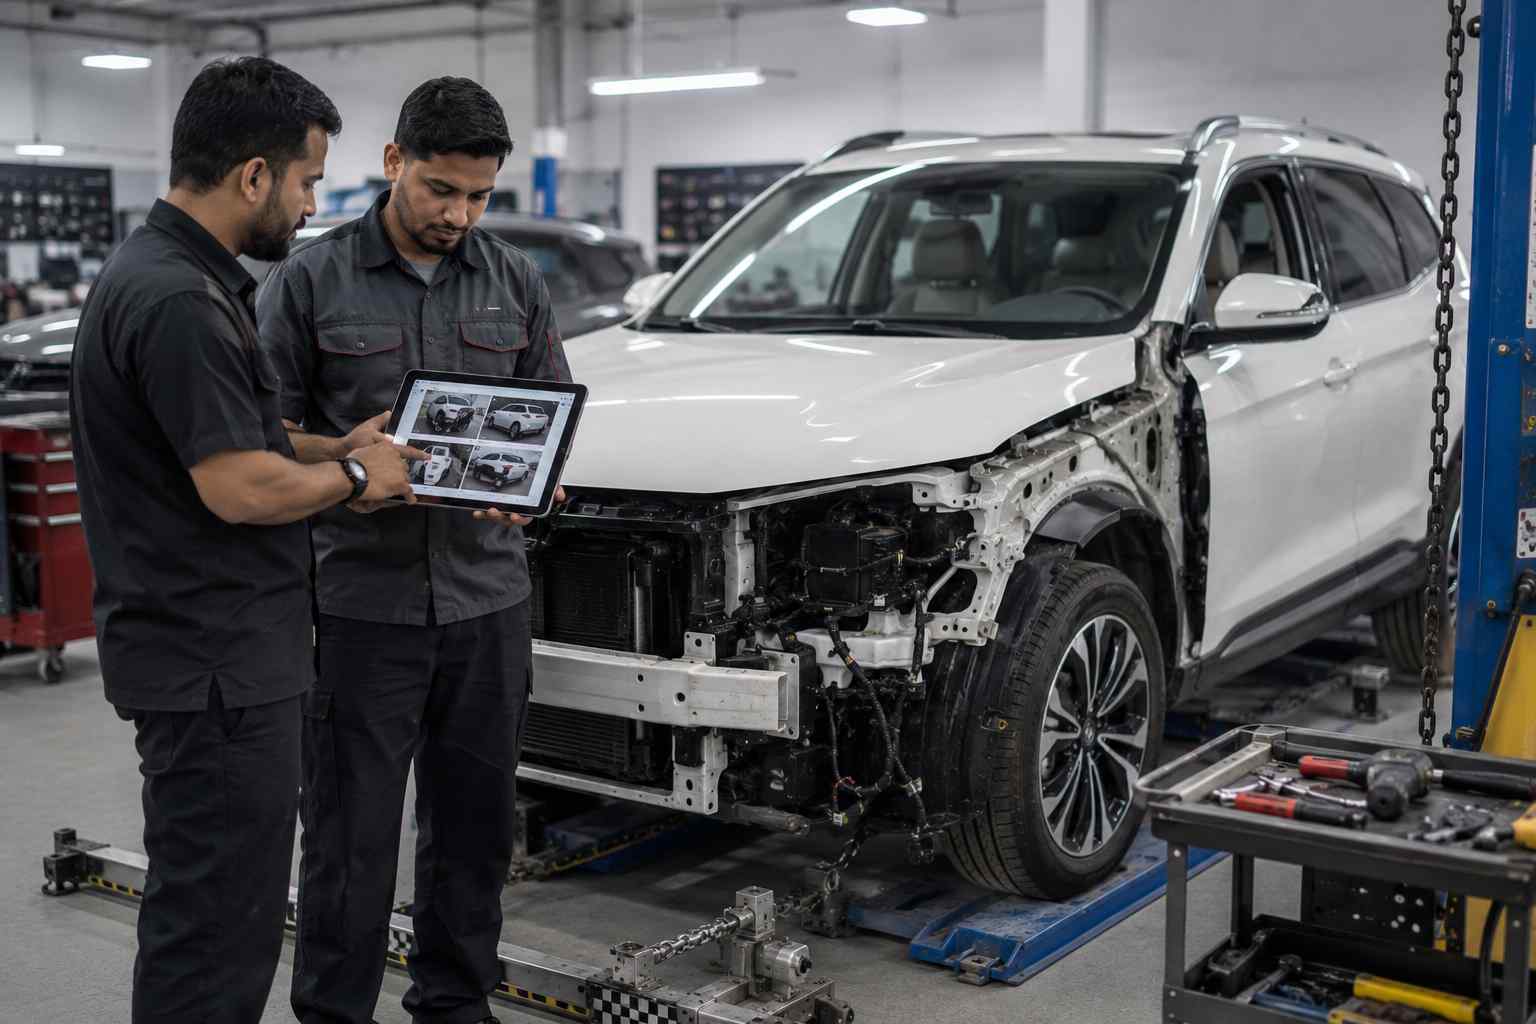
Independent service statement
Do not confuse vehicle warranty with repair workmanship
BodyShop.AE does not claim to be a Jetour authorised dealer or manufacturer-certified repair centre unless written approval is displayed. A Jetour new-vehicle, engine or service-package term is separate from our body-repair quotation and workmanship terms.
If your insurer, finance agreement or vehicle warranty sets an approval condition, confirm it before authorising work. We can then discuss the inspection evidence, proposed parts, paint process and system checks for your repair without making unsupported warranty promises.
The collection test
Check the SUV as a complete system
Review panel gaps, door and tailgate operation, wheel-arch clearance, lamps, cameras, parking sensors, dashboard warnings and any repaired underbody or step area. Compare paint in daylight and shade, then read the invoice against the approved scope.
A Jetour body shop Dubai decision should be supported by model identity, hidden-damage inspection, parts accuracy, equipment-aware repair, controlled paint matching and final records. Send the photo set when you are ready for that assessment.
Electrified Jetour models
i-DM variants add high-voltage and cooling decisions
Jetour T1 i-DM, T2 i-DM and other electrified variants should be identified by VIN and market specification before lifting, dismantling or heat-assisted refinishing. The body repair estimate may need high-voltage safety, charging-system, battery, cooling and underbody checks that do not apply in the same way to a combustion-only model.
An impact near a sill, floor, front cooling stack or charging area should not be classified from exterior photos alone. Warning messages, leakage, unusual heat, damaged orange wiring or enclosure deformation require controlled recovery and specialist assessment. Do not touch exposed components or attempt isolation yourself.
Paint and curing choices also need to account for the complete vehicle and removed components. The repair method should state which high-voltage controls are required and who records completion.
Tailgate and rear-floor repair
Seven-seat SUVs need a complete rear-function check
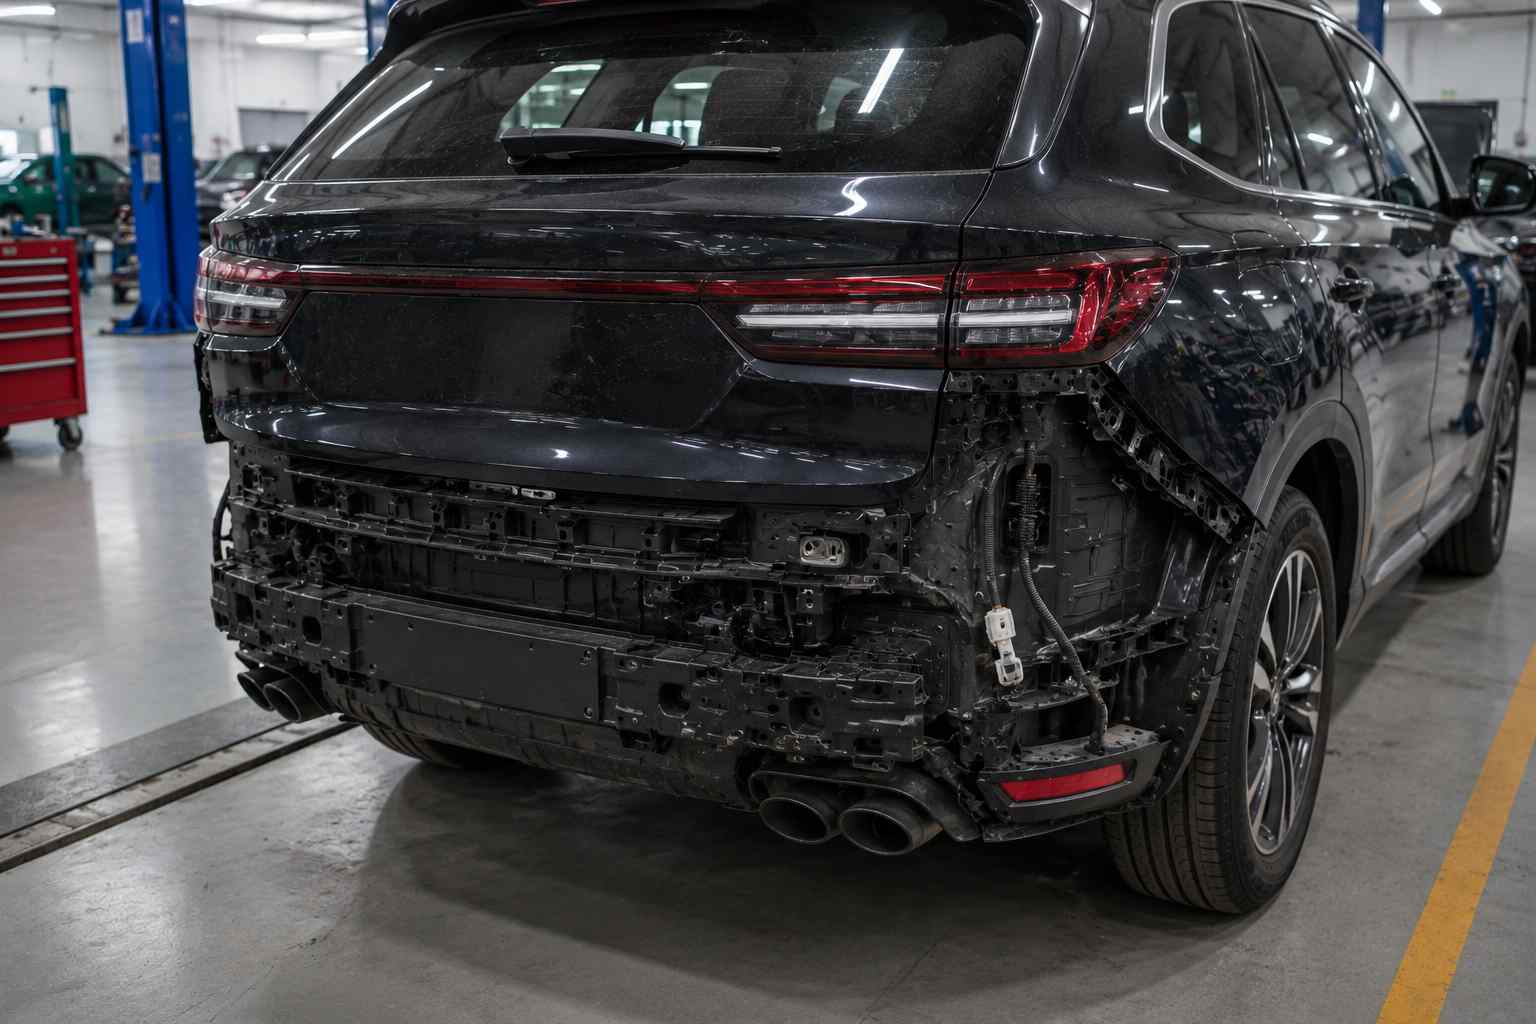
A rear impact can move the bumper cover, reinforcement, rear body panel, boot floor, quarter-panel returns, exhaust, sensors, camera and powered tailgate components. The tailgate may still latch while the aperture, seal compression or floor is displaced.
Inspect spare-wheel or storage wells, trim clips, wiring, lamp mounts and water paths after dismantling. A hose test or controlled leak check may be appropriate after sealing work. The customer should not discover a wet luggage compartment after the first car wash.
Where third-row seating or restraint components sit near the repair zone, the work plan must keep safety-system inspection separate from cosmetic trim replacement.
Water, dust and wind evidence
Sealing quality appears after the panel looks finished
Door and aperture seals
Check even contact, torn rubber, adhesive condition and whether repaired hinges or latches place excessive load on the seal.
Wheelhouse and floor
Restore liners, plugs, seam sealer and underbody protection so water and dust are not channelled into repaired joints.
Roof and glass boundary
Bonded glass, roof rails and repaired apertures need corrosion protection and a controlled leak check where disturbed.
A whistle, dust trail or damp carpet can point to fit or sealing even when paint colour is acceptable. Report the driving condition, location and weather in which the symptom appears rather than adding sealant blindly.
Connected next steps
Use the main services for the part of the repair they own
The car body repair service owns material, panel and structural decisions. The accident repair service owns the collision, insurer, dismantling and supplemental-evidence path. This Jetour page connects those services to model, trim, ADAS, parts and SUV-specific inspection.
Keeping those roles separate prevents the brand page from repeating generic accident content while still giving Jetour owners a complete decision route.
Jetour repair handover
Recheck the features that dismantling disturbed
Operate doors, tailgate, lamps, camera views and parking sensors normally. Inspect wheel-arch trim, side steps, lower guards and repaired underbody attachments. Compare paint and textured mouldings under daylight and shade.
Read the scan, alignment or calibration record against the approved equipment list. If a feature was not fitted to the vehicle, it should not appear as a generic charge. If a warning or limitation remains, the invoice and handover note should identify it clearly.
Keep parts, paint-warranty and aftercare records with the repair photographs. They help a later concern distinguish the repaired area from new parking, off-road or environmental damage.
Jetour repair assessment
Send your Jetour damage photos for a clear repair plan
Share the model, year, damaged area and any warning messages. We will use the photos to prepare for inspection, then confirm the body, paint, parts and equipment checks required for the actual vehicle.