
Defender collision assessment from attachment to body
Land Rover Defender Body Repair Dubai
Land Rover Defender body repair in Dubai often starts with an attachment that changed the path of the force. A rear-mounted spare wheel, side step, roof rack, guard or non-standard accessory can transfer contact into hinges, brackets, openings and the body beneath. We inspect the chain inward rather than refinishing the most visible object first.
Evidence before dismantling
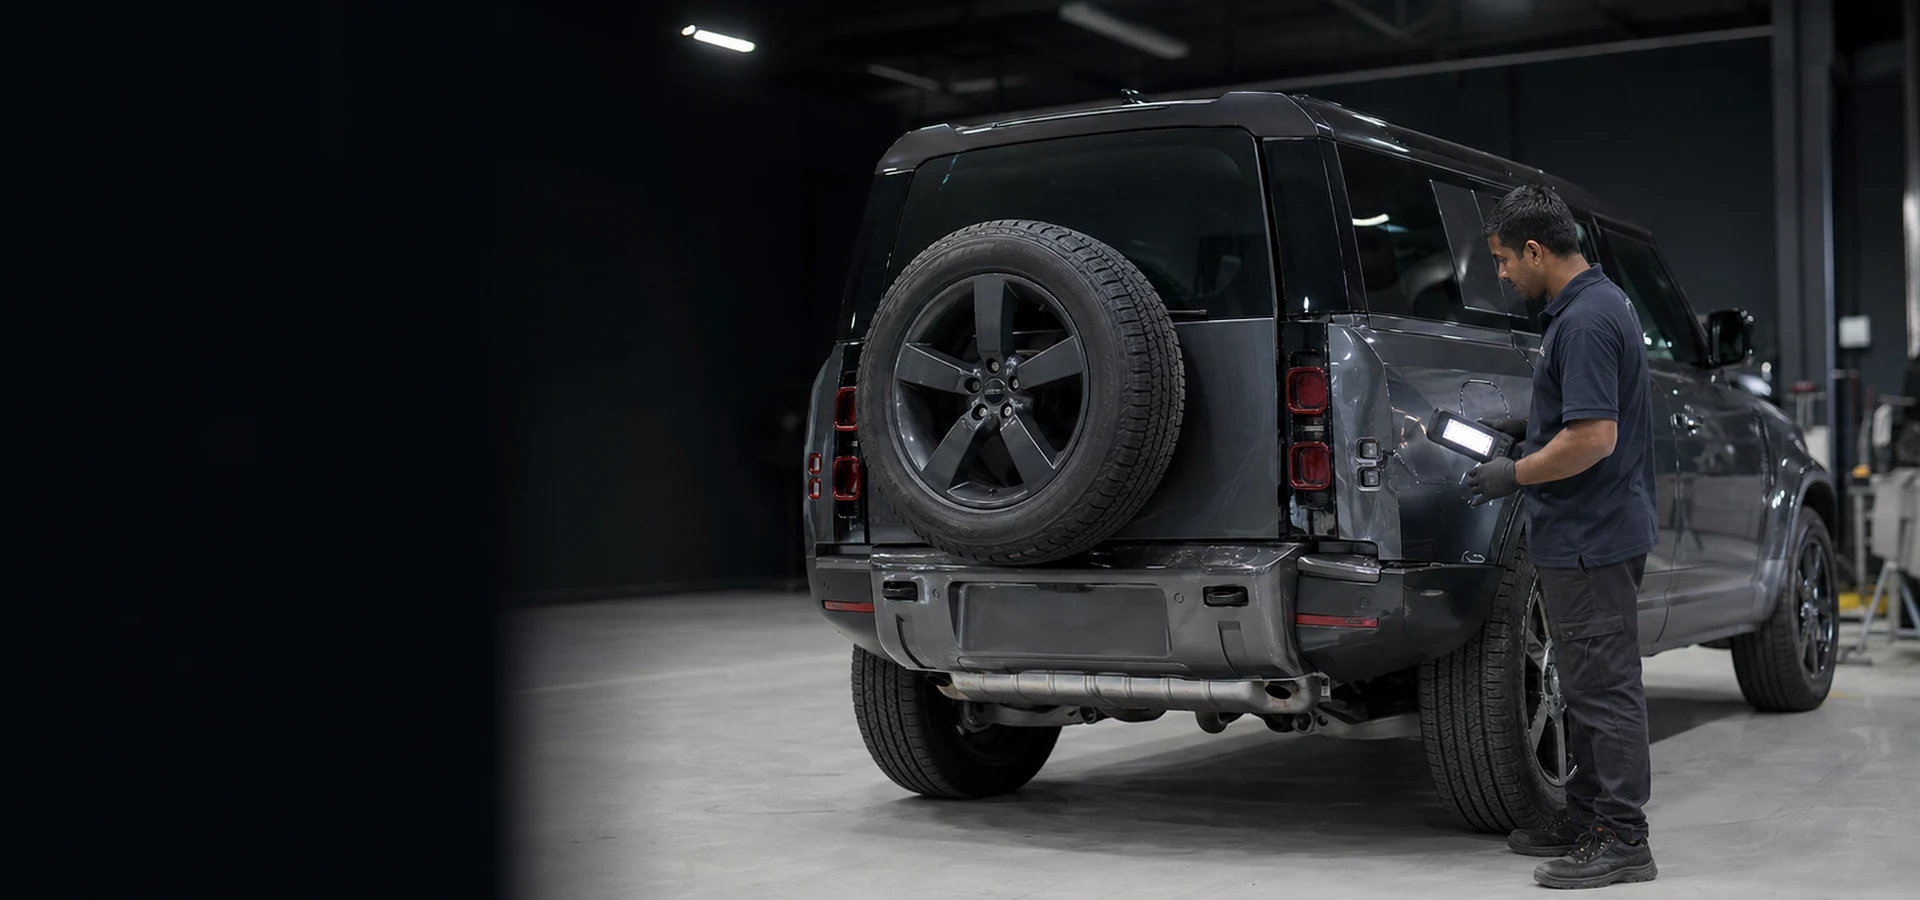
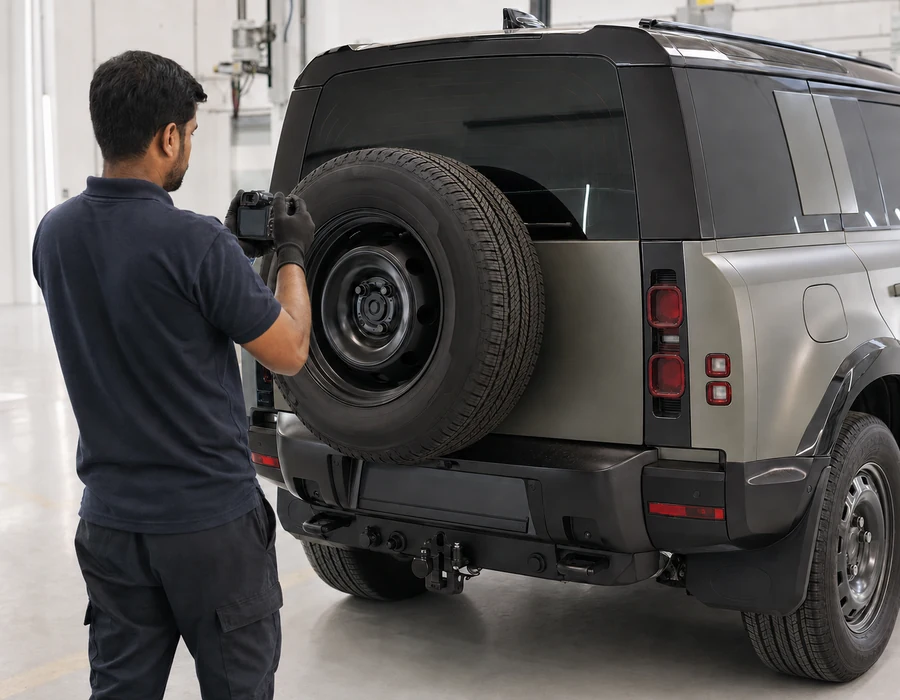
Accessories are photographed before removal
Intake records manufacturer markings, fasteners, mounting method and existing condition. A guard or rack is not assumed original, correctly installed or reusable. Wide images show how the attachment relates to doors, roof or lower body.
Removal is planned so the force path remains visible. The estimate states refit and outside specialist work. An accessory cannot return to an unverified mount merely to recreate arrival appearance.
Side-step damage may continue into brackets
A bent step can remain a replaceable-assembly problem or transfer into brackets and sill-adjacent areas. Controlled removal identifies which condition exists. The Defender is not lifted from damaged trim.
Mounting holes, fasteners and coatings are checked for movement. Drainage and clearances are preserved during refit. A new step cannot conceal an altered support.
Rear impact geometry
The spare wheel changes a rear impact
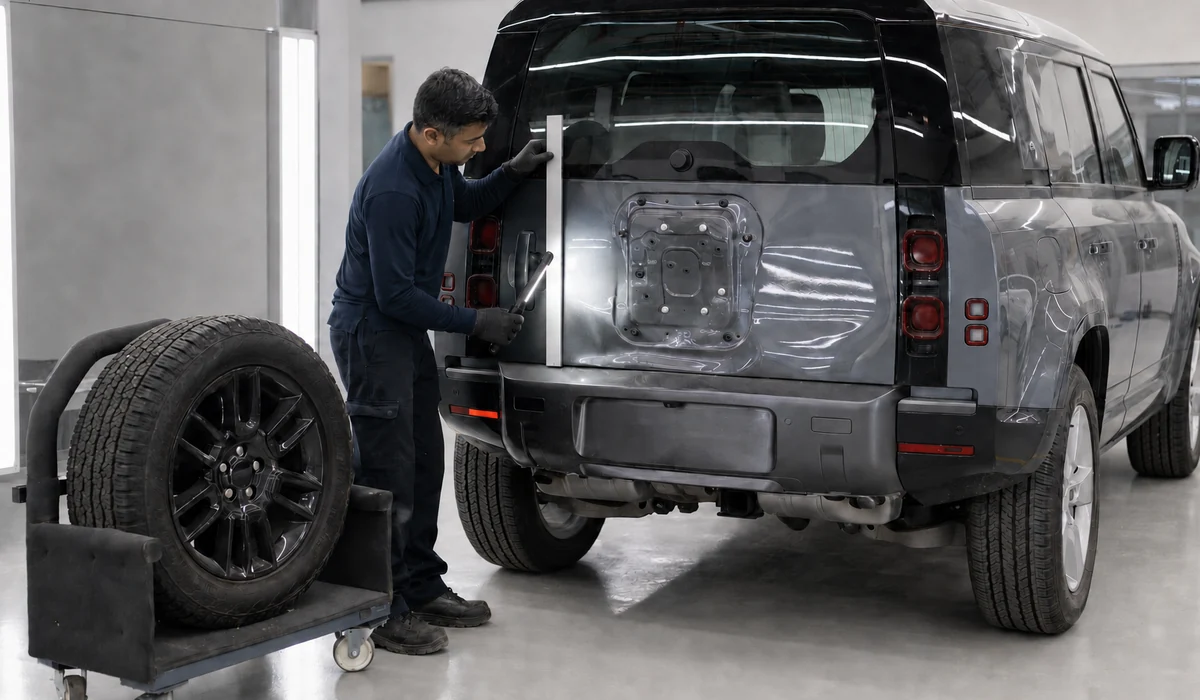
A contact with the rear-mounted spare can load the carrier, side-opening taildoor, hinges, latch and aperture. We record door position and gaps before operating it. Resistance or sagging stops repeated movement.
The tyre and wheel are not used as the repair ruler. Hinge axes, fasteners, body mounts, latch and sealing references are examined in order. Exterior finish waits for the opening.
Visible hinges require more than fresh paint
Exterior hinge pieces make defects easy to see, but finish does not prove axis, fastener or mount condition. Aperture geometry comes before adjustment. Movement is checked without forcing the closure.
Defender attachment transfer map
Separate the struck accessory from the body point carrying it
Five zones show whether damage stayed in a removable item or continued into a closure, sill, roof edge, wheel corner or underbody reference.
Rear carrier
Spare wheel, taildoor, hinge and latch.
Side support
Step, bracket, sill cover and door edge.
Upper load
Rack, rail, roof border and glass.
Wheel corner
Arch, tyre, liner and suspension clue.
Beneath
Shield, mounting point, fluid and structural boundary.
Upper-body load path
Roof racks create an upper-body load path
Upper contact can travel through rack feet, rails, gutters, roof edges or panoramic glass surroundings. The complete length is photographed before attachments move. A small dent can influence sealing outside the first mark.
Roof and glass work follows the fitted system. Water testing targets an identified path. Structural or restraint-adjacent findings receive technical review before production continues.
Wheel-arch cladding can hide transferred force
A marked flare or liner may be replaceable while the metal opening, brackets or tyre have also moved. Removal shows the difference. Tyre sidewalls, rims and clearances are screened first.
Alignment answers a defined question when justified. Ride height and load are recorded. A clean result does not approve every body attachment.
Underbody evidence
Off-road underbody marks need context
Map the mark before cleaning
Scrapes from rocks, ramps or recovery equipment are mapped by direction and location. Approved lifting and recovery points are confirmed rather than guessed from robust-looking covers.
Stop when symptoms change the risk
Fluid traces, steering changes or warnings stop casual driving. Shields, mounts and restricted zones stay visible until assessed. Cosmetic coating does not certify underbody integrity.
Load-path checks
Land Rover Defender Body Repair Dubai load path checks
The struck Defender accessory and the supporting body require separate evidence.
| Evidence | Repair decision |
|---|---|
| Spare wheel or taildoor | Hinges, latch, aperture, rear floor and water path |
| Side step | Brackets, sill cover, mounts and lower floor |
| Roof rack | Roof points, upper aperture, seals and drainage |
| Wheel-arch cladding | Hidden metal, liner, clearance and fasteners |
For broader repair work, continue to the Dubai body repair workshop scope.
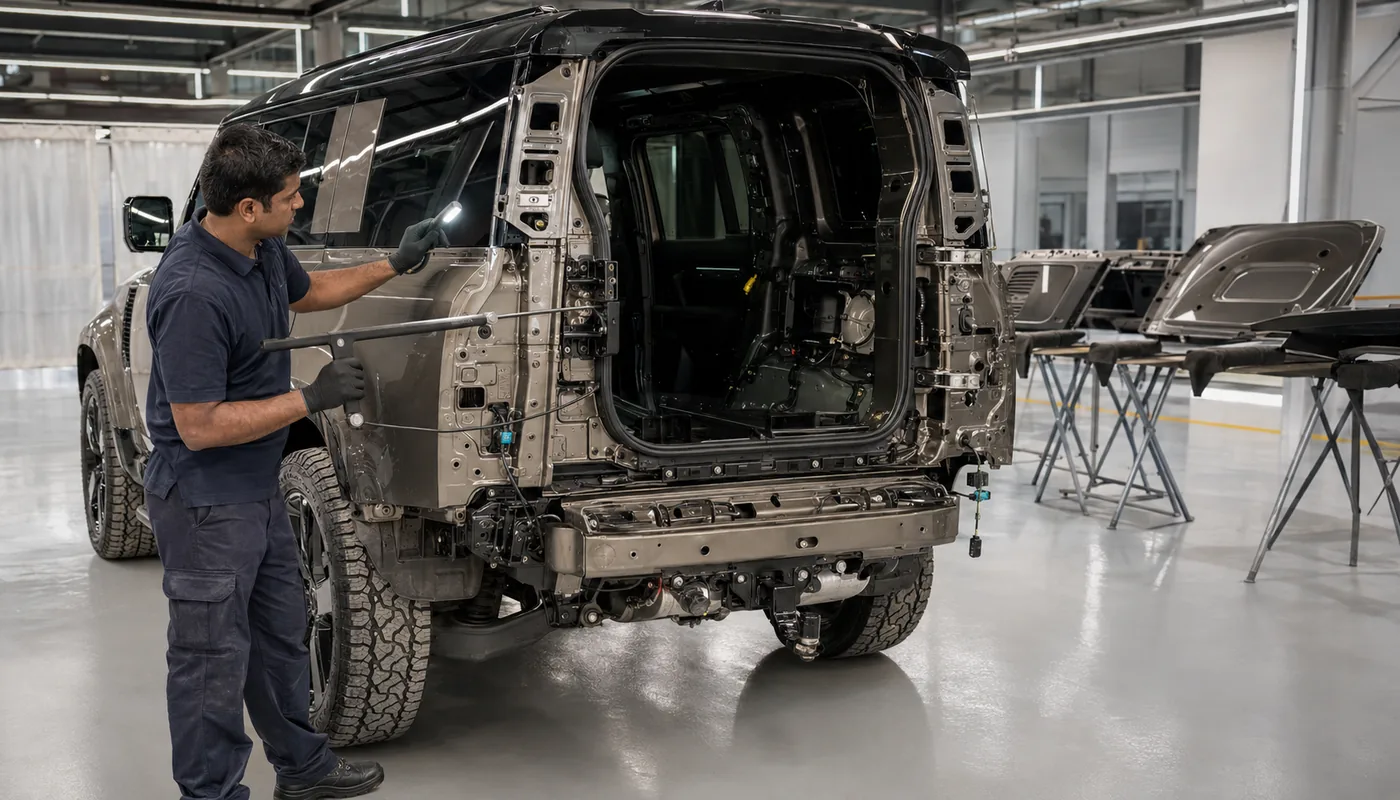
Send the complete impact path, not only the visible mark
Wide photos of the Defender, the struck accessory, its mount and the nearest opening help us decide what needs closer inspection.
Geometry before electronics
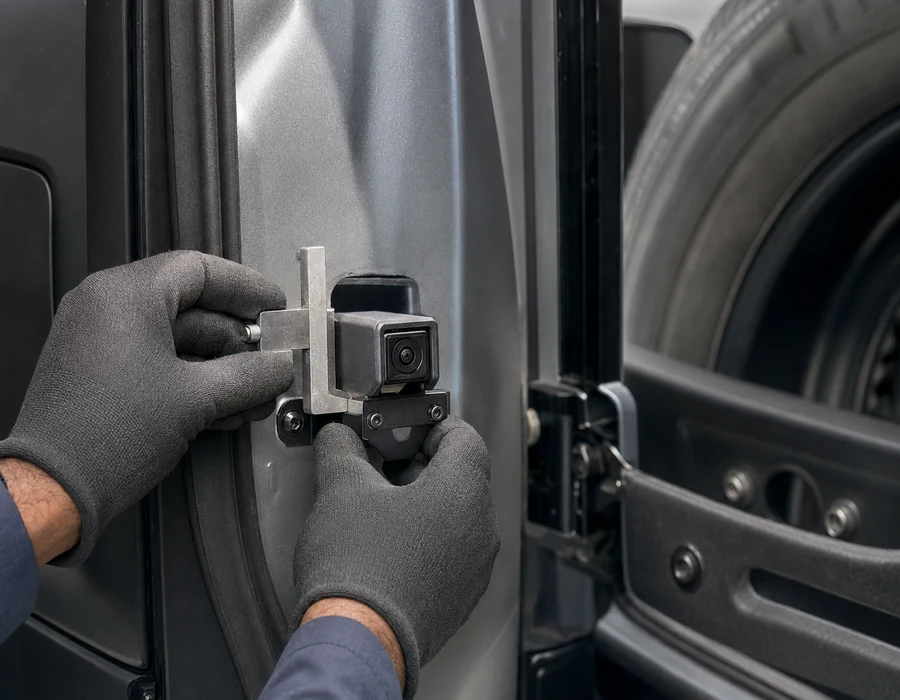
Cameras depend on fitted accessories and geometry
A rack, spare carrier or guard can alter camera visibility or access. Intake records installed cameras, sensor apertures and non-standard equipment. Physical seating precedes diagnostics.
Applicable calibration follows body and wheel correction. The record names the system checked. No generic Defender feature list is copied into the scope.
Lighting pockets need geometry before replacement
A Defender lamp may work despite a cracked support or moved surround. Bonnet, wing, grille and bumper references are measured before the lamp is adjusted. Mount integrity, wiring and applicable aiming are separate checks.
Finish and vehicle identity
Body repair must respect the Defender’s mixed surfaces and configuration
Panel and exposed trim finishes are matched separately
Defender surfaces can combine body colour, textured plastics, contrasting roof and accessory coatings. Each finish is identified before repair. Colour, texture, gloss and edge finish receive separate approval.
Model length changes closure and part identity
Defender 90, 110 and 130 bodies create different openings, roof lengths and rear relationships. VIN and physical measurement settle the model before ordering. Parts are dry-fitted where they control gaps.
Painted and textured plastics use different systems
Wheel flares, bumper pieces and accessories may combine texture, moulded colour and paint. Each substrate is identified. Texture and sheen are matched separately from body colour.
Water management
Water management is planned before closure
Roof, side and rear impacts can disturb seals, vents, seams or drain routes. Dry evidence is photographed before washing. Extra sealant is not applied without locating the path.
Targeted testing follows repair and cure requirements. Interior trim returns only after the relevant cavity is dry and connections are secure.
Recovery
Recovery planning includes accessories
The provider needs vehicle size, wheel condition, loose attachments, roof height and warning state. Owners should not improvise with damaged recovery points.
Scene information follows the Defender into intake. Arrival photographs precede unloading changes.
Front protection
Front guard contact can hide cooling damage
A non-standard or factory protection piece may transfer force into apron, grille, ducts or lower mounts. Cooling guides, fasteners and fluid evidence are inspected along the mark. Leakage or temperature warnings stop road testing.
Repair planning
The quotation follows the attachment chain
Scope and supplements
Visible accessories, body access, parts, paint and verification are separated. Hidden mount and aperture findings remain inspection-dependent until exposed.
Supplements include the newly revealed evidence and technical reason. Financial approval never overrides repair limits.
Insurance scopes must include attachment evidence
A financial estimate can omit a rack foot, step bracket or spare carrier if the visible panel dominates. Controlled access photographs make the transfer path clear and support an accurate supplement.
A road test is not an off-road demonstration
Post-repair driving is authorised only for a defined observation after safety prerequisites pass. Off-road capability is never used to stress-test a body repair.
Final inspection
Quality control begins at the struck object
The reviewer follows the original chain from accessory through mounting point into closure, sill, roof or underbody. Each zone uses the evidence suited to it.
Handover can include photographs, part identity, measurements, alignment and calibration. Deferred accessories and pre-existing off-road marks remain separate.
- Aftercare names refitted load points and cure limits.
- Corrosion protection returns after allowed metal work disturbs coatings or cavities.
- Mud and dust are preserved as impact clues before cleaning when useful.
- Taildoor water paths are tested only after opening geometry is accepted.
- The final photo set includes mounted equipment in its approved final state.
- Removed parts are labelled, photographed and stored without creating new damage.
Long doors and short doors create different leverage
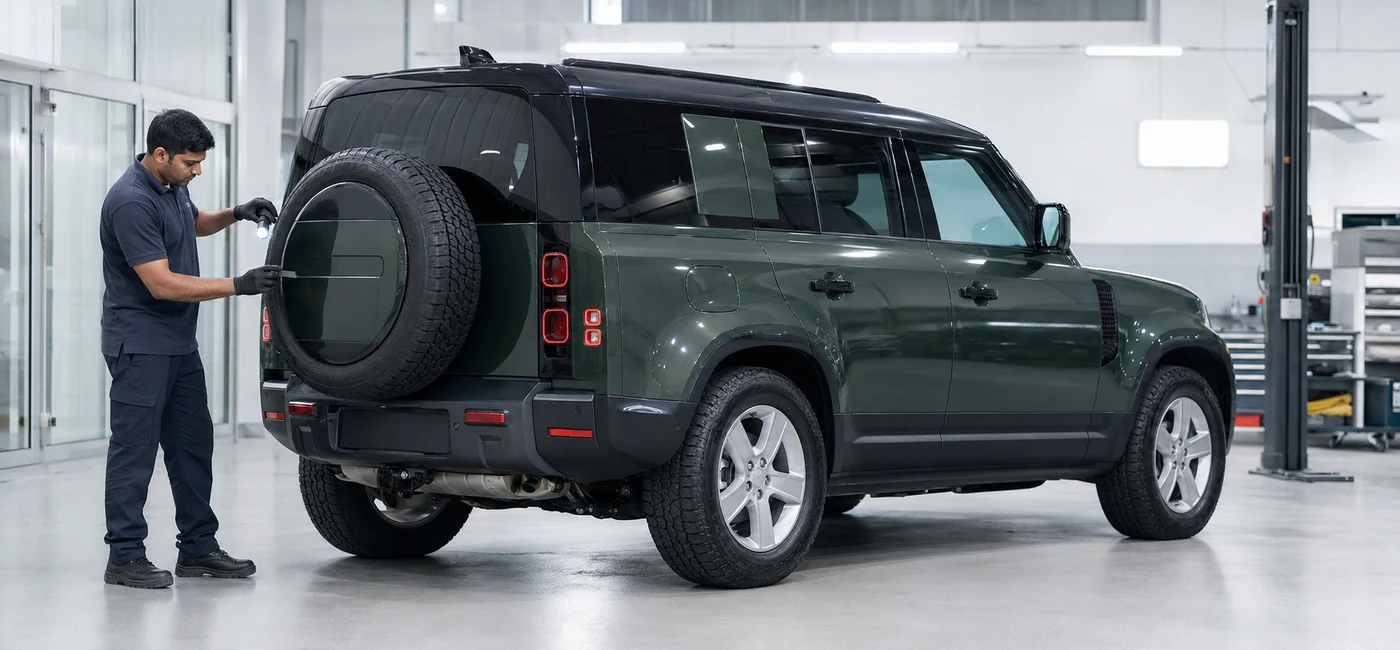
Body length and door arrangement change how side force reaches hinges and apertures. Arrival gaps, closing effort and seal contact are preserved. Adjustment waits until the opening is understood.
Glass, handles and interior trim join the scope when affected. Final movement should be consistent without extra force.
Official UAE information confirms several configurations
The Defender UAE specifications show several body and equipment configurations. That supports exact vehicle identification before planning.
The model page is not repair authority. Current procedures and physical evidence control structure, accessories and calibration. No authorised status is claimed.
Show what was struck and what carried the force
Send the full Defender, the accessory or spare carrier, its mounting points, nearest opening, wheel and warnings. Include the body length and any non-standard equipment you know about.