

Quality gates from intake to handover
Body Shop Quality Control Checklist
Body shop quality control is not one final walk around the car. Each stage must protect evidence, confirm the previous operation and prevent a hidden defect from being covered by the next one.
Use this checklist as a repair-record framework. Vehicle-specific procedures, product data and the approved work order still control the technical repair.
The cheapest place to catch a defect is before the next layer hides it.
A missed broken clip becomes a loose bumper at handover. A missed low spot becomes visible after clear coat. A missed sensor bracket becomes a calibration problem after reassembly.
Stage gates assign the check to the moment when correction is still controlled.
Gate one
Intake and pre-repair record
The starting record protects the customer, workshop and insurer by separating accident damage, prior condition and agreed work.
Vehicle identity
- VIN, registration, make, model, year and trim recorded
- Mileage, fuel or charge level and keys recorded
- Options and fitted ADAS equipment identified
- EV or hybrid status clearly marked
Condition photographs
- All four corners and complete sides photographed
- Damage photographed wide, medium and close
- Wheels, glass, roof, interior and existing marks recorded
- Dashboard warnings photographed before clearing
Safety triage
- Steering, braking, tyre and wheel displacement noted
- Leaks, cooling, latch and restraint concerns escalated
- High-voltage or battery-area impact isolated as required
- Recovery decision documented
Scope and consent
- Customer concern written in plain language
- Insurance or cash route identified
- Authorised diagnostic and dismantling limits recorded
- Photo estimate limitations explained
Pre-scan and data
- Relevant scan route completed when required
- DTCs retained with date and mileage
- OEM information access planned
- Calibration triggers considered before parts ordering
Protection
- Seat, steering wheel and floor protected
- Loose belongings recorded or removed
- Battery support or isolation planned
- Vehicle movement restrictions communicated
Gate two
Disassembly and damage discovery
Controlled access turns a preliminary estimate into a repair plan. This gate is central to accident repair service.

Part handling
- Removed parts labelled by vehicle and location
- Fasteners, clips and one-time items separated
- Sensors, lamps and wiring protected
- Fragile trims and seals condition recorded
Hidden damage
- Reinforcements, absorbers and brackets inspected
- Reverse sides, seams and mounting points photographed
- Corrosion and previous repairs distinguished from accident damage
- Supplement items linked to photographs
Repairability
- Material and component identified
- Repair-versus-replacement criteria written
- OEM procedure available for structural operations
- Unsupported heat or sectioning excluded
Scope update
- Customer or insurer approval obtained for variations
- Parts list updated by exact specification
- Back-order and external operations visible
- Revised completion logic explained
Stop points
Do not pass work to the next department with an open defect
| Hold point | Release evidence | Do not proceed when |
|---|---|---|
| Structure to body | Required dimensions and replacement decisions are approved | Reference points remain uncertain or procedure is missing |
| Body to preparation | Panel shape, gaps and repair edges pass long-light inspection | Low spots, pinholes, cracks or unstable substrate remain |
| Preparation to paint | Clean substrate, primer cure, masking and colour sample are approved | Contamination, sanding marks or colour decision is unresolved |
| Paint to reassembly | Coating has cured enough for safe handling and finish defects are assessed | Edges, dust, runs, dry spray or mismatch need correction |
| Reassembly to diagnostics | Correct parts, brackets, wiring and alignment are installed | A sensor mount, connector or component remains uncertain |
| Diagnostics to handover | Scans, calibration, warnings and specified functions are complete | Outstanding DTC, failed calibration or limitation is undocumented |

Names, dates and evidence
A checklist becomes quality control only when responsibility is visible
Each gate should record the vehicle, repair order, inspected item, result, evidence, inspector and date. Clear stage ownership also makes the role of the body repair technicians visible throughout panel, paint and final-quality checks. A tick added after the vehicle is complete cannot prove that a hidden weld, primer edge or sensor bracket was checked at the correct stage.
Use pass, fail, not applicable and hold rather than forcing every item into a tick. Not applicable needs a reason when the item would normally be expected for that repair. Hold needs an owner, corrective action and release evidence.
Photographs should be tied to the gate and operation instead of stored as an unlabelled gallery. Measurements, scan reports, paint samples, alignment printouts and calibration records remain separate evidence types but should share the same repair-order reference.
Supervisory review should focus on high-risk and irreversible operations. Structural sectioning, joining, corrosion protection, restraint work, high-voltage handling and ADAS calibration deserve stronger release evidence than a reversible trim adjustment.
The customer-facing handover pack does not need every internal production note. It should still contain the approved scope, variations, repaired and replaced parts, relevant measurements, scans or calibration, warranty and outstanding limitations.
Gate three
Structural and body correction
Measurement
- Initial relevant dimensions retained
- Reference data and points identified
- Measurements monitored during correction
- Final readings taken in the required condition
Joining
- Cut and section locations match procedure
- Weld, rivet and adhesive method verified
- Test welds or equipment settings recorded where required
- Heat spread and adjacent systems controlled
Panel shape
- Body lines and crowns read continuously
- Repair edges feather smoothly
- Filler remains within approved repair use
- Pinholes and sanding scratches are removed
Closures
- Doors, bonnet and boot or tailgate operate
- Gaps are compared across the opening
- Hinges and latches are not used to hide structure
- Seals and glass relationships are checked
Corrosion protection
- Bare metal treatment completed
- Primer covers repaired joins
- Seam sealer pattern restored
- Cavity wax and underbody coating reinstated
Mechanical interface
- Subframes and mounts checked
- Suspension and steering damage separated
- Wheels and tyres inspected
- Alignment requirement carried forward
Hold points and release
Quality control works when a failed check stops the next operation
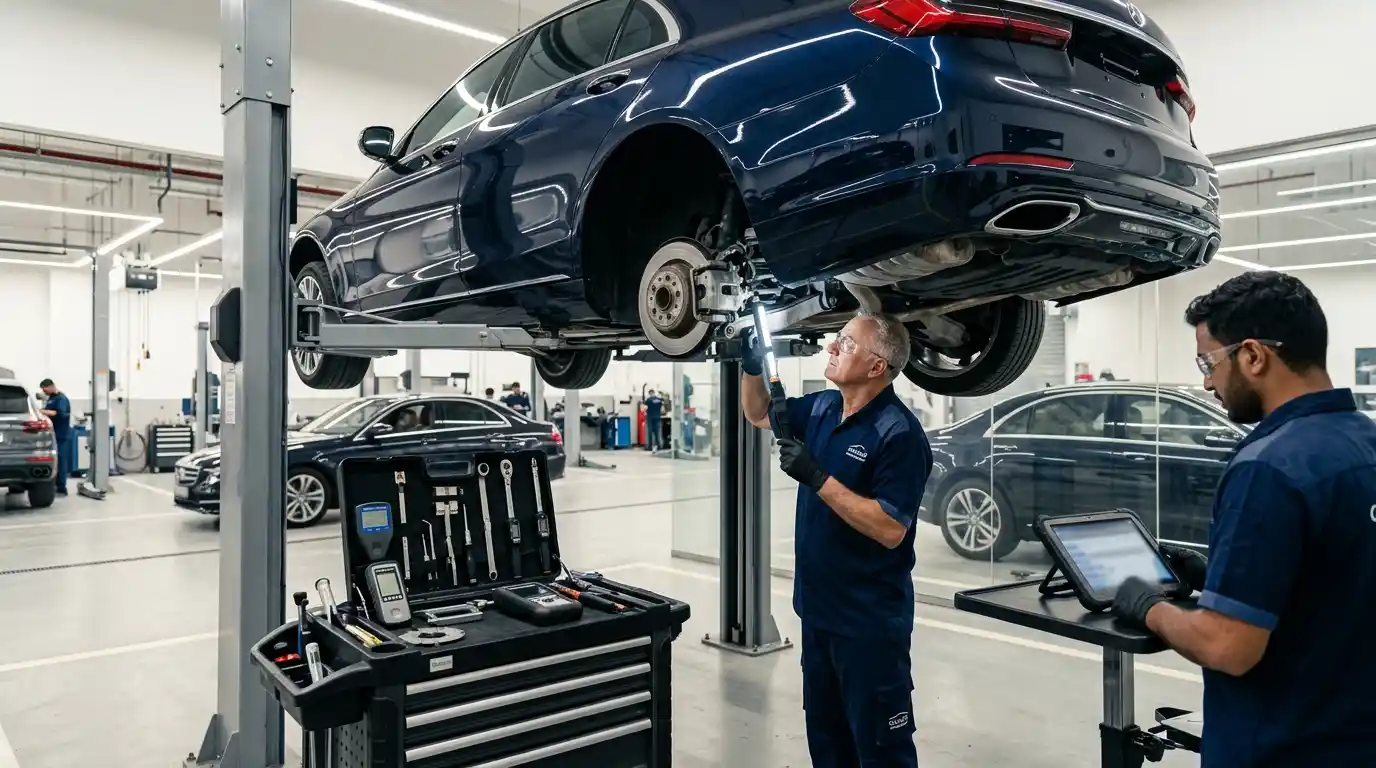
A hold point is a stage that cannot be covered or passed until its evidence is accepted. Examples include damage mapping before disassembly, structural measurement before correction, joint inspection before seam sealer, corrosion protection before trim closes the cavity, and scan or calibration completion before final release. The responsible reviewer, acceptance criteria and record should be defined before production begins.
Non-conformance needs a rectification loop. The finding is described precisely, the affected operation is stopped, the cause is investigated and corrective work is recorded. The same check is then repeated by the appropriate person. Polishing a defect, clearing a warning light or adjusting a panel until it appears acceptable can hide the cause and allow the problem to recur.
Severity helps prioritise action. A dust nib in clearcoat, loose bumper retainer, incorrect weld, unresolved restraint fault and displaced suspension mounting are not equivalent. Safety-related or structural findings block release and may require specialist or OEM-procedure review. Cosmetic findings still need an agreed finish standard, but they should not be mixed with conditions affecting attachment, geometry or vehicle systems.
Traceability connects each check to the vehicle and repair order. Photographs need a date or repair-stage label; measurement reports need vehicle identification; spray-outs need formula and application reference; replaced parts need an invoice or record; scans and calibrations need the affected system and result. Generic workshop images do not provide job-specific proof.
The final quality-control review reconciles the completed vehicle with the estimate and approved supplements. It confirms repaired and replaced areas, panel gaps, disturbed functions, finish, cleanliness, warning-light status, final documents and any outstanding or referred work. The invoice, warranty and aftercare must describe the same scope shown by the vehicle and workshop record.
Customer handover is the last verification opportunity, not a substitute for workshop checks. The vehicle should be clean and dry under useful light. The customer can review paint, fit, functions, documents and outstanding actions with the workshop representative. A concern recorded at collection is easier to investigate than one described later without a shared starting point.
Release authority should remain separate from production pressure. The person signing final release needs access to unresolved-item records and the power to stop delivery. If a calibration report, structural measurement, part, warning-light diagnosis or agreed rectification is missing, the file must identify the blocker and customer communication. A promised delivery time must not silently convert an incomplete check into an accepted result.
Gate four
Paint preparation and refinishing
Paint quality begins below the colour. The broader car painting service process must connect substrate, formula, application and curing.
Preparation
- Correct substrate cleaner and abrasion sequence used
- Feather edges and primer transitions are invisible
- Surfacer is cured and blocked
- Edges and body lines remain sharp where intended
Colour decision
- Paint code and variant checked
- Representative reference area selected
- Spray-out approved for complex colour
- Blend panels and clear boundaries listed
Masking and cleanliness
- Trims removed where required
- Glass, rubber, liners and adjacent panels protected
- Booth and vehicle cleaned before spraying
- Sensor or restricted paint zones handled correctly
Application
- Product data and mix ratios followed
- Flash-off and booth conditions controlled
- Metallic or pearl orientation remains even
- Matte sheen process reproduces the approved sample
Cure and correction
- Coating reaches required handling condition
- Runs, dust, dry spray and texture assessed
- Polishing stays within clear-coat and finish limits
- Fresh edges protected during reassembly
Finish inspection
- Colour checked straight on and obliquely
- Gloss and texture compared with adjacent panels
- No overspray remains
- Repair outline and sanding marks are absent
Gate five
Reassembly, diagnostics and calibration
Parts and electrical reassembly. Reassembly begins by confirming that every installed part matches the required specification. Part numbers should be verified, one-time fasteners renewed where required, and all clips, retainers and brackets secured correctly. Trim must fit without being forced against fresh paint. Electrical connectors, harness clips and grounds should be locked and routed correctly, with no wiring trapped behind panels. Lamps and any disturbed accessories should also be tested before the vehicle moves to final diagnostics.
Mechanical and fluid checks. Where mechanical or fluid systems have been disturbed, the workshop should check for leaks, confirm fluid levels and complete any required cooling-system bleeding or testing. Steering and suspension fasteners must be verified, while wheel torque and tyre condition should be recorded. These checks confirm that the visible body repair has not left an unresolved mechanical concern.
Post-repair scanning. A post-repair scan should be completed whenever the repair scope or manufacturer procedure requires it. Pre-existing diagnostic trouble codes should be separated from repair-related faults, and any cleared code should be checked to confirm that it does not immediately return. Outstanding faults, limitations or referred work must be recorded clearly rather than hidden by clearing warning messages.
ADAS verification and calibration. ADAS checks begin with the physical installation of sensors, brackets and surrounding body components. Panel alignment, wheel alignment and other calibration prerequisites should pass before the approved OEM calibration route is followed. The repair file should retain the completion report or clearly state any limitation that prevents calibration from being completed.
Restraint and electric-vehicle systems. Airbag and seatbelt work should be verified, restraint warning status checked and any high-voltage or battery-area process completed according to the relevant procedure. Where isolation and reconnection were required, the supporting records should remain with the repair file.
Gate six
Final handover inspection
The final review brings the auto body repair service result, customer documents and all connected systems together.
Exterior
- Vehicle clean and dry for inspection
- Colour, gloss, texture and overspray checked
- Panel gaps, lamps and bumper seating reviewed
- Glass, wheels and unrelated areas checked for workshop damage
Operation
- Doors, bonnet, boot and fuel flap operate
- Locks, windows, mirrors and lamps work where disturbed
- Parking sensors and cameras checked as agreed
- No warning remains unexplained
Driving checks
- Wheel alignment result reviewed when relevant
- Specified road or function test completed safely
- Steering, braking, noise and vibration concerns documented
- No road test substitutes for required calibration
Customer pack
- Invoice matches approved scope and variations
- Repaired and replaced parts are listed
- Measurements, scans and calibration records supplied
- Written warranty and aftercare provided
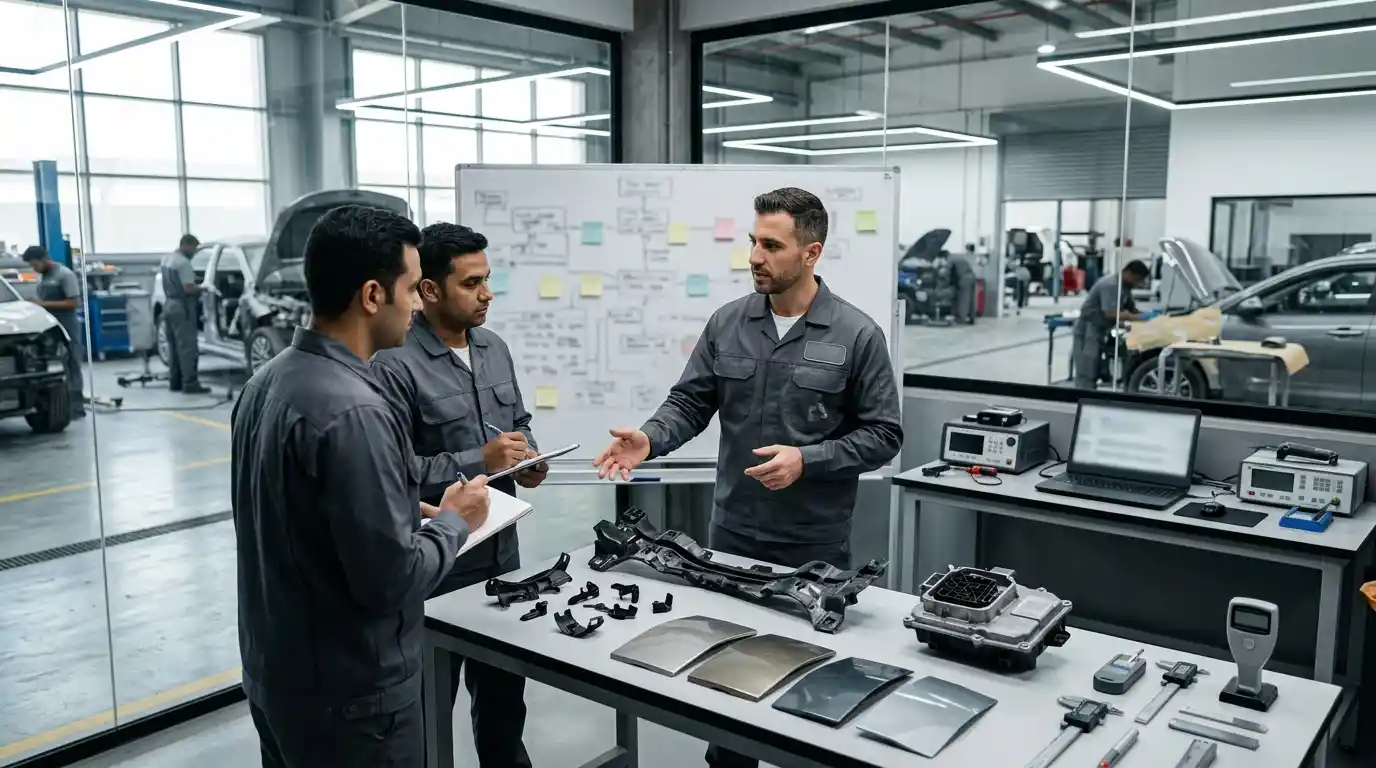
Checklist ownership
Every failed item needs a named next action
A checkbox without an owner can become a hidden note. Record who inspected the item, the date, result, evidence and corrective action. If the vehicle is released with an accepted limitation, the customer must receive that limitation in writing.
The checklist should be adapted to the repair. A bumper scuff does not need a structural measurement sheet, while a rail replacement cannot pass on paint appearance alone. Select the relevant gates and keep the evidence proportional to the risk.
Quality control is complete only when the approved scope, physical vehicle, diagnostic status and customer record agree. A plugin score, clean photograph or verbal assurance cannot replace that alignment.
Review recurring failures monthly by operation and stage. Repeated dust, broken clips, calibration delays or supplement omissions indicate a process problem even when each individual vehicle is corrected before handover. Record the corrective process change and verify whether the same failure returns.
Use the checklist before collection
Ask for the quality gates relevant to your repair
Send the approved scope and the systems affected. We can explain which measurements, paint checks, scans, calibration and handover records should accompany the job.