
Plastic preparation, colour control and clean reassembly
Bumper Painting Dubai
Our Bumper Painting Dubai service is not simply colour sprayed over scratches. The cover must be inspected for cracks, distortion, failed attachments, old coating and contamination before plastic preparation, primer, basecoat and clear coat are planned.
Paint begins with substrate condition
Bumper Painting Dubai Starts with a Stable Surface
Paint transfer, stone chips, gouges, cracks and heat deformation require different preparation. A cover with unstable filler, peeling coating or a split near a mounting point should not be sent directly to the spray booth.
We identify the plastic condition, previous paint, fitted trim and sensor openings before defining the paint area. Removal of grilles, reflectors, mouldings or sensors can improve edge control when the design and repair information support it.
Bumper refinishing sits within our wider car painting service, but it needs plastic-specific preparation and fit checks rather than a metal-panel routine copied without thought.
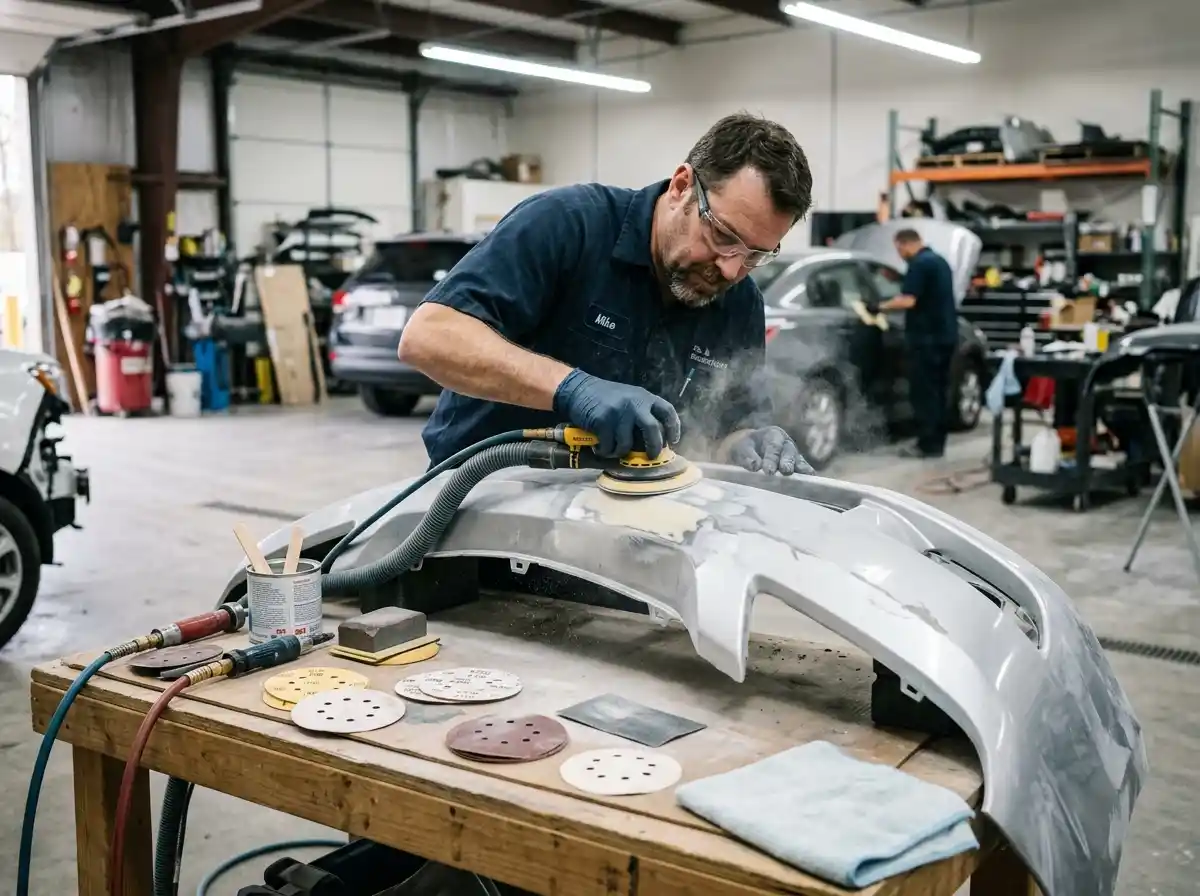
Choose the correct paint footprint
Local paint repair or complete bumper repaint
Damage size is only one factor. Position, colour, finish, old coating and space for preparation influence the defensible paint area.
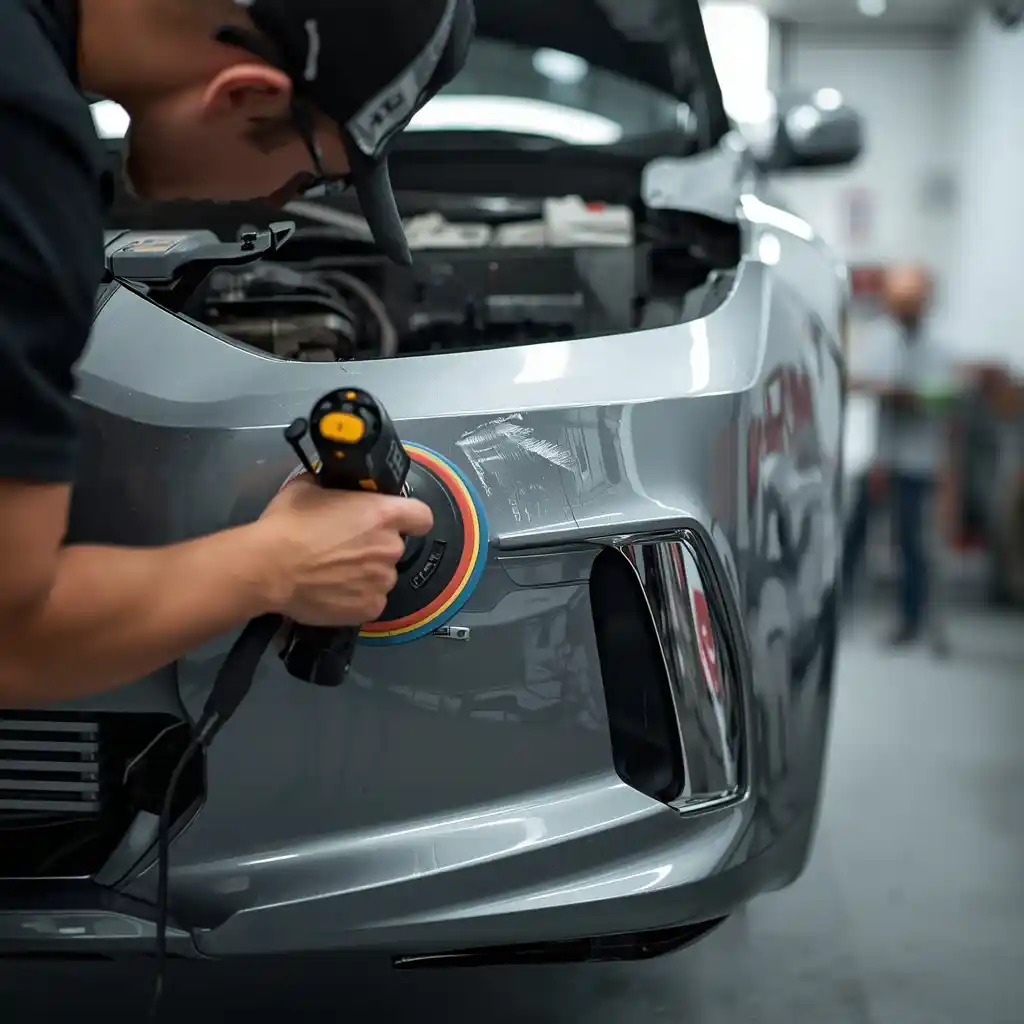
Correction without repainting
Suitable transfer or very light clear-coat marking may respond to controlled cleaning or correction after inspection.
- Test the least aggressive method
- Protect edges
- Stop at colour loss
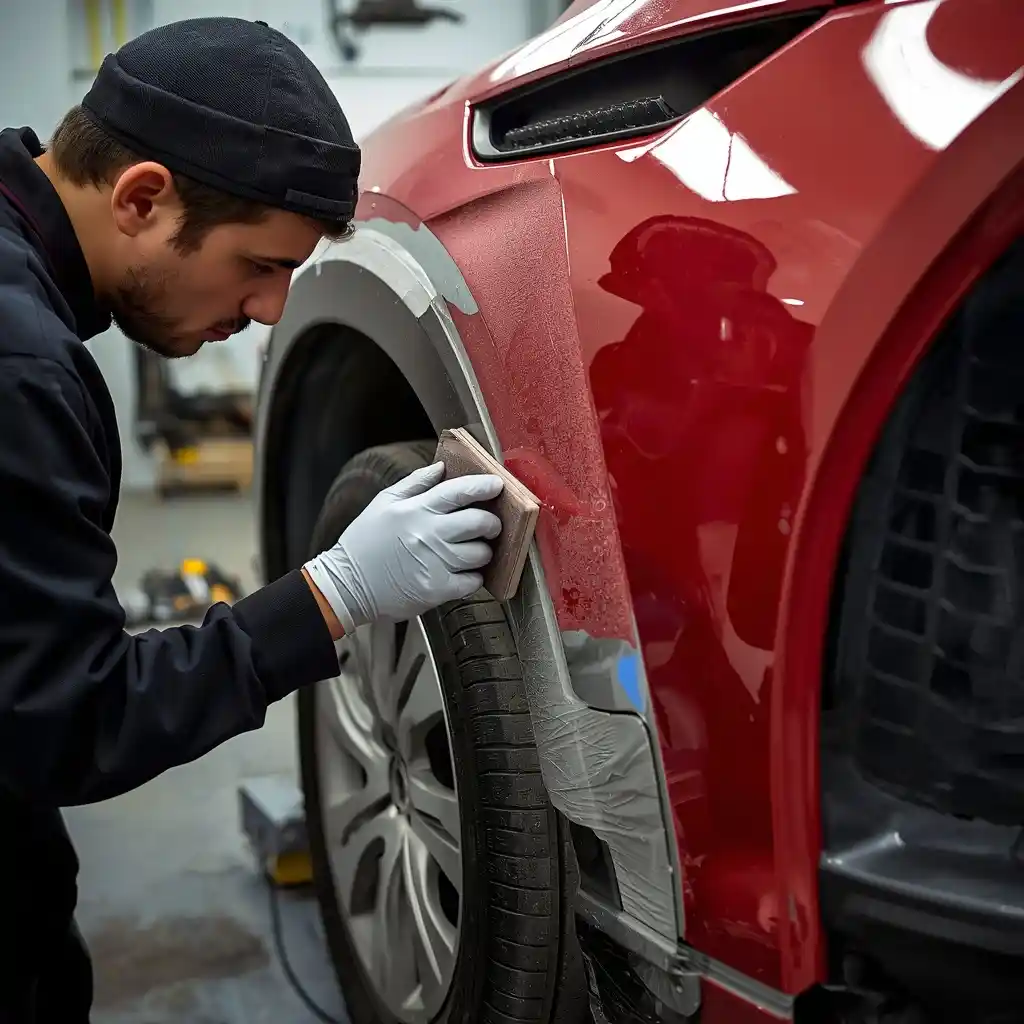
Repair and controlled paint area
Limited damage can sometimes be repaired within a planned area when colour and clear-coat transitions can be managed reliably.
- Prepare sound margins
- Control masking edges
- Explain the exact paint area
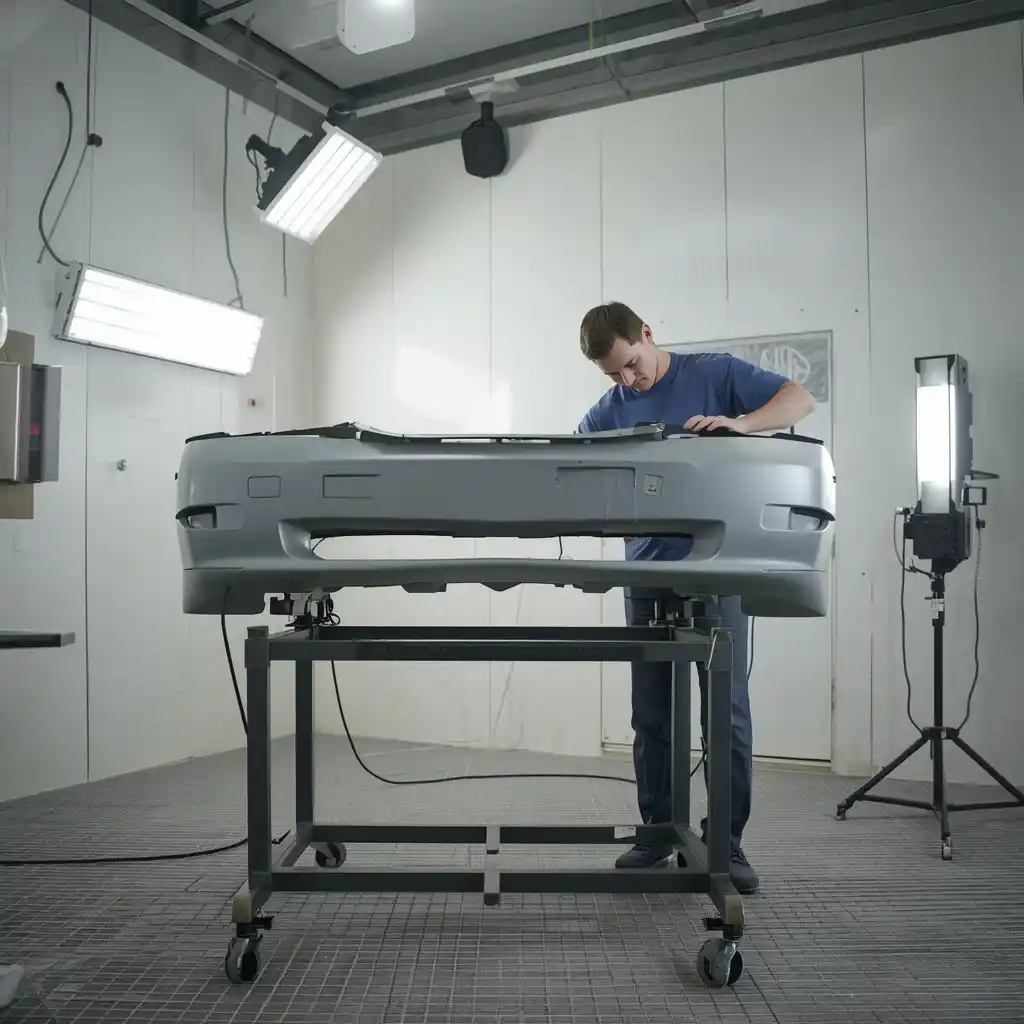
Full bumper repaint
Multiple scuffs, widespread coating damage or colour-control needs can make a complete cover refinish the more consistent option.
- Remove suitable trims
- Prime plastic correctly
- Check texture beside body panels
Four preparation gates
Every bumper passes these checks before colour
The gates prevent a clean new coating from hiding unstable material or fit problems.
Surface depth
Separate removable transfer, clear-coat damage, colour loss, primer exposure and plastic gouging.
Cover shape
Check dents, heat distortion, sharp folds and tension around openings before surface finishing.
Attachments
Inspect tabs, retainers and lower fasteners so fresh paint is not forced onto a badly fitting cover.
Old coating
Look for peeling, solvent reaction, thick filler, contamination and previous repair edges that can affect adhesion.
Spray-booth sequence
Preparation consumes more time than the visible spray pass
Rushing the early stages creates sanding marks, sinkage, poor adhesion and hard masking lines that polishing cannot permanently hide.
Wash and inspect
Remove road film and identify silicone, wax, tar, transfer, old repair and coating failure.
Dismantle
Remove agreed trim and fitted items or protect them using a documented masking plan.
Repair substrate
Correct suitable plastic damage, feather sound edges and stabilise previous material.
Prime and guide
Apply the selected plastic and primer system, then guide-coat and sand for surface control.
Colour and clear
Apply basecoat and clear coat under controlled booth conditions with flash times respected.
Cure and refit
Allow curing, then reassemble without forcing clips, scratching edges or marking fresh coating.
Indicative Dubai planning bands
How much does bumper painting cost in Dubai?
Prices depend on preparation, damage, previous coating, colour, finish, dismantling and fitted trim. These figures are planning guidance and not a final quote from a photograph.
Cracks, tabs, retainers, sensors, cameras, lamps and adjoining-panel repairs are separate when affected. Our article on professional bumper-repair tools explains why the substrate work matters.
Price follows preparation
Send the full bumper and both corners
A close scratch photo cannot show previous paint, corner fit, sensors or multiple damaged areas.
Finish judged after reassembly
Colour, gloss, texture and edges must work together
Colour and metallic control
A colour formula is the starting point. Substrate, ground coat, application technique and metallic or pearl orientation influence the final appearance beside adjacent panels.
Comparison under more than one useful light angle helps prevent a match that works only inside the booth.
Texture and detail
The clear-coat texture should read coherently with the vehicle. Excessive orange peel, dry spray, dust clusters, solvent defects and hard edges are reviewed before handover.
Sensor openings, grille edges, lower trim and bumper corners are checked after assembly. A shiny centre does not excuse rough edges or poor fit.
Common owner questions
Bumper painting FAQs
How much does bumper painting cost in Dubai?
A complete bumper repaint commonly plans around AED 600 to AED 1,500. Plastic repair, trim, colour and previous coating can change the final quote.
Can a bumper scuff be removed without painting?
Some paint transfer or light clear-coat marking can be corrected after inspection. Colour loss, gouging or exposed plastic normally needs another method.
Does the bumper need to be removed for painting?
Removal may improve access and edge quality, but the decision depends on design, damage, fitted items and the agreed scope.
Can cracked plastic be painted?
The crack should first be assessed and repaired where suitable. Paint should not be used to conceal an unstable split.
Will bumper paint match the body?
The process aims for coherent colour, metallic orientation, gloss and texture. Plastic substrate and viewing angle can affect appearance.
Can parking sensors be painted?
Sensor handling depends on the component and vehicle information. They should not be coated casually as part of the bumper.
How long does bumper painting take?
Timing depends on preparation, plastic repair, curing, dismantling and workshop schedule. A clean repaint is faster than a damaged-cover restoration.
Why is old bumper paint peeling?
Poor adhesion, unstable previous repair, contamination, impact, excessive film build or coating failure may be involved. The weak layer must be identified.
Can a textured lower bumper be colour painted?
It may be possible, but texture, adhesion, material and the intended appearance need a separate plan.
What should be checked at handover?
Review colour, gloss, texture, edges, dust, trim, sensor openings, corners, lower attachments and any repaired cracks or tabs.
Paint the complete repair, not only the visible mark
Arrange bumper painting in Dubai
We will inspect the surface, plastic condition, attachments and fitted trim, then explain the preparation, paint area and current quotation.