
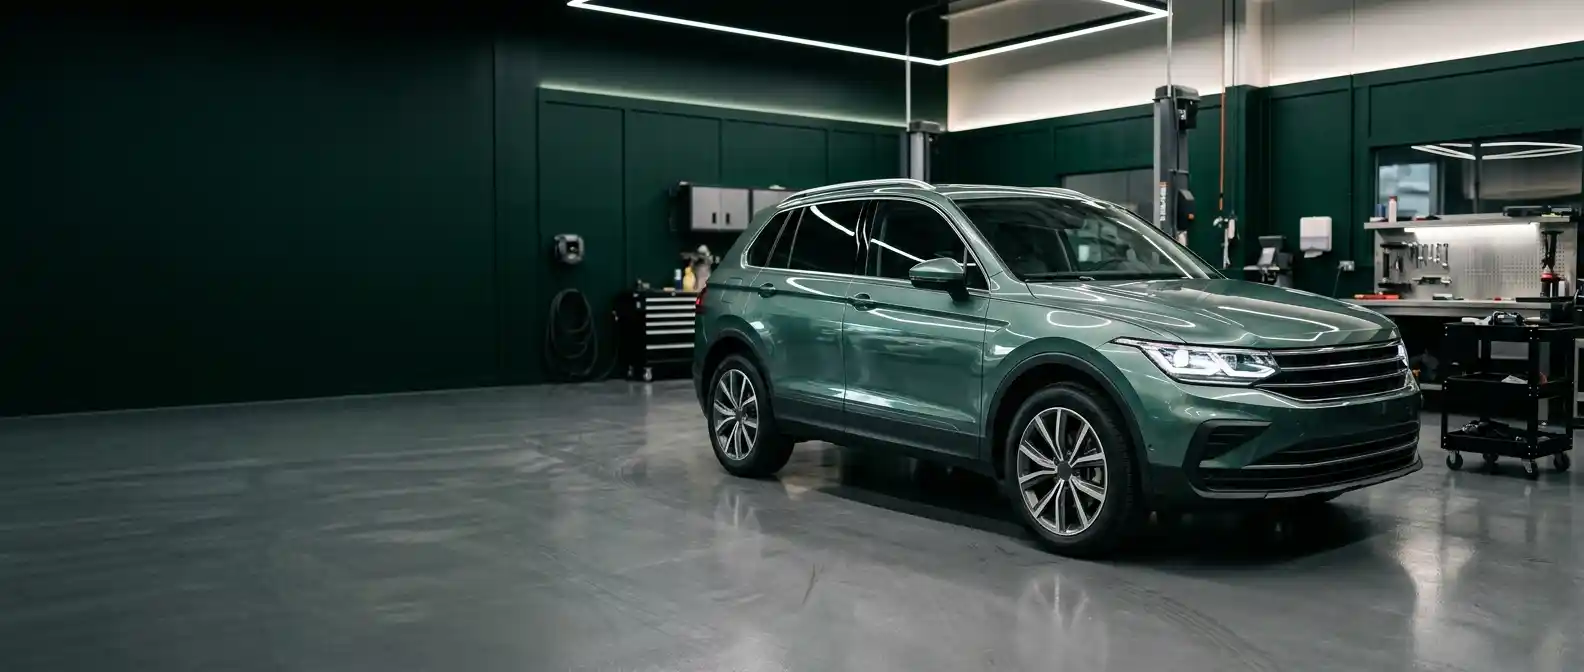
GAC Body Shop Dubai
A GAC that has taken a corner or side impact needs three answers in the right order. Is there a safety or mobility concern, how far did the force travel, and which visible parts can be repaired without compromising fit or system function? We organise the assessment around those questions before colour, cost or completion time is promised.
Three levels of damage decide the next action
Surface level
Scuffs, chips and shallow dents may stay within coating or outer-panel work when gaps, mounts and functions remain unchanged.
Component level
Cracked plastics, broken retainers, distorted lamp mounts or closure misalignment require access and part-specific decisions.
Vehicle level
Wheel displacement, fluid loss, restraint activation, structural deformation or high-voltage concern means inspection or recovery comes first.
This is not a severity score based on appearance. A small mark beside a sensor bracket can demand more planning than a broad cosmetic scrape on an isolated surface. Conversely, a dramatic-looking bumper cover can sometimes protect recoverable attachments beneath it. Only inspection separates the two.
Model identity changes what sits behind the panel
GAC vehicles in the UAE include saloons, SUVs, MPVs and electrified AION or HYPTEC products with different exterior packages and assistance equipment. The VIN, build information and fitted hardware matter because bumper covers, lamps, cameras, ultrasonic sensors and radar-related brackets can change between trims. We do not transfer a repair plan from one model to another merely because the damage occupies the same corner.
Official UAE product information shows that equipped GAC vehicles can combine surround-view cameras and Level 2 driver-assistance functions. That makes the physical position of cameras, sensors, grilles and brackets relevant after removal, bumper repair or front-end refinishing. Availability and exact functions still depend on the specific vehicle.
The repair moves through five control points
Condition record
Photographs capture the full damage zone, existing marks, gaps, warning lights and the way an opening sits before dismantling.
Controlled access
Trim and covers are removed only as required to inspect retainers, absorbers, brackets, seams, wiring and nearby cooling pieces.
Repair boundary
Technicians define which panels can be corrected, what must be renewed and where manufacturer limits or specialist procedures apply.
Surface and colour
Shape is restored before primer, then colour variant and effect are confirmed with a spray-out beside the vehicle.
Reassembly evidence
Fit, closures, lamps, trim, warnings and required diagnostic, alignment or calibration work are checked against the approved scope.
High-strength construction limits casual straightening
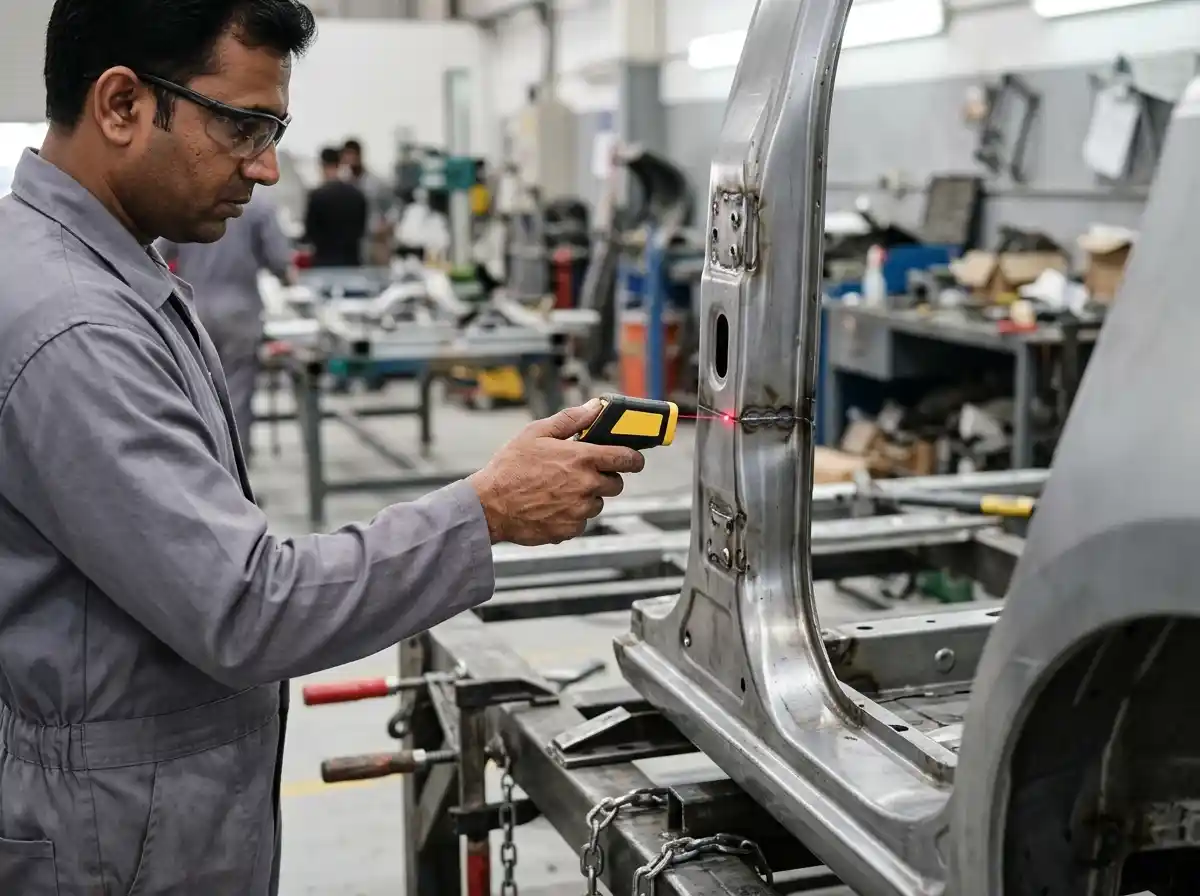
Some GAC model information identifies extensive use of high-strength and hot-formed steels in the passenger structure. These materials are chosen for crash performance, and their location and repairability cannot be judged by ordinary mild-steel habits. A kinked reinforcement, pillar, sill or rail requires identification of the exact component and procedure before pulling, heating, sectioning or welding is considered.
Outer-panel dents are a different decision. Paintless dent repair may suit intact paint and controlled deformation with usable rear access. Conventional metal repair may suit a sharper crease where shape can be restored without harming a restricted structural area. Replacement enters the discussion when stretching, tearing, inaccessible reinforcement, corrosion or previous poor work undermines a durable result.
Cosmetic finding
Repair method is selected around surface condition, material, access and the finish required across adjacent panels.
Structural finding
Measurement, safe support, repair limits, corrosion protection and technical review lead the decision.
Bumper damage is an attachment problem before it is a paint problem
A bumper corner can spring back while the side guide remains broken. The cover then appears acceptable from one direction but stands proud beside the wing or lamp. We inspect tabs, retainers, absorbers, reinforcement connections, undertrays and wheel-arch liners because these low-cost pieces often determine whether the final gap stays stable.
Plastic welding is considered only after the material, crack position and remaining thickness are known. A split through a sensor opening, torn load-bearing mount or repeated previous repair may make replacement safer and more reliable. Glue, filler and paint cannot substitute for a sound locating point.
Driver-assistance hardware needs position, not guesswork
Cameras and sensors interpret the world from known positions. A repaired bumper, replaced windscreen-adjacent part, shifted grille or disturbed mirror can therefore create a verification requirement even when no warning remains on the dashboard. The relevant procedure may call for scanning, aiming, static calibration, dynamic calibration or a combination.
We record which component was removed or disturbed, whether its bracket shows deformation and what the applicable repair information requires. Calibration is never described as a universal button press. Tyre size, ride height, wheel alignment, vehicle load, target setup and road conditions can affect the process depending on the system.
Tell the workshop if the surround-view image has a new seam, a parking alert behaves differently, a lane feature became unavailable or a warning appeared only after the incident. That change can direct the inspection to a mounting point that looks intact from outside.
Electrified GAC models add an underbody safety layer
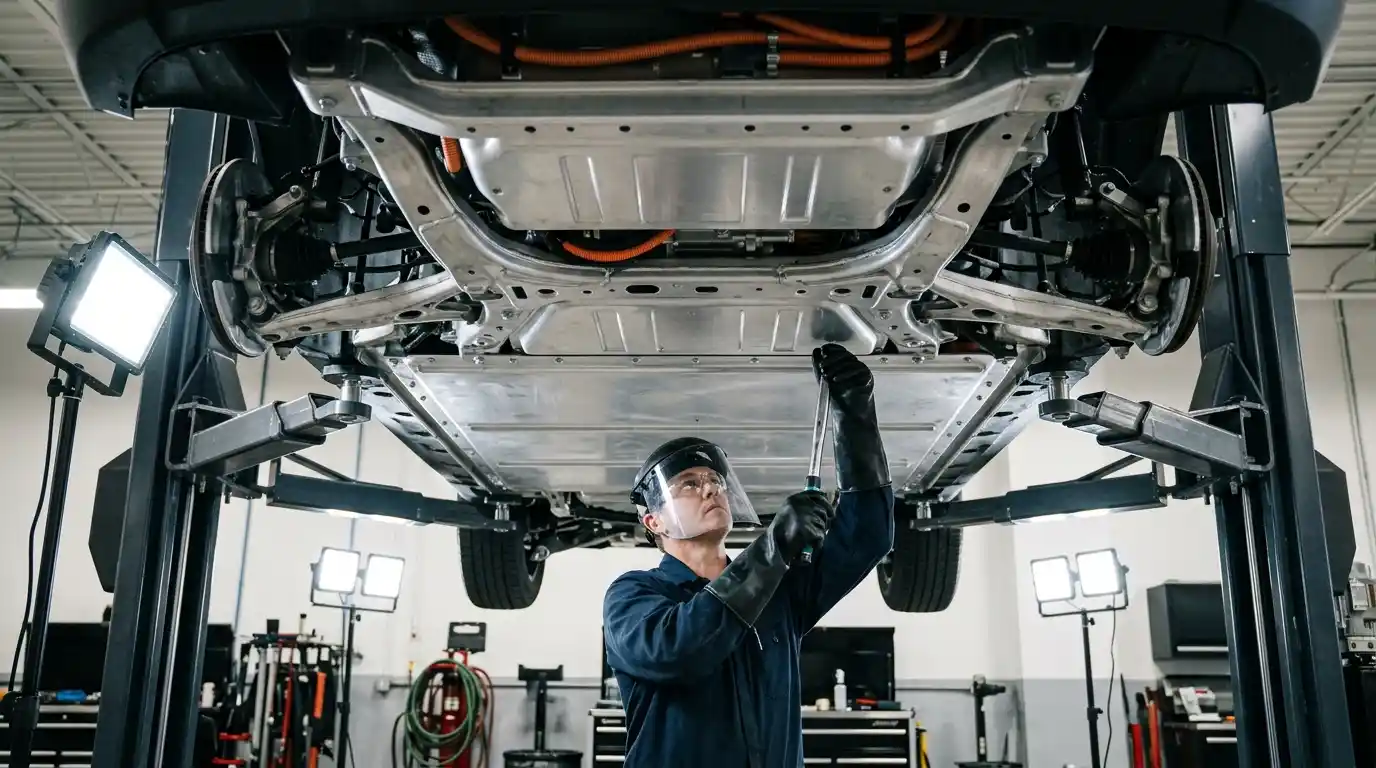
For AION, HYPTEC and other high-voltage variants, side-sill, floor, charging-area or underbody damage is screened before ordinary body work. Warning messages, coolant loss, unusual heat, restraint deployment or contact near the battery enclosure can justify recovery and isolation. An outer skin that has returned to shape does not prove the energy-storage system is unharmed.
Before repair
Confirm safe state, approved lifting points, enclosure condition, diagnostic status and restrictions around cutting, welding, pulling or heat.
After repair
Recheck covers, seals, cooling paths, warnings and any inspections or records required by the exact repair plan.
Colour matching accounts for formula and appearance
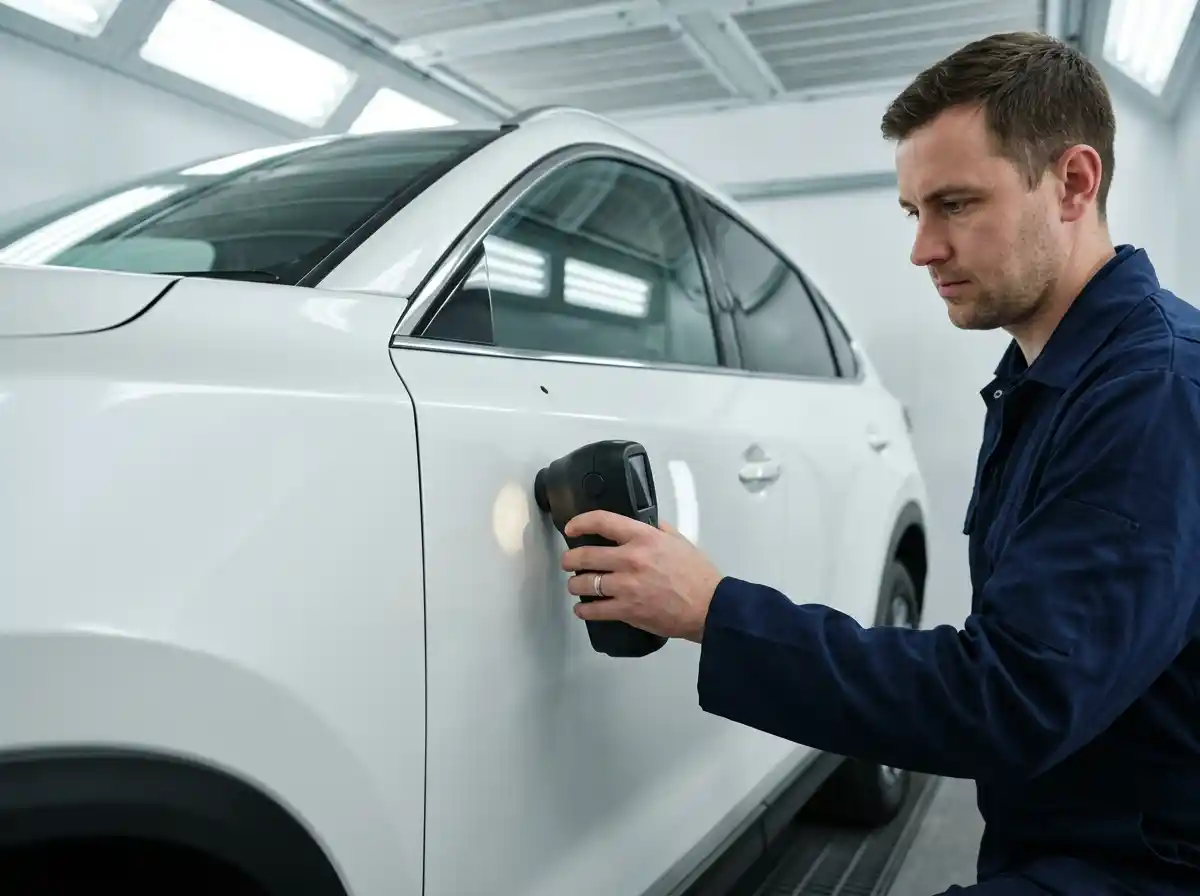
A paint code may contain several variants. Metallic flake, pearl layers, application pressure, gun distance and panel orientation influence how a colour changes from face to side view. The painter prepares a spray-out, compares it at useful angles and selects the blend strategy before committing the vehicle to the booth.
The final surface is checked for gloss, texture, dust, dry spray, edge coverage and a clean transition around removed trim. On long doors or quarter panels, linear reflections also reveal whether the body correction underneath is straight. Paint is the final layer of evidence, not the repair itself.
The quotation should show what is known and what needs opening
- Repair labour
- Metal or plastic correction, preparation, fitting and reassembly.
- Parts identity
- VIN-matched pieces, clips, seals, guides and one-time items.
- Finish scope
- Panel refinish, blend requirement, colour variant and curing.
- System work
- Diagnostics, alignment, calibration or specialist checks where required.
- Change control
- Photographs and approval before additional work proceeds.
Handover returns to the original impact map
We compare the completed vehicle with the opening condition record. The review covers panel shape, gaps, closure movement, lamp and trim seating, wheel-arch clearance, surface finish and the systems included in the job. If alignment, scanning or calibration was required, its result belongs with the repair record.
Owners also receive paint aftercare relevant to the coating and curing used. Aggressive polish, harsh chemicals and adhesive films should wait until the advised stage. Any pre-existing mark, unrelated warning or outstanding part is listed separately so the handover remains honest.
Sedans, SUVs and MPVs distribute contact differently
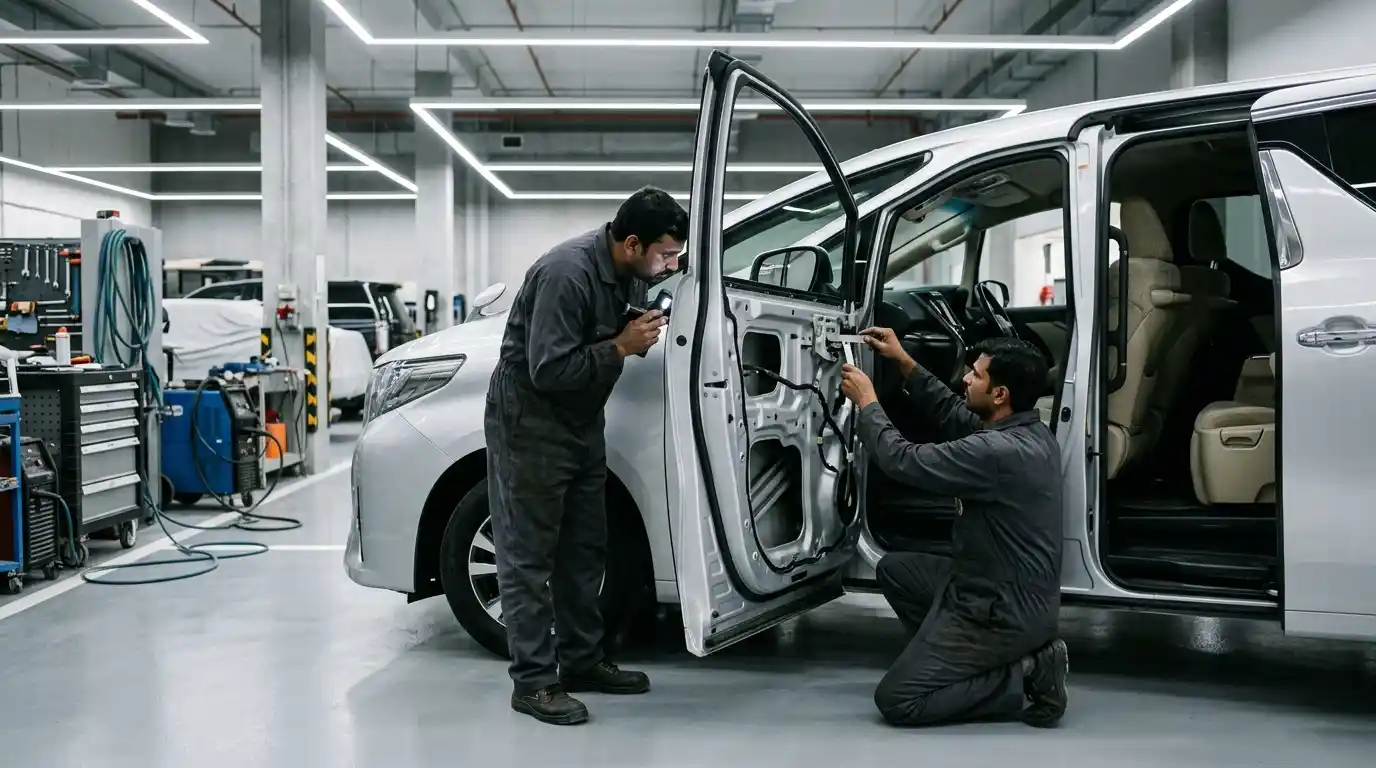
An EMPOW or other saloon exposes long door and quarter reflections, low bumper corners and tightly connected lamp-to-wing lines. GS3 EMZOOM, GS4 MAX and larger SUVs add arch cladding, taller tailgates and multi-piece lower trims. An M8-sized MPV brings very large side openings, sliding-door or closure relationships and broad rear corners. AION and HYPTEC products add high-voltage architecture and model-specific sensing layouts.
The repair plan follows the form of the damaged vehicle. A crease beside a saloon door handle may be mainly a surface-access problem; a similar-looking mark at an MPV opening can sit close to tracks, reinforcement, latches or seals. A rear SUV contact may look confined to the cover while force has reached the tailgate aperture or wheel-arch edge. These distinctions are why a universal “one panel” estimate is unreliable.
Long side surface
Check crease direction, intrusion reinforcement, door-to-door flushness and the continuous reflected line.
Large closure
Check hinges, latch, powered operation, seals, aperture geometry and adjacent lamps before adjustment.
Low EV zone
Check sill, floor, lifting area, underbody covers, cooling and enclosure proximity before body heat or pulling.
Repair-quality indicators are visible before and after paint
During metal or plastic work, the part should hold its intended shape without screws, filler or trim being used to force it. Folded edges should remain clean, mounting holes should not be elongated to disguise position and corrosion protection should be restored where grinding or joining disturbed it. On a plastic cover, the rear repair should support the contour rather than leave a thick, rigid ridge that transfers stress beside the crack.
After refinishing, colour is only one indicator. Texture should make sense beside the adjacent factory surface; the repair edge should not reveal dry spray or a hard tape line; lamps, seals and mouldings should sit cleanly without paint contamination. Linear light should cross a repaired metal panel without a sudden dip. These checks are completed before final polish because polishing can temporarily distract from shape or spray defects.
Ask the workshop to show which damage was confirmed after dismantling, which parts were renewed, how the repaired area was verified and whether any calibration, alignment or specialist dependency was required. A clear answer should refer to the specific vehicle and approved scope.
Aftercare protects a fresh finish without creating false promises
Normal washing guidance depends on the paint system, cure and environmental conditions. Use a gentle method, clean water and suitable automotive shampoo when the workshop confirms washing is appropriate. Avoid abrasive compounds, automated brushes, harsh solvents and concentrated chemicals during the early care period. Bird droppings or other contamination should be softened and removed carefully rather than scrubbed into the coating.
Paint protection film, ceramic coating or adhesive graphics should not be applied merely because the vehicle has left the booth. The coating and repair area need to reach the condition advised by the paint system and installer. The body repair team should explain any waiting period relevant to the job instead of giving one universal number for every product.
Dubai conditions make seal and underbody checks practical
Reassembly must protect the repaired vehicle in daily Dubai use
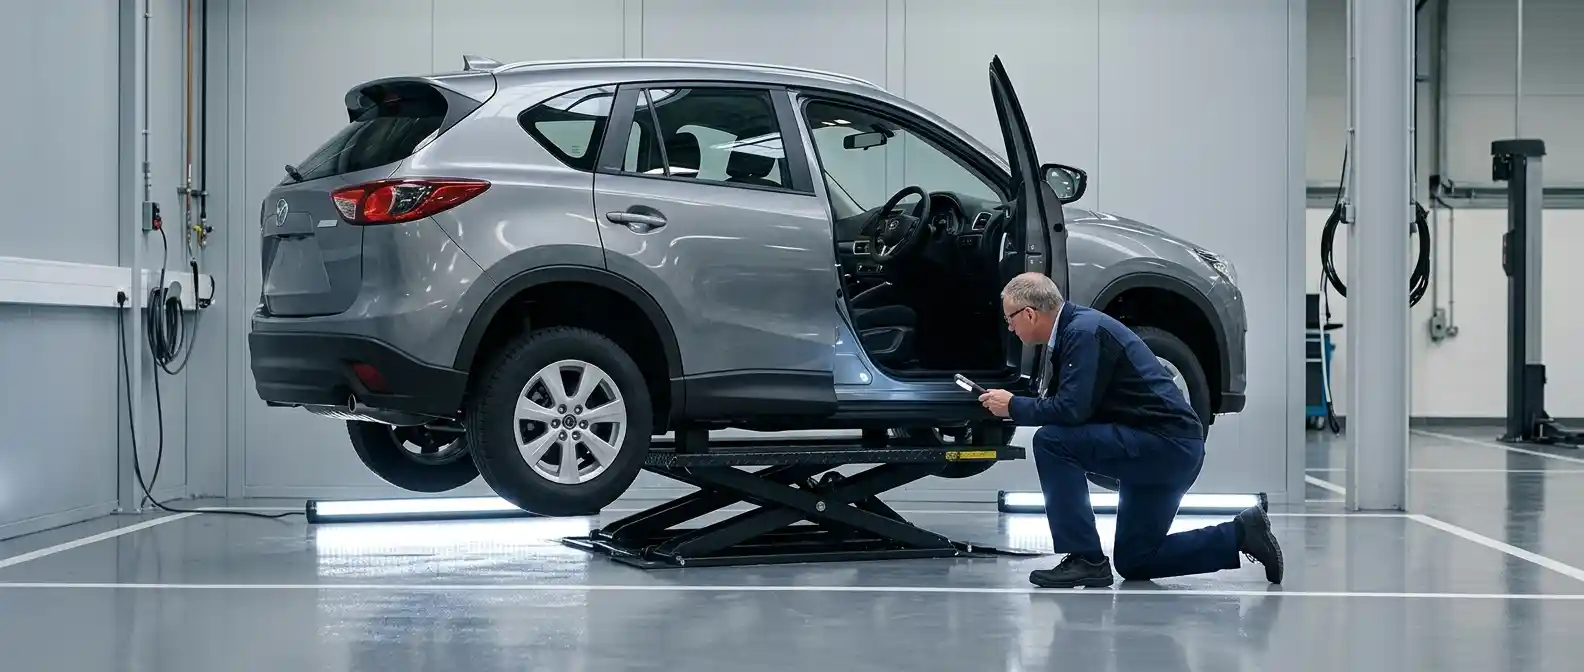
Heat, fine dust and occasional standing water expose small assembly errors. A displaced wheel-arch liner can feed grit behind a repaired bumper; a poorly seated tailgate seal can allow dust or moisture into the load area; a missing lower fastener can let an undertray vibrate at road speed. These items are checked because they affect daily use even though they are not part of the visible colour match.
After reassembly, closures and seals are inspected clean and dry. Underbody covers and liners are secured at every intended point. Where a water-management path or drain was disturbed, it remains open and is verified using a controlled method appropriate to the repaired zone.
Send one wide view before the close-up
A close photograph shows paint damage but often hides the relationship between bumper, lamp, wing and wheel. Start with the whole corner, then add the surface, the panel gaps and any dashboard message. Include the model, year, vehicle location and insurance status so the workshop can plan the right kind of assessment.