
Material-led body repair planning in Al Quoz 4
Jaguar Body Shop Dubai
Jaguar body repair begins with a question that paint alone cannot answer. What is this panel, and what sits behind it? Aluminium, steel, plastic, bonded structures, closely fitted lamps and driver-assistance hardware do not share one repair method. We identify the vehicle, material and impact route before choosing dent correction, panel repair, replacement or refinishing.

A small crease can cross several repair boundaries
A dent near the edge of a Jaguar door may be close to intrusion reinforcement, a folded hem, a handle aperture or a character line whose reflection continues into the quarter panel. A front-corner strike can disturb a bumper guide, lamp mount, wing edge and sensor relationship. The damage is therefore recorded as a system of related parts rather than a single marked panel.
Surface
Paint split, scratch depth, dent shape, texture and previous refinishing.
Structure
Panel material, reinforcement, opening geometry, seams and load path.
Equipment
Lamps, cameras, parking sensors, radar-related mounts and wiring.
Finish
Colour variant, effect, blend boundary, gloss and reflection continuity.
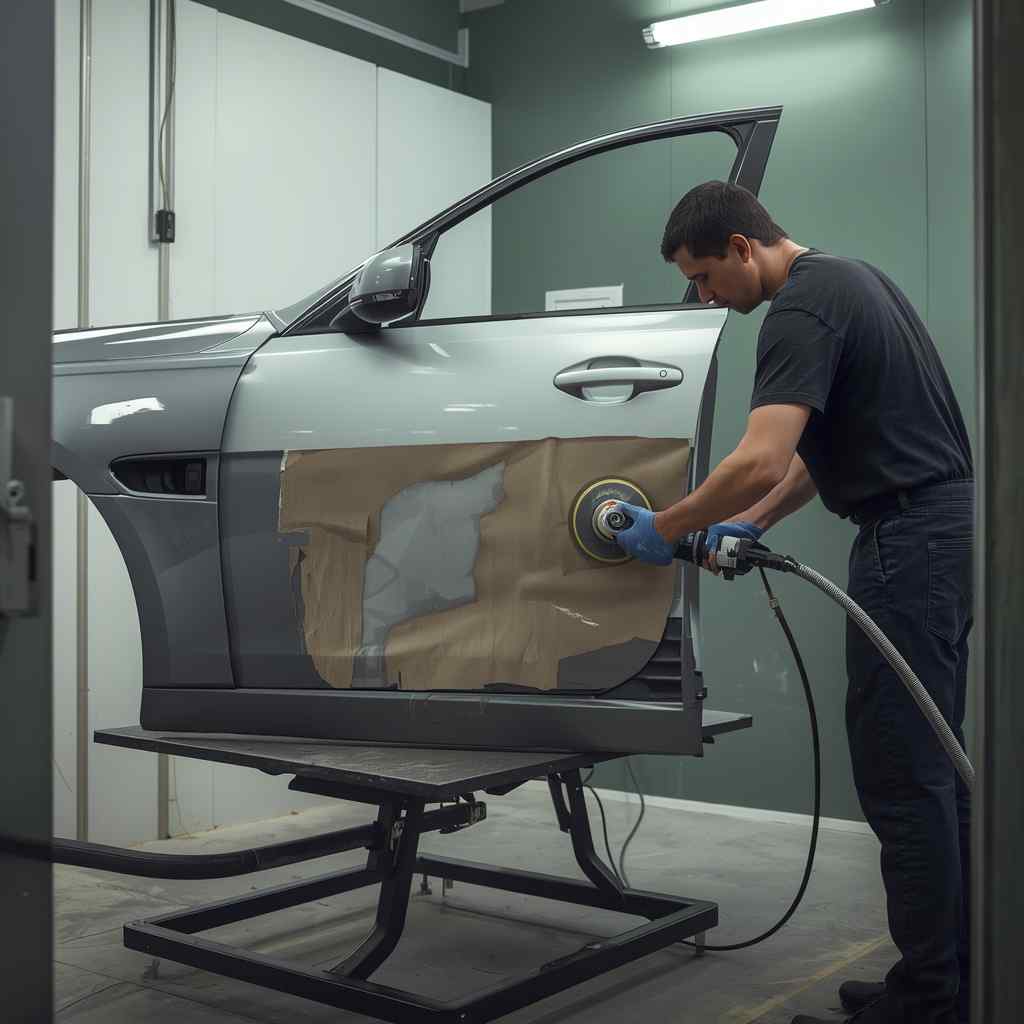
Jaguar aluminium repair needs separation and discipline
Jaguar has used extensive aluminium construction on several model lines, while other vehicles and components use steel, plastics or mixed materials. The exact panel and generation must be verified. Treating every Jaguar panel as aluminium is as careless as treating none of them that way.
Aluminium work calls for contamination control because embedded steel particles can contribute to corrosion. Dedicated tools, clean work areas and material-appropriate abrasives reduce that risk. Heat, pulling, welding, bonding and sectioning choices also depend on the alloy, component role and approved procedure.
The material ledger defines what technicians may do
Assess stretching, access, edge condition and whether metal finishing remains controlled.
Confirm measurement and procedure before heat, sectioning or straightening is authorised.
Identify polymer, crack path, sensor apertures and mounting integrity before welding or replacement.
Plan removal, surface preparation, fastening, adhesive cure and corrosion protection as one operation.
A mixed-material body is not a reason to replace everything. It is a reason to be precise about where a repair remains allowed and where material properties, crash role or joint design make replacement the stronger decision.
Repair or replace is decided by the complete outcome
Repair can preserve value
Suitable deformation, sound material, accessible geometry and an achievable finish can retain more original panel and reduce unnecessary dismantling.
Replacement can reduce risk
Tearing, severe stretch, restricted structural location, damaged edge geometry or unstable previous repair may make a new component more reliable.
Evidence resolves the choice
Measurements, material identification, parts availability, paint scope, joining method and post-repair requirements belong in the comparison.
The cheapest part or lowest labour line is not the whole quotation. A replacement panel can add dismantling, joint work, corrosion protection, refinishing and calibration. A difficult repair can add metal time and still risk a visible wave. We show the trade-off rather than forcing every job into one preference.
Long Jaguar reflections reveal what close inspection misses
Read the light across the panel
A clean highlight should travel through the repaired area without dipping, widening or breaking at an old filler edge. The eye follows these changes more easily on a long bonnet, door or rear quarter than it does on a small test patch.
We restore shape before surface build. Controlled metal correction, planishing and blocking establish the contour; primer refines it; paint confirms rather than conceals it. Door edges, swage lines and wheel-arch crowns are checked from several heights because a repair can look acceptable head-on and distorted from a shallow angle.
Closure feel matters too. Frameless glass, seals, latches and powered tailgates depend on the opening being in the right relationship. Adjusting a striker to mask deformed geometry is not the same as repairing that geometry.
Bumper and lamp fit can expose hidden corner damage
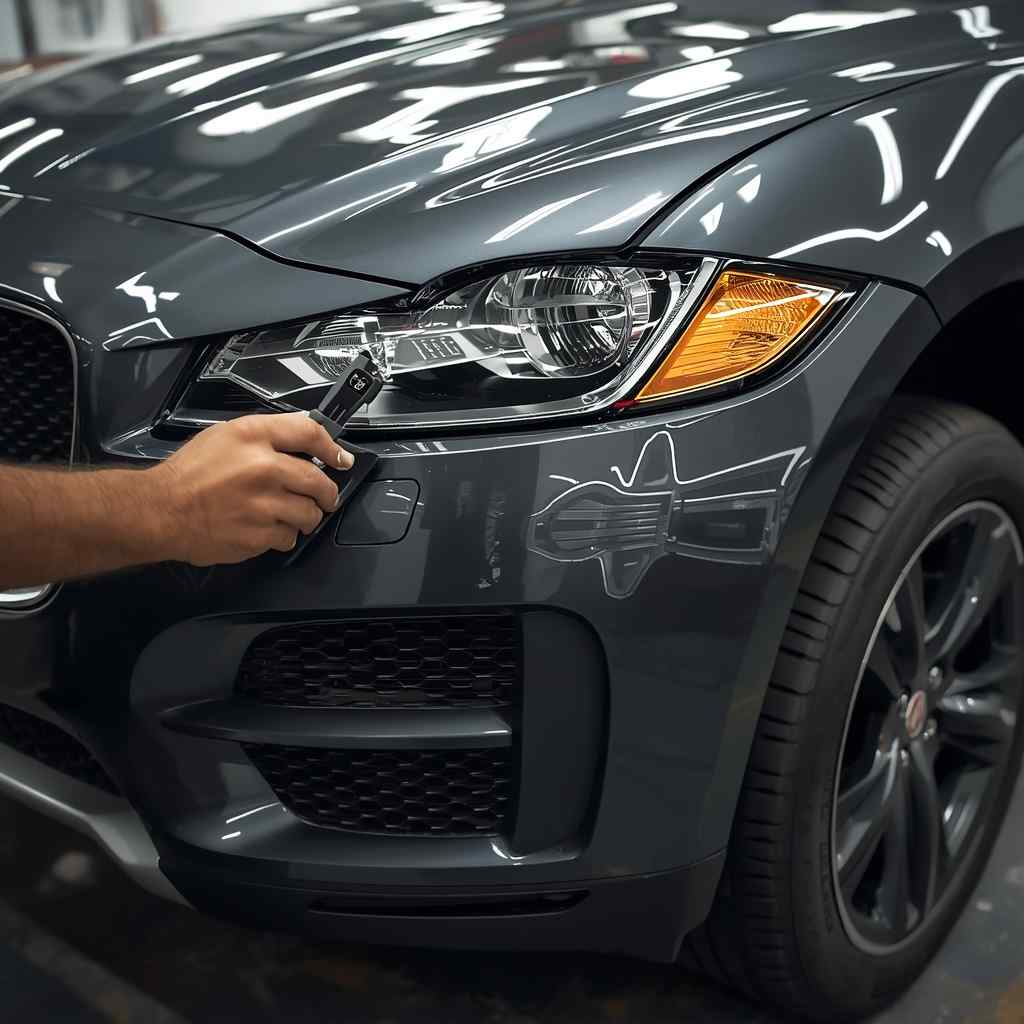
Jaguar front and rear corners often combine painted covers with grilles, lower trim, lamp assemblies, wheel-arch pieces and underbody shields. A cover that has returned to shape may still be supported by a cracked side guide or distorted bracket. We remove enough trim to inspect the locating points before committing to a cosmetic repair.
A lamp should not be forced into a gap created by shifted metal. Likewise, filler should not bridge a torn bumper tab that is responsible for stable alignment. Where a repair crosses a parking-sensor opening or other sensitive region, the material and coating build must stay within the applicable requirements.
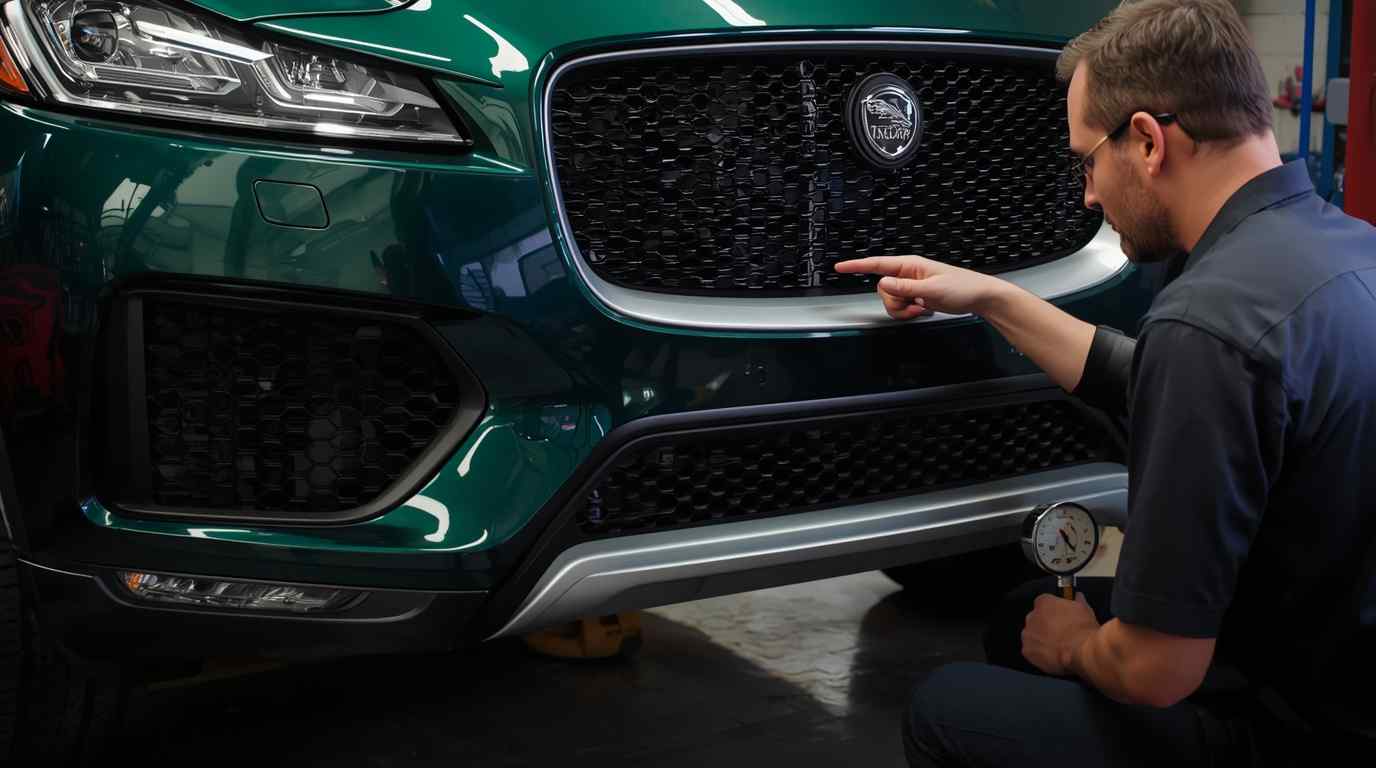
Driver-assistance checks follow the disturbed component
Jaguar models and trims can use front and rear cameras, parking aids, lane-support cameras and radar-based features. Equipment varies, so the workshop records what is present and what was removed, replaced or displaced. The relevant procedure then determines whether scanning, aiming or calibration is required.
A dashboard without an active fault is not full proof of alignment. A bracket can remain electrically connected while pointing incorrectly. Wheel alignment, tyre condition, ride height and body position can also influence some calibration routines. These dependencies are resolved before the vehicle is presented as complete.
Before work
Record warnings, camera display, sensor response and the exact parts affected.
During assembly
Protect connectors, verify brackets and keep paint or filler away from restricted zones.
At verification
Complete specified scans, aiming, calibration or road checks and retain the result.
Paint depth and effect are matched beside the car
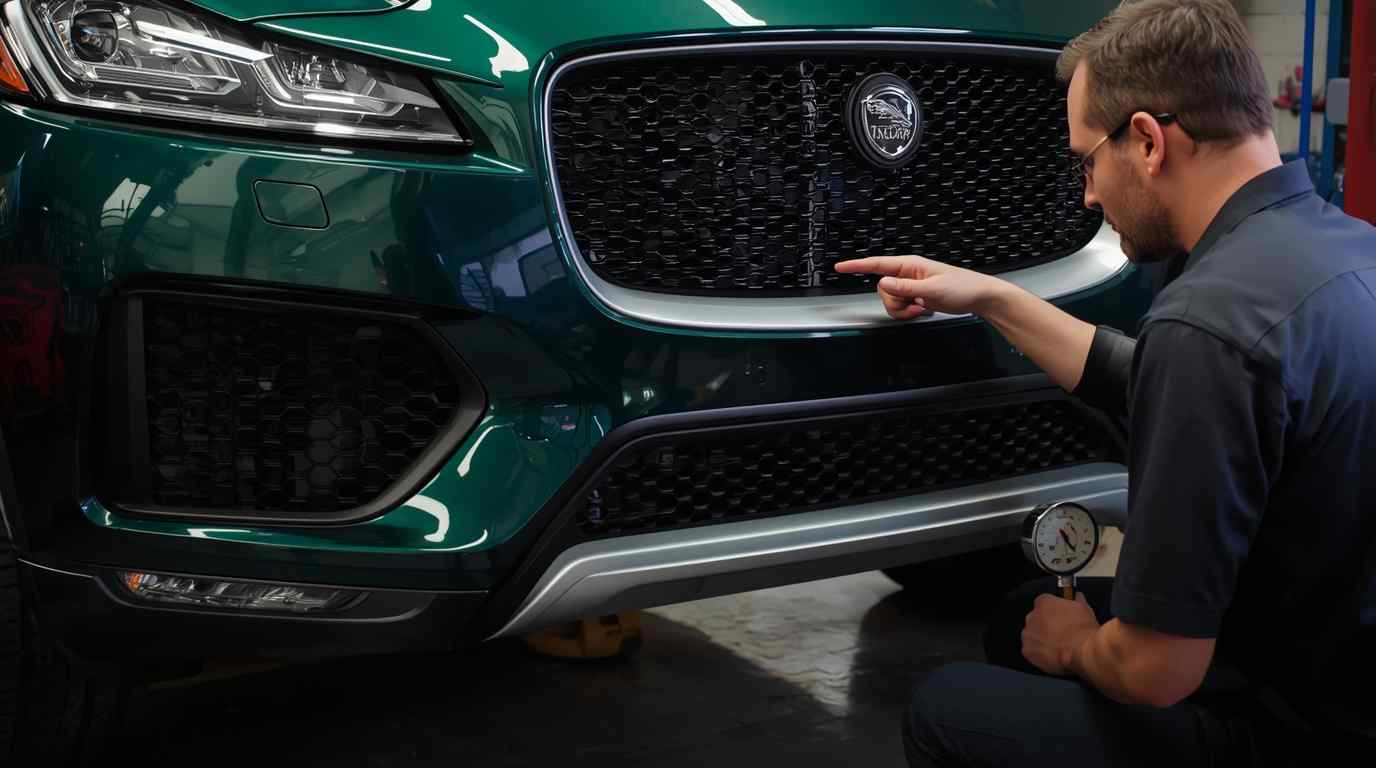
Jaguar colours may be solid, metallic, pearl or multi-layer finishes whose appearance changes with angle and illumination. The code identifies the family; a colour reading and spray-out select the usable variant. Existing sun exposure and previous repainting are considered because an untouched formula may not visually match an altered neighbouring panel.
On aluminium, surface preparation also supports corrosion control. The repair area is cleaned and isolated with compatible materials before primer, basecoat and clear coat. At the end, we compare hue, side tone, metallic texture, gloss and orange-peel character rather than relying only on a colour camera score.
Quality control is a sequence, not a final polish
- Damage and pre-existing condition photographed before removal
- Correct material and part identity recorded
- Hidden attachments and opening geometry checked
- Repair limits and joining method reviewed
- Corrosion protection restored where disturbed
- Panel gaps and closure effort compared
- Colour and texture judged under more than one light
- Lamps, trim, seals and liners seated correctly
- Warnings and required electronic operations closed
- Aftercare and any remaining limitation explained
A polished surface cannot compensate for skipped corrosion protection, loose trim or an unverified sensor. Each check belongs at the stage where a problem can still be corrected efficiently.
Estimates separate visible work from dismantling risk
The initial quotation identifies known panel, plastic, paint and part operations. It also states where hidden mounts, joint damage, reinforcement or wiring cannot be confirmed until access is created. If the scope changes, photographs and a revised explanation support further approval.
Cost is influenced by model, material, depth of damage, prior repair, parts, joining process, refinishing area, electronics and calibration. Completion time also depends on parts and technical operations, so it is confirmed after the repair direction is agreed rather than promised from one photograph.
A Jaguar job may move through our car body repair process, precision paint refinishing service or wider accident repair assessment.
Jaguar model families change where material and fit become critical
XE and XF saloons place long aluminium-intensive body surfaces, low front corners and exact door reflections at the centre of the assessment. F-PACE and E-PACE add wheel-arch edges, cladding, larger tailgates and SUV underbody relationships. F-TYPE repairs demand close attention to low bodywork, wide rear quarters, long bonnet geometry and parts whose small misalignment is obvious. I-PACE adds a high-voltage floor and cooling context to an already material-sensitive body.
These observations guide the first questions; they do not replace generation-specific repair information. A bonnet, door, quarter panel or structural casting must be identified on the particular VIN. Equipment packages also change lamps, cameras, sensor apertures and trim. The workshop should be able to explain what component is being repaired and which procedure supports the method.
Saloon
Prioritise side reflection, aluminium technique, low bumper fit and closure refinement.
SUV
Include arch, cladding, tailgate, undertray and sensor relationships in the impact map.
Sports car
Protect low aero pieces, long bonnet geometry and broad quarter-panel surface accuracy.
Electric model
Establish safe state and floor or enclosure context before conventional body operations.
Corrosion protection is part of aluminium and mixed-joint quality
Removing paint, drilling fasteners, grinding a joint or separating bonded panels disturbs more than appearance. The repair plan must restore the specified primers, sealers, adhesives, cavity protection and surface isolation. Dissimilar materials require particular care because direct contact, contamination or the wrong fastener can create a corrosion path that will not be visible at handover.
Clean preparation also affects adhesive performance. Old adhesive is removed to the required condition, mating surfaces are treated correctly and the new product receives the specified bead, assembly window and cure. Rivets or other fasteners are installed in the correct sequence and type. Substituting whatever is available can change joint behaviour and future serviceability.
Hidden quality evidence
For meaningful body work, repair-stage photographs can show the cleaned joint, correct fastening, restored sealer and protected cavity before trim conceals them. This proof is more useful than a generic claim of factory-standard repair.
Symptoms after a poor repair point to different causes
Wind noise or water entry around a door may come from opening geometry, glass position, seal seating or an adjustment made to compensate for a bent structure. A repeated bumper gap points towards guides, tabs or support alignment. A colour that looks correct straight on but dark at a shallow angle suggests metallic or pearl orientation rather than a simple wrong code. An intermittent assistance warning can lead back to a bracket, connector, wheel alignment or incomplete calibration.
The correct response is diagnosis, not another layer of filler or polish. Record when the symptom occurs, avoid altering the component and compare it with the original invoice or handover evidence. The workshop can then test the relevant relationship and decide whether the remedy is fit adjustment, renewed attachment, paint correction, diagnostic work or a deeper body measurement.
Water, wind and trim refinement complete a Jaguar closure repair
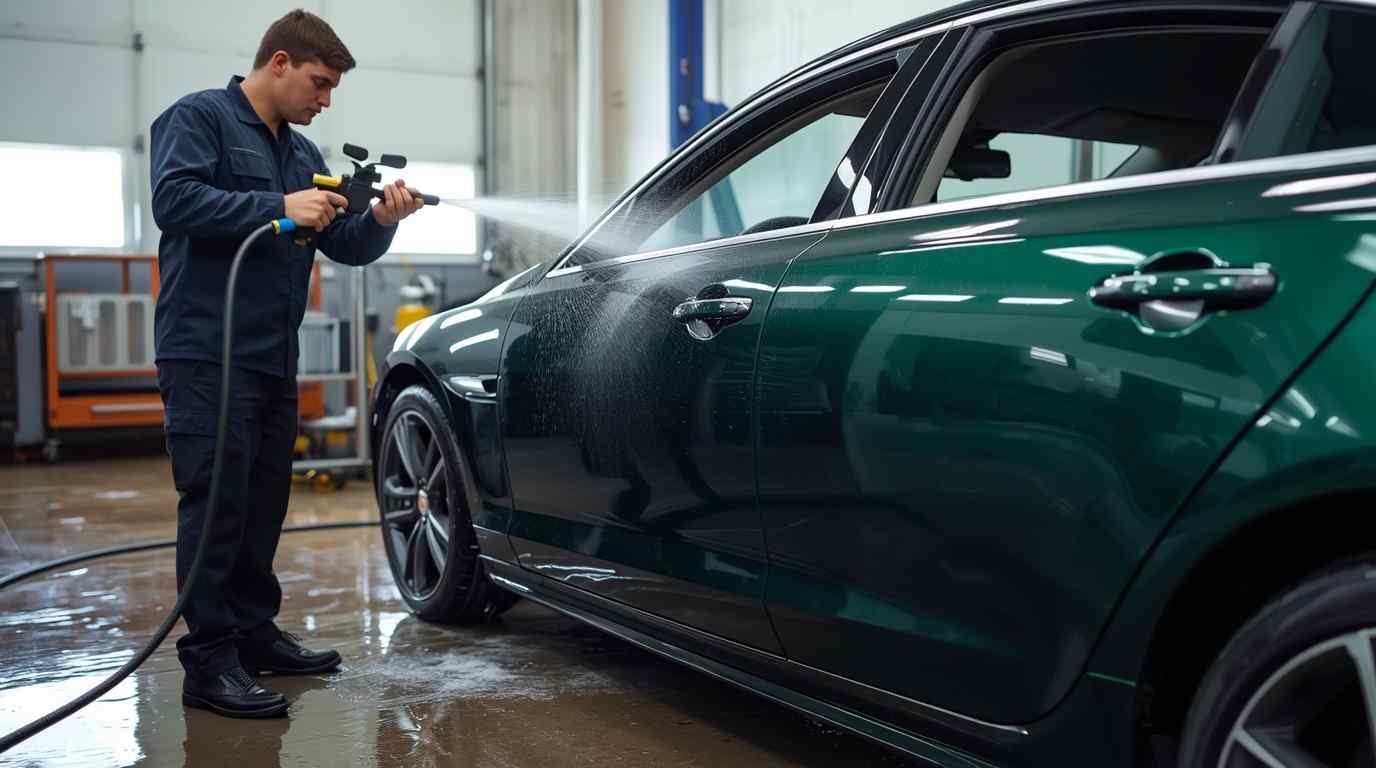
Door and tailgate work can disturb glass settings, membranes, seals, acoustic pieces and drains. The repaired opening is checked mechanically before these items are adjusted. A seal should contact evenly without being stretched to cover a gap, and a moisture membrane should be restored without blocking wiring or drain paths.
Where appropriate, a controlled leak check and a short noise assessment can reveal a problem that static paint inspection misses. Bright mouldings, piano-black trim and delicate clips are cleaned and seated without forcing them onto a distorted edge. The goal is quiet, dry operation as well as accurate paint.
Workshop intake protects delicate exterior details
Before access begins, wheel finish, bright trim, glass edges, cameras, badges and nearby panels are photographed. Protective covers and organised fastener storage reduce avoidable marks during a material-sensitive repair. Any existing chip, scratch or trim distortion is separated from the new concern so handover comparison remains fair.
Ask for the material decision before approving the finish
Send the model, year, VIN if available, a full-side or full-corner photograph, close views of the damage and any warning message. We will identify what can be prepared remotely and what requires physical access. The aim is a scope that explains the material, repair boundary and verification required before paint begins.