
Low gloss cannot be repaired like conventional clear coat
Matte Car Paint Repair Dubai
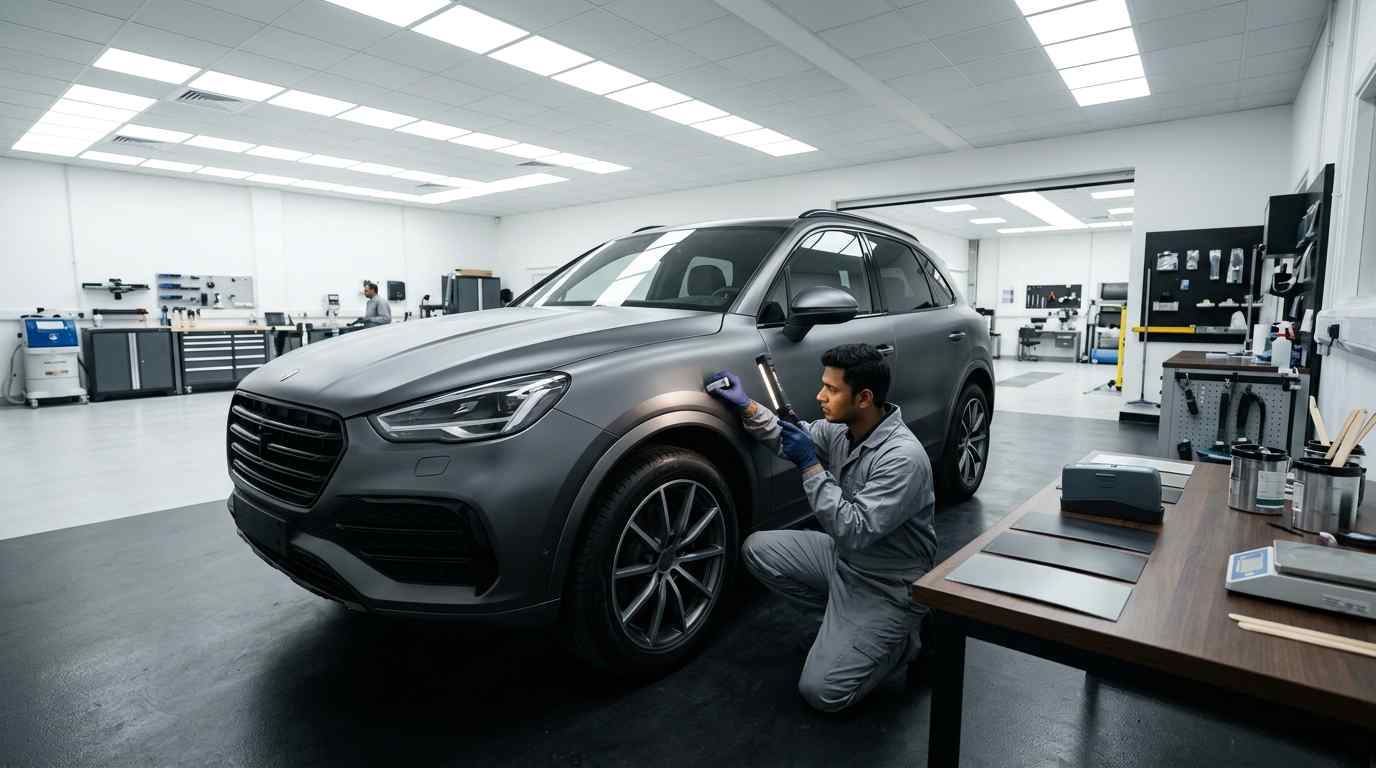
Matte car paint repair depends on sheen as much as colour. Rubbing, polishing or spot-clearing the wrong area can create a permanent glossy patch that is more visible than the original mark.
We first separate contamination from coating damage, identify the finish system and plan the smallest repair that can deliver an even low-gloss appearance.
Do not polish first
Classify the mark before changing the surface
Matte and satin finishes control reflected light through surface texture and low-gloss clear-coat chemistry. The repair route sits within car painting service in Dubai, but ordinary gloss correction rules do not transfer.
Material sitting on the finish
Road film, rubber transfer or another paint can sometimes be removed with a finish-approved method. Aggressive rubbing can burnish the surface and change sheen.
Contamination affecting appearance
Oils, bird contamination, water deposits and chemicals may mark a porous-looking low-gloss surface. Cleaning compatibility and dwell time matter.
Coating has been cut or polished
A scratch that reaches the colour layer, or a rubbed patch that has become glossy, usually cannot be blended away by ordinary polishing.
Clear coat or previous repair is unstable
Peeling, cracking, solvent reaction and uneven prior refinishing require coating correction rather than cosmetic cleaning.
On matte paint, a smoother patch reflects more light. Polishing can repair gloss paint and damage matte paint.
Do not test compound, wax, abrasive cleaner or a machine polisher on an inconspicuous section. The altered texture can remain visible across the complete panel.
PPG’s official low-gloss refinishing guidance explains that low-gloss repairs require dedicated preparation, application and blending considerations. Product-specific technical data remains the controlling instruction.
Sheen-matching pathway
The repair is approved on samples before the vehicle
Colour formula alone cannot define the final appearance. Film build, hardener, reducer, gun technique, flash time, coat count and curing can all influence sheen.
-
Stage 01
Identify the coating
Confirm whether the surface is factory matte paint, repaired low-gloss clear, satin paint, textured trim coating or matte vinyl. The care and repair routes are not interchangeable.
-
Stage 02
Inspect in diffused light
Use broad reflection and several viewing angles to map gloss variation, staining, scratches, edge damage and earlier repair boundaries.
-
Stage 03
Check a safe cleaning route
Follow the relevant product guidance and test carefully. Stop if wiping changes sheen or spreads contamination. Cleaning is diagnostic, not an excuse to rub harder.
-
Stage 04
Define the repair boundary
A complete panel, styling break or approved blend area may be needed because a local clear-coat edge can remain visible on low-gloss paint.
-
Stage 05
Prepare spray-out samples
Create labelled samples using the proposed colour and low-gloss system. Vary only controlled factors and allow the samples to cure before judging them.
-
Stage 06
Compare colour and sheen
View the samples beside the clean vehicle in workshop light, open shade and useful daylight. Approve the closest relationship rather than a wet-booth appearance.
-
Stage 07
Refinish consistently
Keep gun distance, overlap, coat count, flash-off and booth conditions stable across the repair area according to the selected product system.
-
Stage 08
Handover with care limits
Record the repaired area, expected appearance, curing guidance and prohibited products. Inspect for gloss patches, dry areas and texture shifts before collection.
Repair boundary decisions
A small mark can require a larger refinish area
The visible size of the defect does not always predict the correct paint boundary.
| Observed condition | Why it is difficult | Likely decision path |
|---|---|---|
| Light transferable mark | Cleaning friction can burnish the finish | Use an approved cleaner and controlled test before considering refinishing |
| Glossy rubbed patch | Surface texture has changed and cannot be dulled evenly by guesswork | Assess full-panel or defined-break refinishing with matched low-gloss clear |
| Scratch through colour | Both colour and sheen must be restored without a visible clear edge | Repair the substrate and plan a defensible colour and clear-coat boundary |
| Edge chip or body-line damage | Sharp geometry changes film build and reflection | Use a natural styling break or wider panel repair where the product system requires it |
| Uneven previous matte repair | Sheen may vary through material ratio, application or curing | Map the complete previous repair before recoating; incompatible layers may need removal |
| Dent with intact matte paint | PDR access or tool contact can still affect the surface | Assess paintless repair separately and protect the low-gloss coating from friction |
Protect the evidence
Send photos before polishing or touching up
Include one full panel view in broad light, two oblique angles, a close image of the mark and the vehicle paint code. We will explain whether inspection should begin with cleaning, substrate repair or a low-gloss refinish plan.
Low-gloss diagnosis
Colour match and sheen match are separate approvals

A matte panel can have the correct colour formula and still look wrong because its gloss level differs from the surrounding finish. Sheen is influenced by the low-gloss clearcoat mix, hardener and reducer choice, film build, coat count, spray distance, overlap, flash time, booth conditions and curing. A sample that looks close while wet may dry to another gloss level, so spray-outs must be fully processed before approval.
Gloss-meter readings can help document a difference when the equipment and measuring geometry suit the finish, but a number does not replace visual comparison. Curves, styling lines and surface texture change reflected light. The practical assessment uses a clean vehicle, broad diffused lighting and several viewing angles, then compares labelled spray-out panels beside the repair area. The approved sample records both colour and low-gloss appearance.
Local spot repair is restricted because the clearcoat transition can leave a visible halo or a polished-looking edge. A small scratch in the centre of a panel may therefore require refinishing to a panel edge or another defensible styling break. The decision depends on coating construction, damage depth, panel shape, adjacent-panel relationship and the paint manufacturer’s repair method. The smallest physical defect is not always the smallest reliable paint area.
Contamination must be separated from coating damage before refinishing. Grease, road film, water spotting, bird contamination and rubber transfer can change the surface temporarily, while abrasive rubbing can permanently burnish it. Cleaning uses finish-compatible products and low-friction technique. Compound, wax, clay, aggressive solvent and machine polishing should not be tested as though matte paint were conventional gloss clearcoat.
Aftercare protects the repaired sheen. Washing guidance should cover curing time, hand-wash method, suitable low-gloss products, prompt removal of contamination and avoidance of waxes or gloss enhancers. If film, decals or a coating will be applied later, compatibility and waiting time need confirmation. Any warranty review is easier when the customer keeps the invoice, repair-area record, finish description and handover photographs.
Adjacent matte panels also need inspection before colour is mixed. Age, washing history, earlier polishing, local staining and previous refinishing can produce several sheen levels on the same vehicle. The target should be the clean, representative neighbouring finish, not an isolated contaminated patch. Recording that reference prevents a technically consistent repair from being judged against the wrong area at handover.
What colour matching cannot solve alone
Sheen changes with the complete paint process

The paint code identifies a colour family, not the final reflectance of a repaired low-gloss panel. Existing exposure, washing, hand contact, previous coatings and local polishing can make the vehicle differ from an original sample. A formula must be compared with the actual prepared surface.
Matting components can settle, so material preparation and accurate mixing matter. Application that is wetter, drier, heavier or lighter than the approved sample can change the result. Curing and final film thickness also contribute. The technician must reproduce the sample process, not merely the colour weights.
The broader automotive paint types explained article explains the difference between solid, metallic, pearl and low-gloss systems. When metallic or pearl effect sits below matte clear, both effect orientation and surface sheen must agree. Correct colour under a mismatched clear still looks wrong.
Spot repairs are especially visible when the repair creates a local gloss island or an uneven transition. The proposed boundary should follow the paint manufacturer’s method, vehicle geometry and the condition of the existing finish. A full panel may be the smallest honest unit even when the scratch is short.
Aftercare without creating shine
Protect the repaired sheen after collection
Use the written product and workshop guidance supplied for the specific paint system. These checks help prevent avoidable burnishing and staining.
Washing
- Wait for the stated curing period before washing
- Use a low-gloss approved shampoo and clean mitt
- Rinse loose dust before making contact
- Avoid automatic brushes and abrasive drying towels
Products
- Do not use ordinary wax, polish or gloss enhancer
- Do not clay the surface unless the coating manufacturer permits it
- Remove bird contamination promptly using the approved method
- Test unfamiliar cleaners only with professional advice
Daily contact
- Avoid repeated rubbing around handles and fuel flaps
- Do not place magnetic signs or abrasive covers on the finish
- Lift dust rather than dry-wiping it
- Report a new stain before experimenting with chemicals
Inspection
- View the panel in broad light after the first wash
- Check for a developing glossy patch or edge
- Keep the invoice and paint-system record
- Photograph any concern before another workshop changes it
When a full panel is the smaller risk
Repair size follows sheen continuity rather than scratch length
A local colour repair still needs a low-gloss clear-coat boundary. On conventional gloss paint, a controlled polish can sometimes soften a minor clear transition or texture difference. Matte clear cannot be polished that way because the correction would change reflectance. The proposed boundary therefore needs enough space to reproduce one consistent surface.
Handles, badges, mouldings, sharp creases and panel edges can interrupt the spray pattern or force a short blend. The technician decides whether those features provide a natural break or create a visible patch. Removal may improve access, but the estimate must account for clips, seals, sensor parts and the risk of marking adjacent matte paint.
A partial repair can also fail when the surrounding panel has been burnished by years of contact or washed with gloss-enhancing products. Matching the original specification may then differ from the aged surface. Labelled spray-outs help set the closest practical expectation, while a complete-panel refinish can create a consistent new reference.
The quotation should name the repaired substrate area, colour area, low-gloss clear boundary, removed parts and aftercare restriction. That is more useful than a small-scratch price that ignores the visual unit being refinished.
Low-gloss questions
Matte paint repair questions
Can a scratch in matte paint be polished out?
Usually not. Polishing smooths the surface and can create a glossy patch. The scratch depth, coating system and repair boundary must be assessed before any abrasive work.
Can matte clear coat be blended locally?
Some product systems provide controlled methods, but an invisible local blend is difficult because sheen variation exposes the transition. Full-panel or defined-break refinishing may be more defensible.
Why does the repaired matte panel look different at an angle?
Low-gloss appearance changes with surface texture, film build and viewing angle. If metallic or pearl colour sits below it, effect orientation can add another variable.
Can water spots be removed from matte paint?
Sometimes contamination can be removed with an approved low-gloss cleaning method. Etching or burnishing may require refinishing. Do not escalate to compound or polish.
Will the new matte paint exactly match an aged finish?
Samples are used to seek the closest practical colour and sheen relationship. Exposure and previous care can alter the existing surface, so the expected result and boundary should be agreed before painting.
A natural stopping point
Approve the sample and preserve the surface
Before authorising work, use the car paint defect guide to describe whether the concern is contamination, a scratch, peeling, cracking or an earlier refinish problem.
The repair decision is complete when the coating type, panel boundary, sample, care limits and expected appearance are written down. After that, the safest contribution from the owner is simple: do not polish the evidence.