
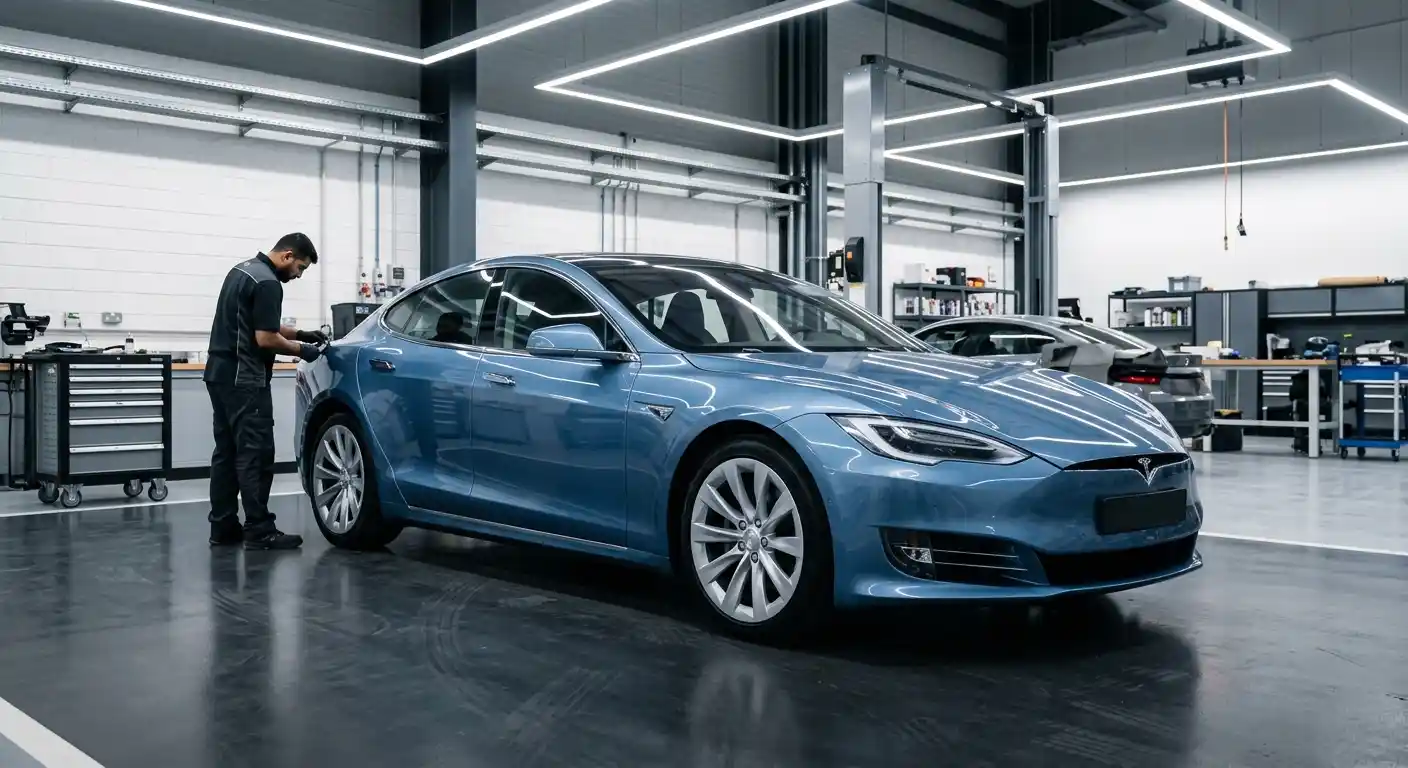
Polestar Body Shop Dubai
Polestar body shop Dubai repair planning starts with the actual accident damage, including bumper damage, dents, scratches, door and quarter-panel damage, paint damage and alignment concerns. Polestar’s restrained surfaces leave little room for an uneven gap, interrupted reflection or misplaced sensing component, so we measure body position, check the EV and sensor context, and build paint and verification around the exact vehicle.
How our Polestar body shop Dubai defines the repair scope
What the eye notices
Door and wing reflections, bumper-to-panel transitions, flush handles, lamp edges, black trim, wheel-arch openings and the change from painted to unpainted material.
What the repair record proves
Material and part identity, measurements, safe EV state, restored attachments, paint variant, calibration requirement and final condition against the original damage map.
A photograph taken too close can hide these relationships. We begin with the whole side or corner, then examine the dent, scratch or crack. This order shows whether the incident is cosmetic, component-related or part of a wider body alignment concern.
Polestar model differences change the inspection
Polestar 2
Fastback closures, tightly resolved front and rear surfaces, multiple sensing points and a high-voltage floor require model-specific access and verification.
Polestar 3
The front SmartZone places a radar and camera relationship inside the vehicle’s visual identity, making front-mask alignment a functional matter.
Polestar 4
Camera-led rear visibility, extensive exterior sensing and large smooth panels place extra emphasis on exact part position and diagnostic closure.
Official Polestar UAE information lists model-specific sensor configurations, including cameras, radar units and ultrasonic sensors. Equipment and availability can change by year and trim. We inspect what is fitted rather than applying one sensor count to every vehicle.
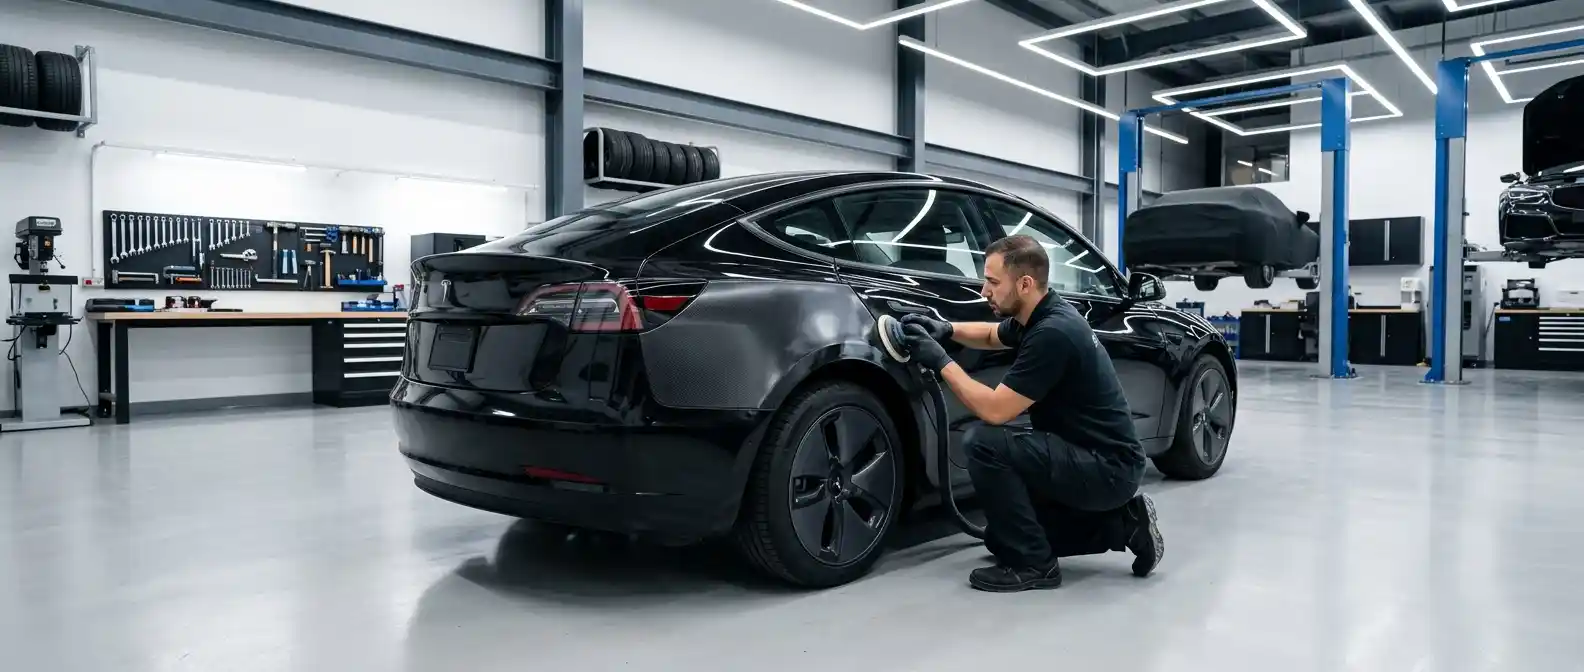
- Gap
Even spacing without forced latch or striker adjustment - Flush
Adjacent faces meet without an unexplained step - Reflection
Linear light crosses the repaired area without a wave - Function
Closures, lamps and included systems operate as specified - Evidence
Scan, alignment or calibration result retained when required
SmartZone and bumper work cannot be separated
On a Polestar 3, the SmartZone hosts radar and camera hardware at the front. On other Polestar models, sensing hardware is distributed differently around bumpers, mirrors and body openings. If a repair changes a bracket, aperture, paint build or cover position, the system’s physical view can change even when wiring remains connected.
We inspect the bumper cover, reinforcement relationship, guides, lamp mounts, lower shields and every relevant bracket. Filler is not used to conceal a twisted sensing opening. Coating thickness and repair material around a restricted zone follow the applicable information for that component.
A new parking alert, altered camera stitch, unavailable lane feature or intermittent message after impact is useful evidence. Record it before codes are cleared or the vehicle is dismantled.
EV safety defines when body work may begin
Floor, sill, wheel, charging-area and underbody impacts receive a high-voltage screen. Battery or electrical warnings, coolant loss, restraint deployment, unusual heat or visible enclosure contact can require recovery and specialist assessment. Cosmetic appearance cannot clear that risk.
The repair plan identifies safe isolation, approved lifting points, underbody inspection and restrictions around pulling, cutting, welding or heat. If battery-enclosure damage lies outside the approved body scope, the work pauses for the appropriate specialist decision. We do not imply that new paint proves high-voltage integrity.
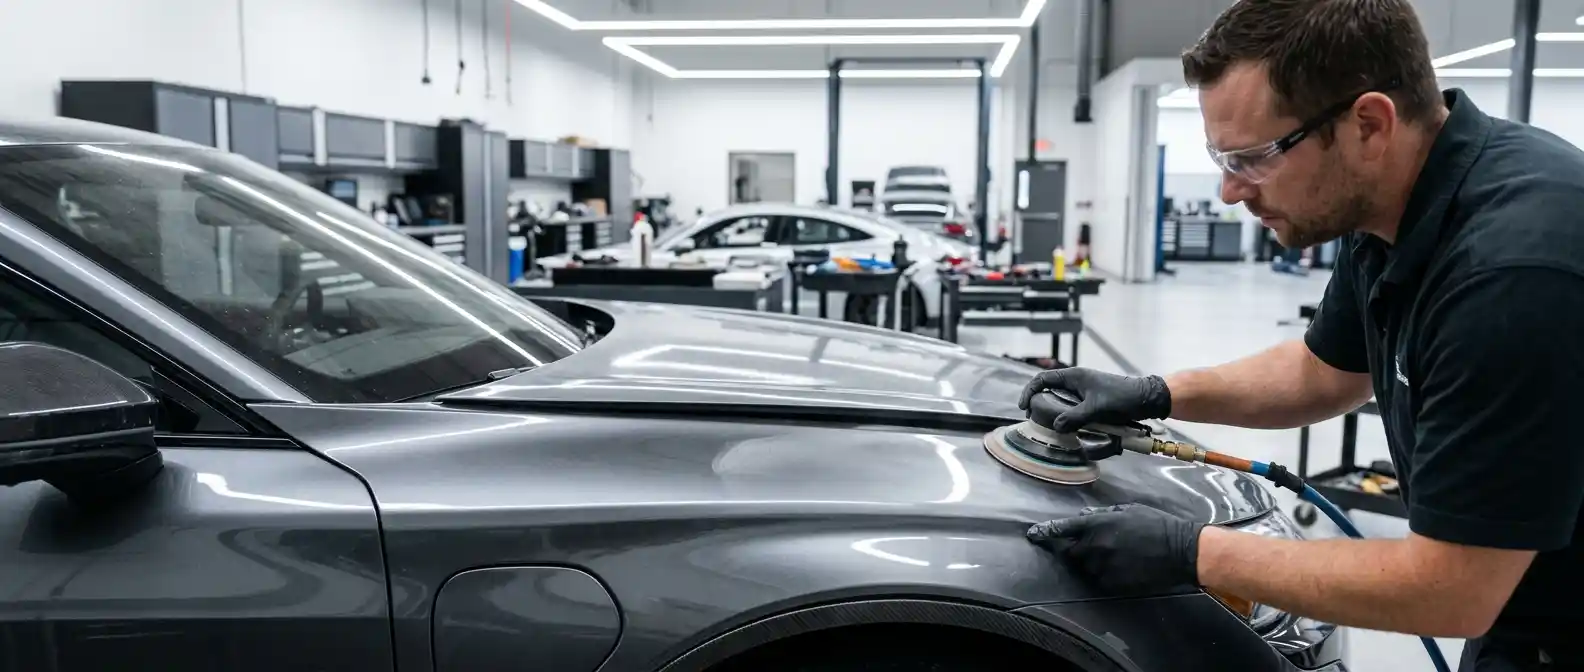
Four repair stages keep the clean design honest
Define
Identify material, damage boundary, sensing hardware and EV controls.
Restore
Correct panel geometry, mounts, seams and corrosion protection.
Refinish
Confirm colour variant, prepare the substrate and control texture.
Verify
Repeat measurements and close required diagnostic or calibration work.
Repairability changes with material and location
A shallow dent with intact coating and usable access may suit paintless dent repair. A sharper crease with paint failure may need conventional panel correction and refinishing. Tearing, severe stretch, inaccessible reinforcement, a restricted high-strength location or a damaged joint can make replacement more responsible.
The decision includes the complete operation. Replacement adds dismantling, joining or fastening, sealing, corrosion protection, paint and verification. Difficult repair adds metal time and finish risk. Parts supply and calibration can change both cost and timing, so one line item does not decide the outcome.
Polestar colour matching relies on a spray-out and surface control
Minimalist styling can make a small change in metallic effect or orange-peel texture conspicuous. We use the paint code and electronic reading to locate variants, then spray a test panel and compare face, side tone and particle orientation beside the vehicle. Existing fade or previous repainting is recorded.
Shape is corrected before primer. The repair is blocked with linear light, edges are checked, and only then is the basecoat applied. Final assessment covers hue, flop, gloss, texture, coverage around trim and the transition into adjacent factory paint.
Software status supports but does not replace geometry
Polestar vehicles can receive software updates, yet body repair remains physical. A cleared warning or current software version does not prove that a camera, radar bracket or ultrasonic sensor sits at the correct angle. We preserve the distinction between diagnostic communication, physical aiming and calibration.
Where a procedure requires calibration, its prerequisites can include tyre pressure, wheel alignment, ride height, target placement or a defined road drive. The final record states what was performed and which system it addressed rather than using “reset” as a vague completion claim.
The estimate names uncertainty before dismantling
Visible panels, confirmed parts, paint area and known verification are listed first. Hidden guides, absorbers, wiring, reinforcement or underbody condition are marked as access-dependent. If dismantling reveals additional damage, the reason and photographs support a revised approval.
Price depends on model, material, severity, high-voltage controls, parts, finish, electronics and current availability. Completion time is confirmed after the safe state and supply position are known. A quick photo estimate is preparation, not a final technical promise.
Handover repeats the original measurements
Panel gaps and flushness are compared with the opening record. The team checks closures, bumper corners, lamp and trim seating, underbody covers, camera views, warnings and any system included in the repair. Required scan, alignment and calibration evidence stays with the job file.
Fresh-paint aftercare is explained for the applied coating. Aggressive polish, harsh chemicals and adhesive protection wait until the advised stage. Pre-existing finish variation, unrelated warnings and deferred items remain separately documented.
The confirmed scope may use our body repair service, paint refinishing process or accident repair assessment. BodyShop.AE is an independent repair workshop, so model- and system-specific procedures are checked against the vehicle and current repair information rather than presented as manufacturer-authorized work.
Model-specific design features guide the first measurement
On a Polestar 2, the fastback opening, side shoulder, lower black surfaces and distributed parking hardware provide the main reference points. The Polestar 3 brings the SmartZone, broad SUV shoulders and a large powered rear closure. The Polestar 4 combines extensive cameras with a rear design that relies heavily on digital visibility. These differences affect which gap, view and component must be captured before work.
Polestar 2
Measure door and fastback relationships, front or rear bumper position and the line through the wheel openings.
Polestar 3
Measure SmartZone alignment, lamp and bumper architecture, arch clearance and tailgate opening.
Polestar 4
Record exterior camera presentation, rear-view function, large panel reflections and closure geometry.
Equipment changes by build and market. A model description supplies context, while VIN, installed hardware and applicable repair information control the method. This distinction is especially important when ordering a cover with camera or sensor apertures.
Calibration prerequisites are quality controls, not workshop formalities
A camera or radar procedure can depend on level floor, accurate target distance, controlled lighting, correct tyre pressures, wheel alignment, ride height and a vehicle with specified load conditions. Dynamic routines may require road markings, speed ranges, weather or traffic conditions that allow the system to complete its learning. A failed routine should be diagnosed rather than repeatedly cleared.
Body geometry comes first. Calibrating a component on a bumper, windscreen or suspension relationship that is still out of position can produce an invalid or unstable result. The job sequence therefore closes panel and wheel alignment before calibration prerequisites are set. The final record identifies the component, procedure, result and any limitation.
“Scanned,” “aimed,” “calibrated” and “road tested” describe different work. The handover should use the term that matches what was actually completed on the vehicle.
Clean styling makes small assembly errors visible
Black lower cladding can stand proud where a hidden clip is reused. A flush handle can reveal door-skin or mechanism misalignment. The SmartZone can look visually off before an electronic warning appears. A fastback or tailgate seal can create wind or water symptoms even when the outer paint is excellent. We treat these as assembly and geometry questions, not polishing tasks.
Position
Compare gap and flushness with neighbouring surfaces and reference measurements.
Retention
Verify clips, guides, fasteners and adhesive hold the part without artificial tension.
Operation
Test handle, glass, closure, lamp, camera and parking behaviour included in the scope.
Presentation
Inspect colour, texture, trim cleanliness and reflection under useful light.
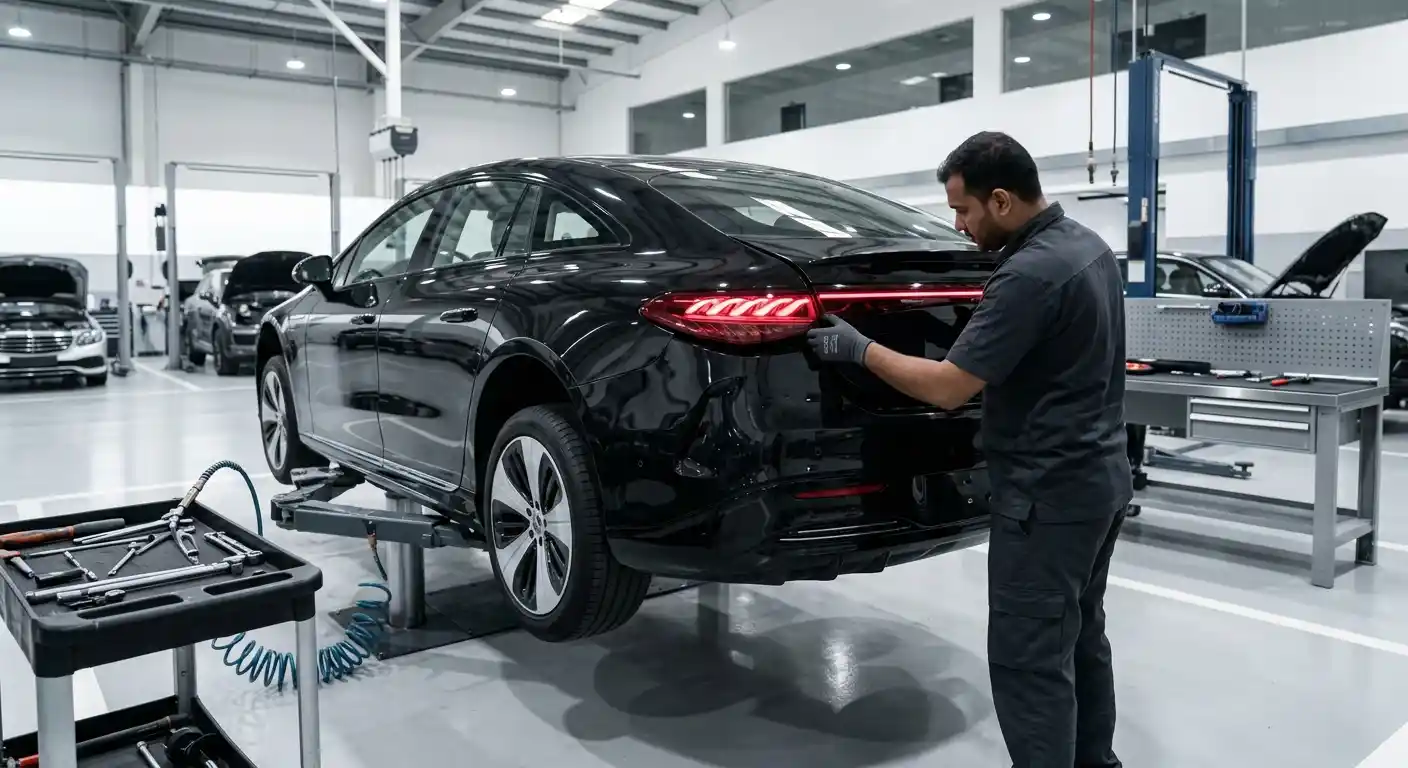
A poor repair produces clues that should not be ignored
A bumper edge that opens repeatedly suggests a damaged guide or distorted support. A camera image that developed a seam after repair suggests a physical or calibration issue. A door that needs additional effort may involve hinge, latch, opening or handle setting. A pale or dark band visible only from the side points towards metallic orientation or blend control.
Record the symptom before altering the car. Photograph gaps with a wider reference, capture the warning screen and note whether the condition changes with temperature, speed, steering or closure use. Diagnosis then targets the relationship instead of applying another layer of adhesive, filler or polish.
Replacement parts need a design and hardware receiving check
A Polestar bumper, lamp, mirror or closure can vary by model year, market and equipment pack. The part is checked for label, side, finish, sensor or camera apertures, connector locations, mounting tabs and shipping damage before it enters paint. Large smooth components are test-fitted when practical so an edge or opening problem is found before refinishing.
Many painted shells arrive without the hardware visible in a complete assembly. Cameras, ultrasonic sensors, harnesses, seals, trim and brackets may be transferred or renewed. The estimate names those operations and records any programming, aiming or calibration separately.
A visually similar part can carry a different bracket angle or aperture. Painting it first turns an identification mistake into lost material, extra time and a higher risk of forced assembly.
Repair-stage photographs should explain more than the finished shine
Useful evidence includes the full opening condition, hidden broken attachments after removal, material identification, repaired or renewed joints, restored protection and sensor mounting before covers return. Final images then show the complete side or corner under linear light, not only a tight glossy detail.
This sequence helps an owner understand why the scope changed and gives future technicians context. It does not turn an imagined scenario into a case study. A genuine published Polestar case must use workshop records from an actual vehicle with permission and verified outcomes.
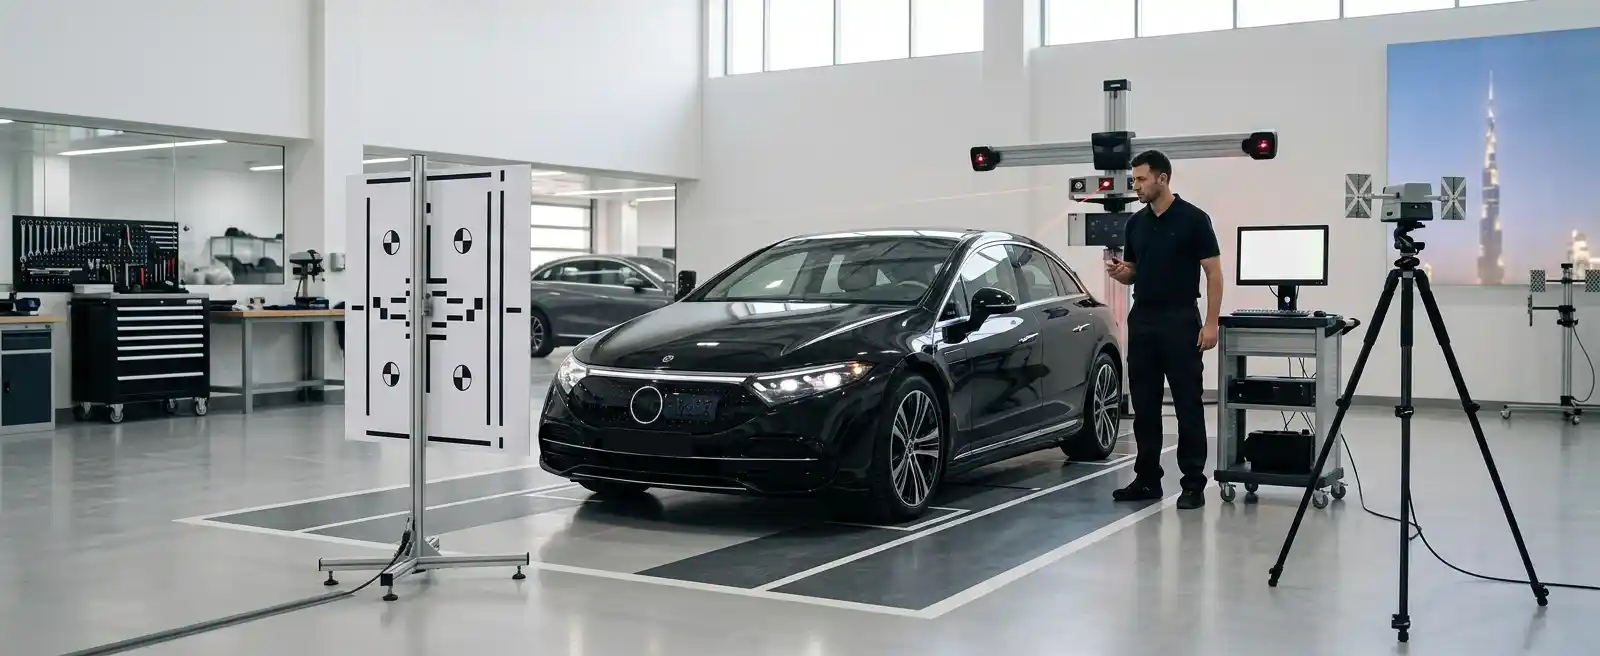
Clean reassembly protects cameras and contrasting trim
Polestar’s black, painted and sensor-bearing surfaces can show fingerprints, compound residue and overspray immediately. Components are cleaned with suitable materials, camera lenses remain free from polish and panel edges are inspected before collection. Presentation supports the functional check instead of masking it.
The final Polestar record also notes odometer reading and the condition of any charging cable or loose accessory received with the car.
Photograph the line, not only the mark
Send one full side or complete corner, a shallow angle that shows reflections, a straight close-up and any instrument message. Add model, year, location and whether the vehicle drives, steers and closes normally. This gives the workshop enough context to plan an inspection without overstating what a screen can reveal.