

Repair vs Replace Car Panel
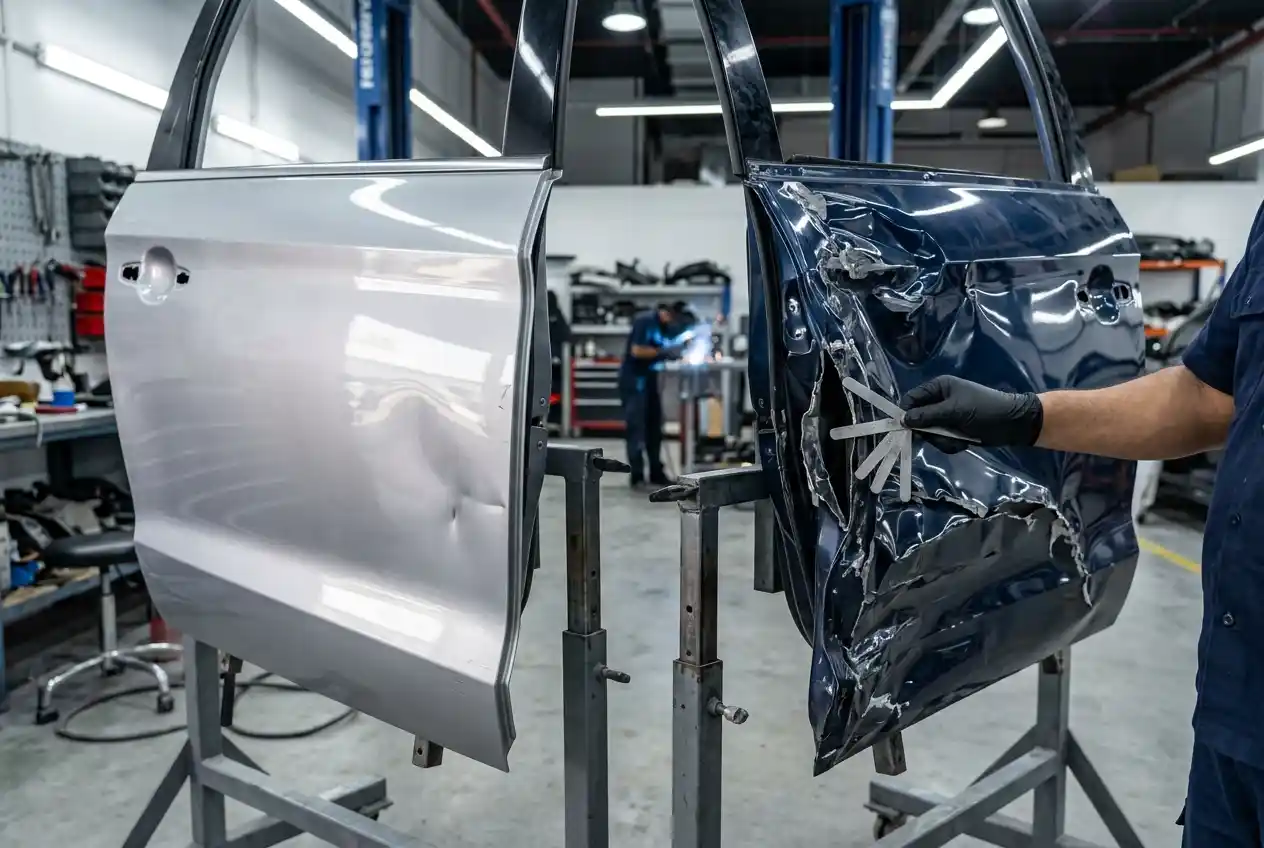
Repair a car panel when its shape, material, joining areas and safety-related features can be restored within an appropriate method. Replace it when tearing, severe stretching, corrosion, inaccessible damage, compromised flanges or manufacturer limits make reshaping unreliable. Size alone never settles the decision.
The cheapest line is not always the best repair
A quotation should explain why the panel can be repaired or why replacement is necessary. Without that reasoning, a low repair price can hide excessive filler or heat, while an automatic replacement can add unnecessary parts, dismantling and joining work.
Quick decision answer
The repair vs replace car panel decision depends on damage geometry, panel material, location, access, prior repairs, corrosion, seams, reinforcements and the approved procedure for that vehicle. An outer door skin, aluminium bonnet, bolt-on wing, welded quarter panel and structural sill do not share one rule.
Photographs can show the impact area and help prepare questions. Final repairability often requires cleaning, paint inspection, opening checks, trim removal or body measurement. If steering, suspension, pillars, sills, airbags, cooling or high-voltage components may be involved, stop using the vehicle and arrange an appropriate inspection or recovery.
Compare the evidence before choosing a method
| Inspection factor | Evidence that can support repair | Evidence that can support replacement | What must be confirmed |
|---|---|---|---|
| Shape and stretch | Shallow or controlled deformation with recoverable contours and no severe work hardening | Deep collapse, sharp multiple creases, oil-canning or material stretched beyond stable reshaping | Dent boundary, crown areas, panel tension and the amount of filler that would remain |
| Edges and flanges | Edges remain sound, accessible and capable of being restored without weakening a joint | Torn hems, crushed mounting flanges, split seams or distorted joining surfaces | Condition behind trim, seals, glass, lamps and adjacent panels |
| Material | Material is identified and the proposed shaping, heat and joining method is permitted | Restricted high-strength material, cracked aluminium, unsuitable composite damage or prohibited straightening | Vehicle repair information, alloy or steel grade, heat limits and contamination controls |
| Corrosion and prior work | Sound substrate with stable previous coating and enough clean material around the repair | Perforation, extensive corrosion between layers, repeated cracking or thick unstable prior filler | Extent after sanding or access and whether corrosion protection can be restored |
| Safety relationship | Damage is cosmetic and separated from prescribed structural, restraint or mounting functions | Intrusion beam, hinge, latch, seatbelt, airbag, structural mount or crash-load path is compromised | Dimensions, operation, scan results and the exact affected construction |
| Finish outcome | Shape can be restored with a defensible film build and controlled paint preparation | A repair would leave excessive filler, unstable edges or a visible contour that replacement resolves better | Reflections, character lines, adjacent-panel relationship and paint blend plan |
Choose repair when evidence stays favourable
Repair preserves the original component and can reduce dismantling when access and material condition support it. The method may include paintless dent repair for suitable original paint, metal shaping with controlled filler, plastic repair, aluminium-specific work or a localised section permitted by repair information.
Choose replacement when the limit is reached
Replacement can provide a more stable result when a panel is torn, badly stretched, corroded, structurally restricted or impossible to restore without excessive heat or filler. It still requires correct joining, sealing, corrosion protection, alignment, paint and reassembly.
Steel, aluminium and plastic require different reasoning
Steel panels
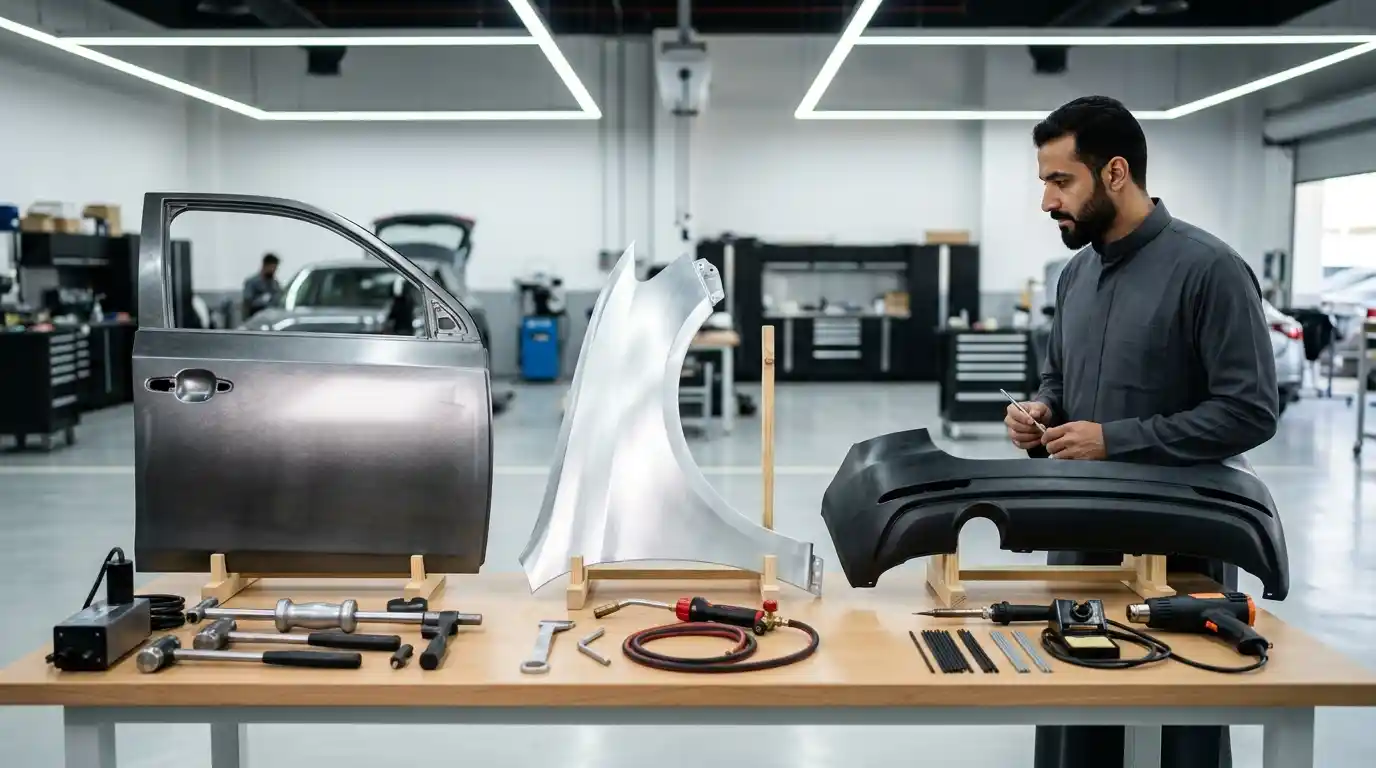
Mild steel can often tolerate controlled reshaping, but modern bodies also use high-strength and ultra-high-strength steels in selected locations. Heat, straightening and sectioning may be restricted. A magnet or visual guess is not enough to identify every grade.
Where a welded steel panel is replaced, plug welds, spot welds, bonding, seam sealing, cavity protection and dimensional control must follow the applicable procedure.
Aluminium panels
Aluminium work needs clean dedicated tools and contamination control. The material conducts heat differently, can work-harden and may crack when overworked. Some dents remain repairable; others need replacement because the edge, alloy condition or approved method sets a limit.
Joining may use rivets, adhesives, welding or a combination. The estimate should name the planned process rather than treating aluminium as expensive steel.
Plastic and composite parts
Bumper covers and exterior trims may be repairable when the plastic type, crack position, deformation and mounting points allow it. Torn sensor brackets, missing sections, heavily stretched surfaces or damage at critical tabs can favour replacement.
A sound cosmetic surface is not enough if the cover no longer locates correctly or if an absorber, reinforcement or mounting carrier behind it is damaged.
Repairability becomes clearer in four stages

Record
Photograph the full panel, impact direction, gaps, reflections, opening operation, paint cracks and nearby equipment. Record pre-existing dents and previous paint differences.
Expose
Clean the area and remove only the trim needed to inspect edges, brackets, reinforcements or the back of the panel. Hidden items stay conditional until visible.
Identify
Confirm material, repair information, joining method, safety relationships and access. Measure the body when the damage path may extend into structure or mounting points.
Approve
Write the method, parts, paint boundary, blend, electronics, exclusions and quality checks. Authorise repair or replacement only when the comparison is genuinely like for like.
The car damage photo estimate guide shows how to capture the first evidence. It also explains why a remote estimate cannot promise the final scope when access, material or structural condition remains unknown.
Compare total scope rather than one labour number
A fair estimate compares the complete production method, not only the first labour figure. Repair and replacement can each be economical when the panel, damage and approved procedure support the choice.
Repair estimate scope
Repair can include access, metal shaping, filler within a controlled limit, primer, paint, clear coat, blending, polishing, reassembly and quality control. It remains economical only when the original panel can be restored without excessive time, heat or filler.
Replacement estimate scope
Replacement adds the new part, delivery, inspection, removal, trial fitting, joining materials, corrosion protection and seam sealing. It may suit a badly distorted bolt-on wing, while a local repair can be more sensible on a technically repairable welded quarter panel.
Separate workshop time from waiting time
Special-order parts, insurer approval and external calibration can affect the completion date without adding hands-on production time. The schedule should begin only after those dependencies are confirmed.
Use the wider body repair service for booking intent and the body repair warranty guide to understand why the written scope matters later.
Make the repair decision auditable
- What material and construction were identified at the damaged panel?
- Which visible signs favour repair and which signs could force replacement after access?
- Does the location touch a seam, flange, hinge, latch, reinforcement or structural path?
- What repair information controls heat, sectioning, joining or corrosion protection?
- How much filler is expected and how will the final contour be checked?
- Which trim, glass, lamps or interior parts must be removed?
- Will colour need to be blended into an adjacent panel?
- Are scans, sensor setup, alignment or ADAS calibration relevant?
- Which clips, adhesives, rivets, fasteners or seals are one-time items?
- What evidence will be provided at handover?
Send the panel in context
Include a close view, a full-panel reflection, both panel gaps, the impact corner and any warning message. State whether the door, bonnet, boot or tailgate still opens normally.
Bolt-on, bonded and welded panels are not equivalent replacements
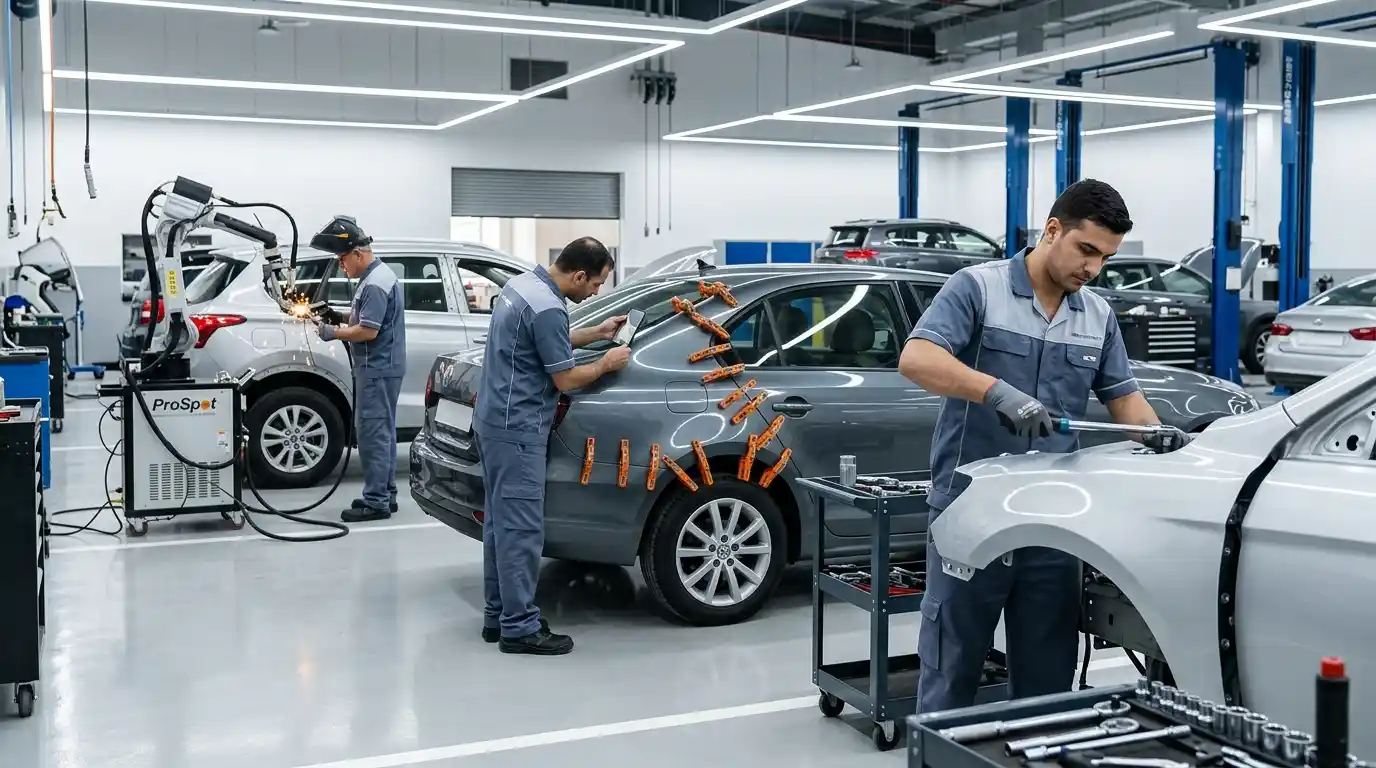
Outer panels can hide structural members. Visible deformation does not confirm whether the reinforcement behind it is sound, and severe-looking damage does not prove every underlying part needs replacement. Access and measurement separate appearance from structure.
Front wings, bonnets and boot lids
A bolt-on wing can often be removed without cutting the body, but replacement still needs parts verification, trial fitting, fastener protection and a paint plan. Bonnets and boot lids may also carry hinges, latches, wiring, cameras, lamps, insulation or powered functions that must be transferred and tested.
Shell repair, outer skin or complete replacement
Each route creates different work for the intrusion beam, hinges, latch, glass, regulator, wiring, seals and paint. A used complete door may appear economical but can introduce hidden repairs, corrosion, incorrect equipment or a finish that still requires refinishing.
Quarter panels, sills and roof-side areas
Replacement can require controlled joint removal, permitted sectioning, dimensional checks, temporary bracing, trial fitting, seam sealer and cavity protection. The larger operation can be correct for severe damage, but it should not be chosen only because patient repair takes longer.
Replacement part choices need written limits
New original, alternative, used and repaired parts can differ in origin, condition, coating, fit, included equipment and warranty. The estimate should identify the proposed source and state whether clips, seals, badges, lamps or electronics are included.
Confirm the supplier and VIN-specific part number before promising delivery. Keep parts waiting time separate from hands-on repair time.
Both methods can fail when preparation is weak
Check the finished panel, the joining work and the written record. A good-looking surface alone does not prove that the repair or replacement process was completed correctly.
Check a repaired panel under long reflections
Sanding scratches, filler shrinkage, a visible repair edge or an uneven contour can appear after delivery. These signs point to weak metal shaping, excessive filler, incomplete curing or poor surfacing—not automatically to the wrong repair decision.
Inspect the fit and protection of a replacement
Uneven gaps, exposed cut edges, weak weld spacing, poor adhesive preparation or incomplete seam sealing can reduce durability. Also check fastener edges for paint damage and used parts for hidden filler or corrosion.
Repeat the inspection at handover
Compare the finished area with the starting photographs and written method. Follow character lines, view the surface from several angles, operate the related closure and inspect disturbed trim, glass, rubber, liners and wiring for overspray or damage.
Protect the evidence if a concern appears
Report the issue before polishing, coating, film installation or another repair changes the evidence. The final invoice should identify the panel, parts, paint scope, approved variations and job-specific warranty terms.

Approve the method only when the reasons are written
A sound decision identifies the panel, material, damage limit, access, procedure, paint boundary and conditional items. That record protects both the repair quality and the customer when the visible dent is only part of the story.
Ask the estimator to mark unresolved items as conditional instead of quietly choosing the most optimistic method. Once trim is removed or measurement is complete, the customer should receive the evidence and approve any variation before the repair route changes.
The handover invoice must use the final method, not the original estimate if the scope changed. Keep process photographs, parts records and aftercare with the vehicle file. Confirm disturbed sensors, openings and trim operate normally before collection.
Compare panel gaps on both sides of the vehicle where that comparison is meaningful. Record any accepted pre-existing difference instead of adjusting an undamaged side to chase an artificial match.
Review the evidence. Approve the scope. Keep the final record.
Send your damaged panel for a repair or replacement assessment
Share clear photos of the damaged panel, nearby gaps and the impact area. We will review the visible evidence and guide you on the next inspection step before the repair method is approved.