
Repaint vs Paint Correction Dubai
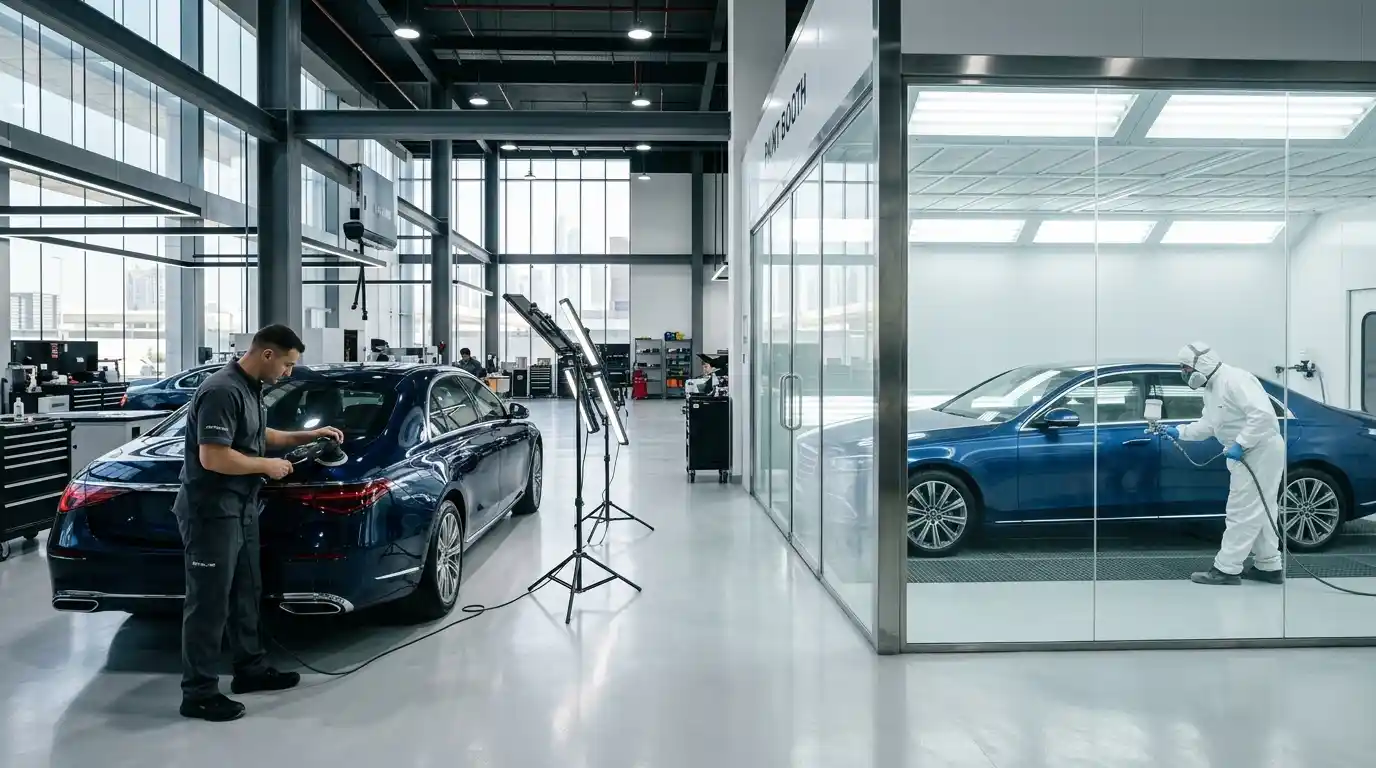
Choose paint correction when defects remain within a measurable, stable clear coat and can be reduced without leaving unsafe film build. Choose repainting when colour or clear coat has failed, damage reaches primer or metal, corrosion is present, or correction would expose the layers below.
Correction refines paint while repaint replaces paint layers
Paint correction
Machine polishing uses controlled abrasion to reduce defects in the existing clear coat. A test spot can show how much improvement is possible, while paint-thickness readings and edge awareness help control risk. It can improve swirl marks, light wash scratches, oxidation and selected etching when enough sound coating remains.
Correction does not add clear coat. Every abrasive stage removes a small amount. The objective is not to chase every mark regardless of film build, but to create a useful improvement while retaining durability.
Repaint
Repainting prepares the panel, repairs the substrate where required and applies compatible primer, colour and clear coat. It can address deep scratches, failed clear coat, unstable previous paint, repaired dents and corrosion after the underlying problem is corrected.
A repaint creates colour-matching, blending, curing, texture and reassembly decisions. It should not be recommended merely because polishing takes skill, and correction should not be used to delay an inevitable coating failure.
Five checks separate a polishable defect from a paint failure
Identify the symptom
Inspect swirls, scratches, oxidation, water spots, bird-dropping etching, sanding marks, haze, peeling, cracks and colour loss under suitable light. Clean contamination before judging depth.
Locate the layer
A mark that changes when wet may sit near the surface, while a scratch that catches a fingernail can be deeper. Exposed primer, bare material, rust or lifting clear coat moves the job beyond routine correction.
Measure and map
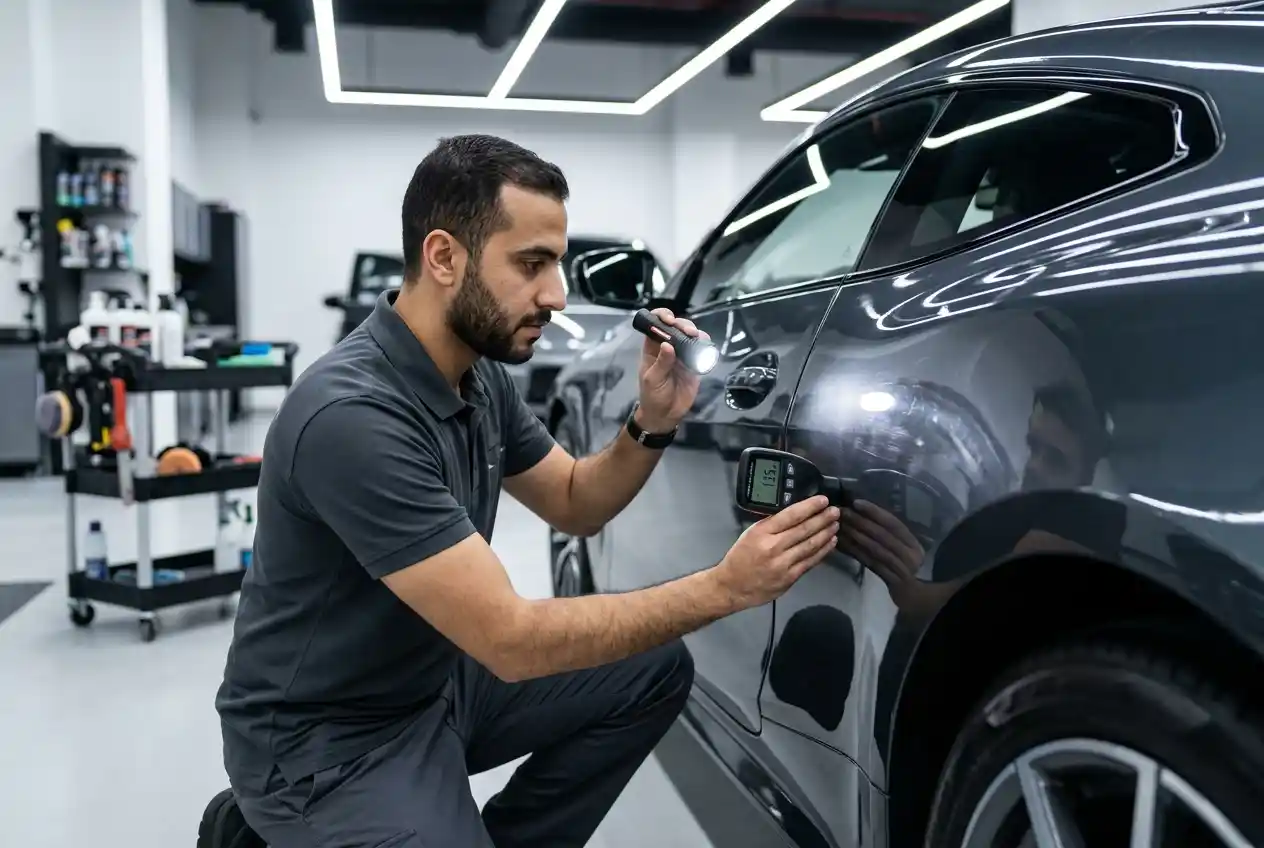
Paint-thickness readings are taken across the panel and neighbouring areas. Variation can indicate previous repairs or thin edges. Instruments provide evidence, not a complete map of every coating layer.
Run a controlled test spot
Start with the least aggressive suitable pad, polish and process. Inspect defect reduction, haze, clarity and temperature. Stop when further cutting would trade too much coating for too little visible gain.
Choose correction, repaint or a mixed plan
Sound panels may be corrected while failed panels are repainted. The estimate should identify each panel, blend area, expected correction level, accepted residual defects and protection after cure.
Visible signs point toward different tests
Swirl marks
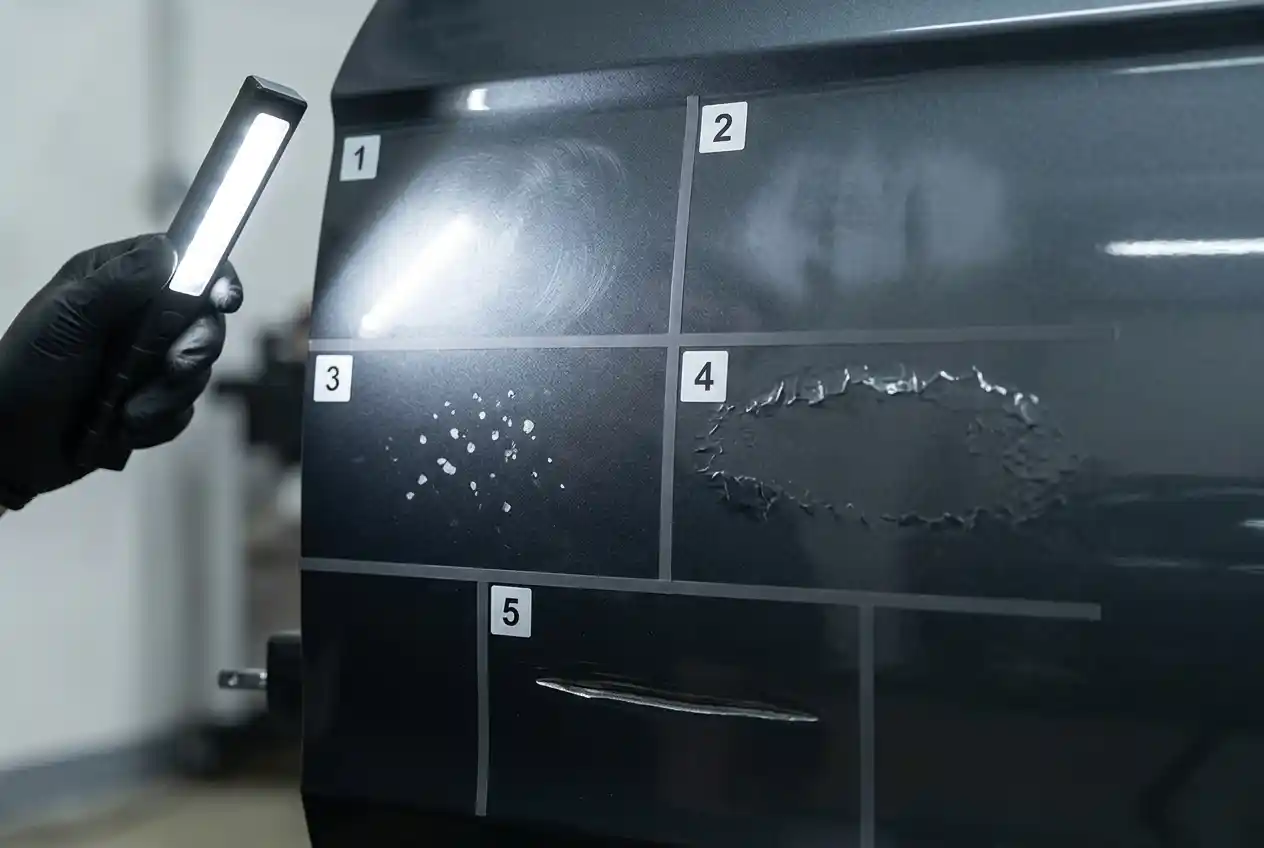
Fine circular scratches from washing often sit in clear coat and can respond well to correction. Inspect edges and thin areas before selecting the cut.
Random deep scratches
Some can be softened, but a mark through colour or into primer needs touch-up or repaint planning. Chasing the deepest point can remove too much surrounding clear.
Oxidation and chalkiness
Surface oxidation may improve during a test spot. Widespread clear-coat breakdown, cracking or delamination cannot be polished back into a stable coating.
Water spots and etching
Deposits may sit on the surface, while etching can penetrate clear coat. Decontaminate first, then test whether controlled polishing produces enough improvement.
Peeling clear coat
Correction cannot rebond a delaminating layer. The failed coating must be removed to a stable boundary and the panel refinished through a compatible system.
Colour mismatch
Polishing can change gloss and temporarily alter perception, but it cannot correct a wrong colour formula, metallic orientation or pearl layer. Diagnose and repaint the appropriate scope.
A number is useful only with context
Electronic gauges can compare readings across metal panels and help identify variation. The reading may include several layers and does not automatically reveal how much clear coat remains. Plastic panels may need different equipment or cannot be assessed with the same gauge.
Factory readings vary by vehicle, panel, shape and instrument. Previous repainting, blending, sanding and filler can create higher or lower numbers. A single low or high reading should not be used as an internet pass-fail rule.
Edges, body lines and raised contours can carry less coating and heat more quickly during machine polishing. These zones are masked, hand-finished or treated with reduced aggression according to risk.
Technician decision
Combine thickness pattern, visual defect, paint history, test-spot result and customer expectation. If a satisfactory result requires excessive removal, retain the defect or move to a controlled repaint.
The smallest safe experiment protects the whole panel
A test spot confirms how the specific coating reacts. The technician can compare gloss, haze, scratch reduction and temperature using a measured pad, polish, machine speed and number of passes.
Soft paint can correct quickly and mark easily during finishing. Hard paint may need a different abrasive combination. Sticky or heat-sensitive paint can require smaller sections and careful residue removal. These behaviours are observed, not assumed from the brand badge.
The test result should set an expectation such as major swirl reduction with several deeper marks retained. Promising perfection before testing encourages unnecessary clear-coat removal.
For booking intent, the car polishing service covers correction. When the test points to coating failure or deep damage, the car painting service becomes the relevant parent.
Use the least invasive method that creates a stable result
| Condition | Correction route | Repaint route | Limit to record |
|---|---|---|---|
| Light clear-coat swirls | Test spot and one or more controlled polishing stages | Usually excessive unless other coating failure exists | Residual deeper marks and measured risk zones |
| Deep scratch | Reduce sharp appearance if enough clear remains | Repair and refinish when colour, primer or substrate is exposed | Scratch depth, corrosion risk and blend boundary |
| Oxidised finish | Correct when the coating remains stable and responds evenly | Refinish when clear coat is failing, peeling or too thin | How long improvement is expected to remain |
| Etching | Decontaminate and polish within safe film build | Refinish when etching is too deep or clear is compromised | Accepted residual mark versus removal risk |
| Previous poor repaint | Can improve haze and light defects if the layer is stable | Needed for mismatch, delamination, sinking repairs or severe texture | Unknown old layers and warranty boundary |
| Matte or satin paint | Routine polishing is generally unsuitable because it changes sheen | Panel refinishing may be required for damage | Sheen match and full-panel scope |
Wrong method choices can remove evidence or create more work
Polishing peeling clear coat
Abrasive work can enlarge a failing edge and cannot restore adhesion. Photograph the failure and plan stable coating removal and refinishing.
Wet sanding without film-build control
Sanding can level texture and deeper defects, but it removes coating quickly. It requires an experienced technician, suitable measurement and a clear stop point.
Repainting over contamination
Wax, silicone, tar, polish residue and road film must be removed before sanding and coating. Paint does not permanently seal poor preparation.
Using gloss to hide mismatch
Correction or coating can increase shine while wrong colour or metallic orientation remains. Compare the panel under several angles before protection.
Correcting every panel equally
Factory and repainted panels can have different hardness, thickness and defect levels. Map the vehicle and adapt the process panel by panel.
Coating before the decision is closed
Wax, ceramic coating or PPF can complicate repaint preparation and responsibility. Resolve defects first, then protect the accepted finish.
One vehicle can need both methods
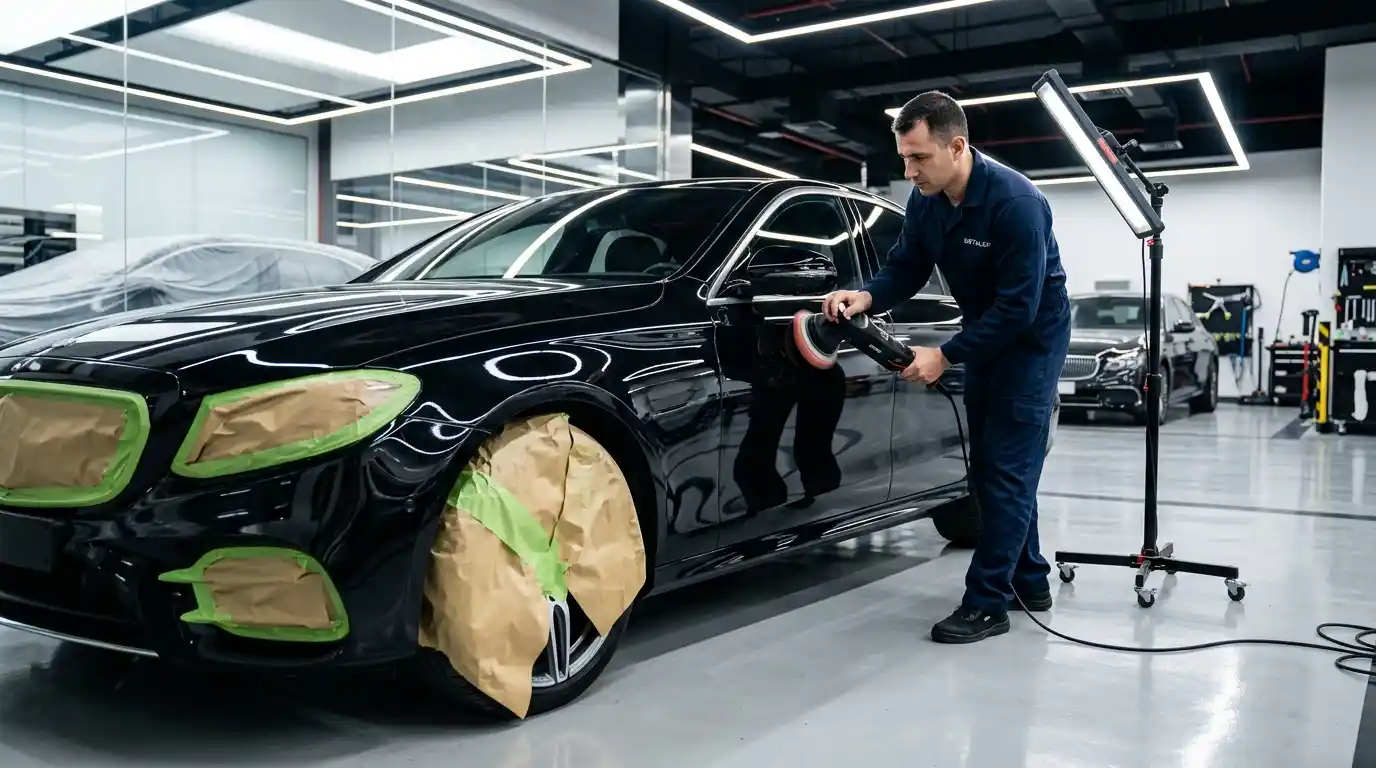
A sun-damaged car may have a roof with clear-coat failure, a bonnet with deep stone chips and doors with stable but swirled paint. Repainting the failed panels and correcting the sound panels can preserve more original coating while creating a coherent finish.
The painter and correction technician should agree on the sequence. Repainted panels need curing and finishing guidance before any whole-car correction or coating. Adjacent original panels may be polished to support a better visual relationship, but polishing is not used to fake a colour match.
The estimate should identify repaint panels, blend panels, correction panels, excluded defects and the final protection plan. This prevents the word restoration from hiding several different processes.
Inspect the result before wax, coating or film
View reflections across repaired and corrected panels. Check colour, effect, texture, gloss, sanding marks, polishing haze, residue in gaps, dust and edges. Matte areas should show no new glossy patches.
Keep paint-thickness notes, test-spot expectation, repaired-panel invoice, blend scope and aftercare. If the finish concern returns, report it before another detailer compounds the area.
Fresh repainting follows its own first-wash and protection timing. Corrected original paint can receive protection according to the chosen product, but the final process must not conflict with new panels.
One-stage and multi-stage labels do not define the result by themselves
A one-stage correction generally uses one main polishing step to improve clarity and reduce lighter defects. The chosen pad and polish may cut and finish together, but the outcome depends on paint hardness, defect depth and technician control. It is not a guaranteed percentage of scratch removal.
A multi-stage correction separates heavier defect reduction from refining. It can improve deeper swirls, sanding marks or oxidation, yet it also removes more coating and creates more edge risk. The process should be justified by measurements and a test spot, not sold automatically because more stages sound premium.
Local wet sanding can level isolated texture or deeper defects when the coating permits it. It is not routine maintenance. Sanding marks must be fully refined, film build protected and the accepted limit recorded. An unknown previous repaint increases uncertainty.
The quotation should state the expected improvement, panels included, sensitive areas excluded, deeper marks intentionally retained and protection applied afterwards. This is more honest than promising a flawless vehicle from a package name.
A new colour layer brings its own boundaries
A scratch repair may repaint one complete panel and blend colour into an adjacent panel. A failing roof can require removal of unstable coating across the full roof surface. A colour mismatch from previous work may require a new spray-out and a different blend plan. These scopes should not share one price or time assumption.
Repaint preparation can include decontamination, sanding, feathering, corrosion treatment, primer, sealer and compatible colour and clear coat. Handles, trims, lamps or mouldings may be removed to control edges. The body shop should identify any old layers that remain and the stable boundary reached.
After painting, colour is checked next to adjacent panels and effect finishes are viewed at several angles. Texture, gloss, dust, edges and overspray are part of acceptance. A later correction stage can refine minor conventional-gloss defects after suitable cure, but it cannot rescue wrong colour or unstable repair layers.
Use the paint matching process guide to understand why the code is only a starting formula and why spray-outs and blending can affect the scope.
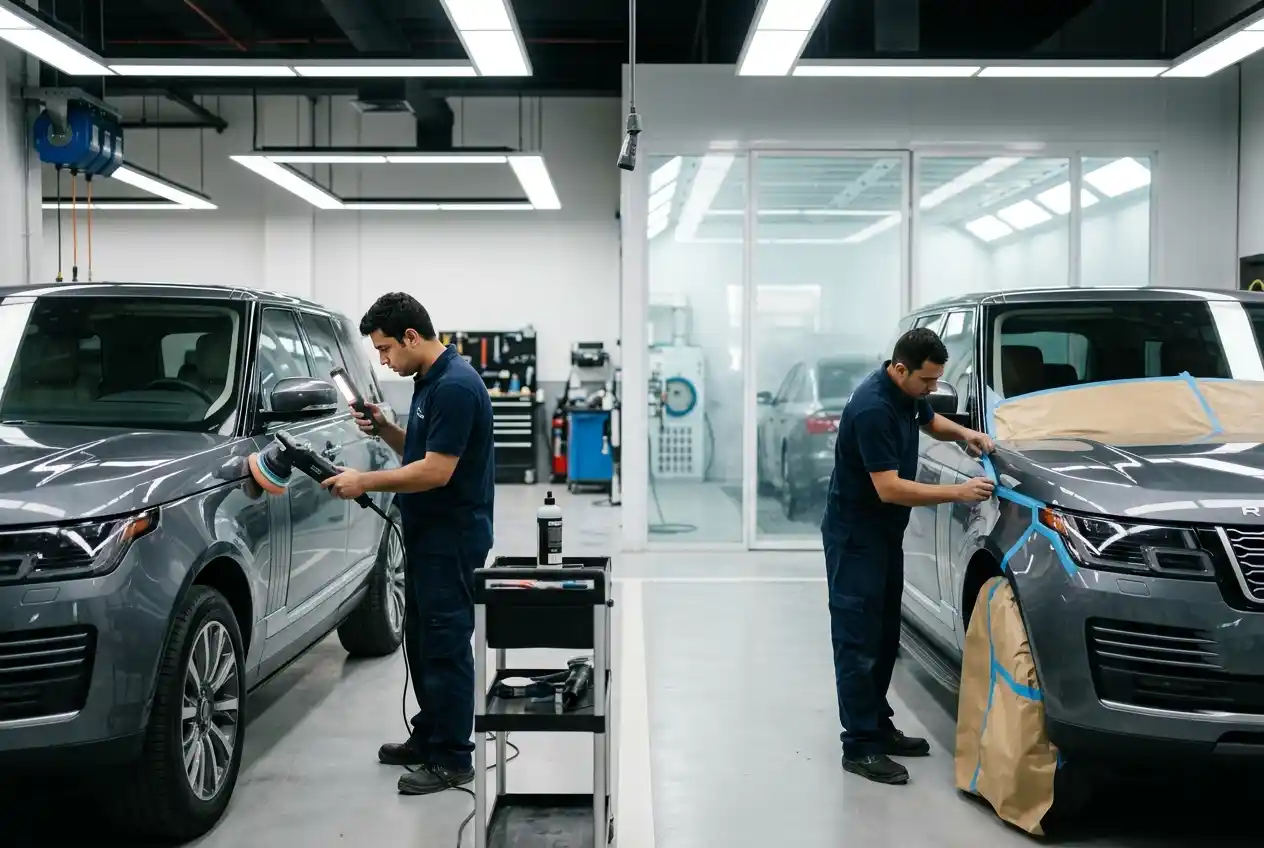
Compare the work included, not the service name
Correction cost is driven by vehicle size, paint hardness, defect level, number of stages, sensitive edges, previous repairs, access and the final protection. Repaint cost adds body repair, dismantling, primer, paint materials, blending, curing, reassembly and possible clips or parts.
A low correction price may cover only gloss enhancement without meaningful defect reduction. A low repaint price may omit dent repair, unstable old coating, trim removal or blending. Ask for panel-by-panel inclusions and accepted limits.
Correction can often be scheduled in fewer stages when the coating is sound. Repaint takes longer because substrate work, spray, curing and reassembly are linked. Parts, insurer approval and colour complexity can extend the plan. Neither method should be rushed past the test or inspection that justifies it.
The finish remains vulnerable to poor washing
Correction exposes a cleaner, clearer surface but does not stop new swirls from brush washing or dirty towels. Use clean wash media, rinse dust first and dry gently. The chosen wax, sealant or coating supplies its own maintenance rules.
Fresh repainting follows the body shop’s first-wash and protection release. Do not assume that a polishing or coating appointment is suitable immediately after collection. The page on when to wash a car after painting keeps hand washing, pressure, polishing and protection as separate permissions.
Inspect both corrected and repainted panels periodically. If haze, peeling, sinking edges or colour differences appear, photograph them before another abrasive service. Good maintenance cannot stabilise a failing layer, but good evidence makes the next repair decision clearer.
Request a repaint or correction assessment
Send full-panel reflections, close defect photos, repaint history and the finish you want. We will identify which panels need a test spot, measurement or refinishing.