
Follow the force across the whole side
Side Impact Repair Dubai
A dented door can be the visible centre of a wider impact. Door skins, hinges, latches, openings, the sill, pillars, glass, quarter panels and wheel-adjacent areas may all provide evidence about the real repair scope.
Send clear photographs or arrange an inspection at our Al Quoz 4 workshop. We start with what can be seen, explain when controlled access is justified, and separate confirmed repair lines from provisional items.
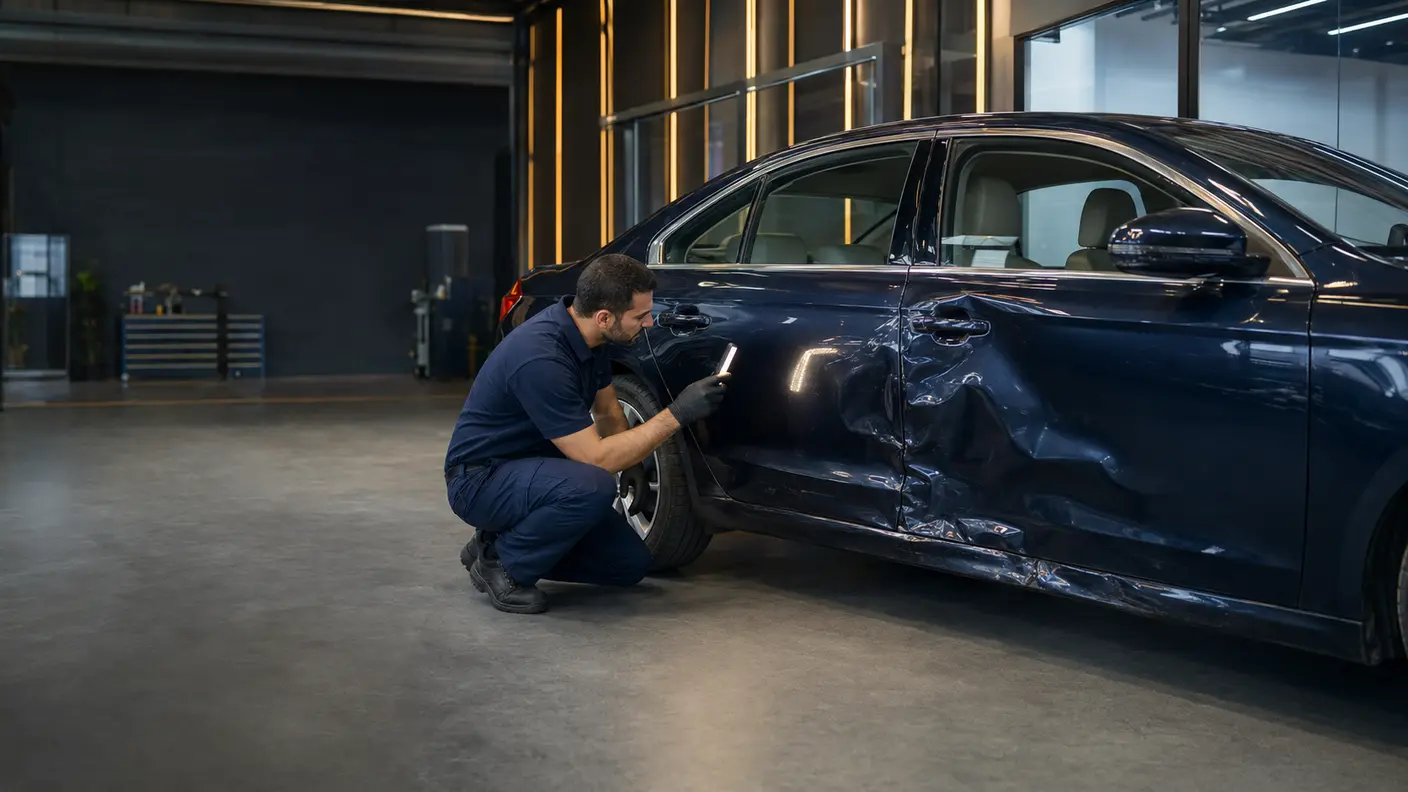
Start with the impact story
Which part was struck, and where could movement continue?
Side contact is rarely described accurately by the word “dent” alone. A parking scrape may affect one outer skin and its paint. A harder strike can involve two doors, a hinge edge, a latch area, the rocker panel or sill below, the pillar between openings or a quarter panel near the rear wheel. The direction, height and concentration of the load help decide where inspection should continue.
That does not mean every side impact has serious concealed damage. It means the estimate should not be locked from one close photograph. Our broader accident repair service uses the same staged principle: record the assembled vehicle, compare relationships, then open only the areas needed to confirm the next decision.
Useful first photographs include a full side view, both ends of the damaged area, each affected panel gap, the lower sill, door handles, mirror, glass and the nearest wheel. Tell us whether a door opens, closes and locks normally, whether wind noise or water entry started after the impact, and whether the vehicle now pulls, vibrates or displays a warning.
Side impact map
Eight connected zones guide the inspection
The visible centre matters, but adjoining parts show whether the damage stayed local or changed how the side fits and functions.
Outer door skin
Dent depth, sharp creases, paint damage and stretched areas.
Door edges
Folded hems, mounting edges, intrusion-related clues and seal contact.
Hinges and latch
Closure effort, movement, striker relationship and repeated operation.
Pillars and opening
Gap pattern, visible distortion and evidence that calls for deeper assessment.
Sill and rocker
Lower creases, jacking-area condition, trim displacement and corrosion protection.
Glass and seals
Cracks, regulator behaviour, channel alignment, noise and water sealing.
Fender and quarter
Connected body lines, wheel-arch shape, bumper junctions and paint transitions.
Wheel-adjacent area
Tyre clearance, liner contact, stance, pull, vibration and new noises.
Visible versus concealed
What can sit behind a damaged door skin?
The painted outer skin is only one layer of a door assembly. Depending on the vehicle, the inner construction can also carry the glass mechanism, latch, wiring, trim fixings, weather seals and reinforcement features. A smooth exterior repair would not solve a window that binds, a latch that no longer aligns or a harness that was pinched during impact.
Controlled trim removal may be recommended when function, access or the impact position justifies it. The goal is not to dismantle automatically. It is to see enough to distinguish repairable outer damage from a wider assembly concern and to document any older damage discovered along the way.
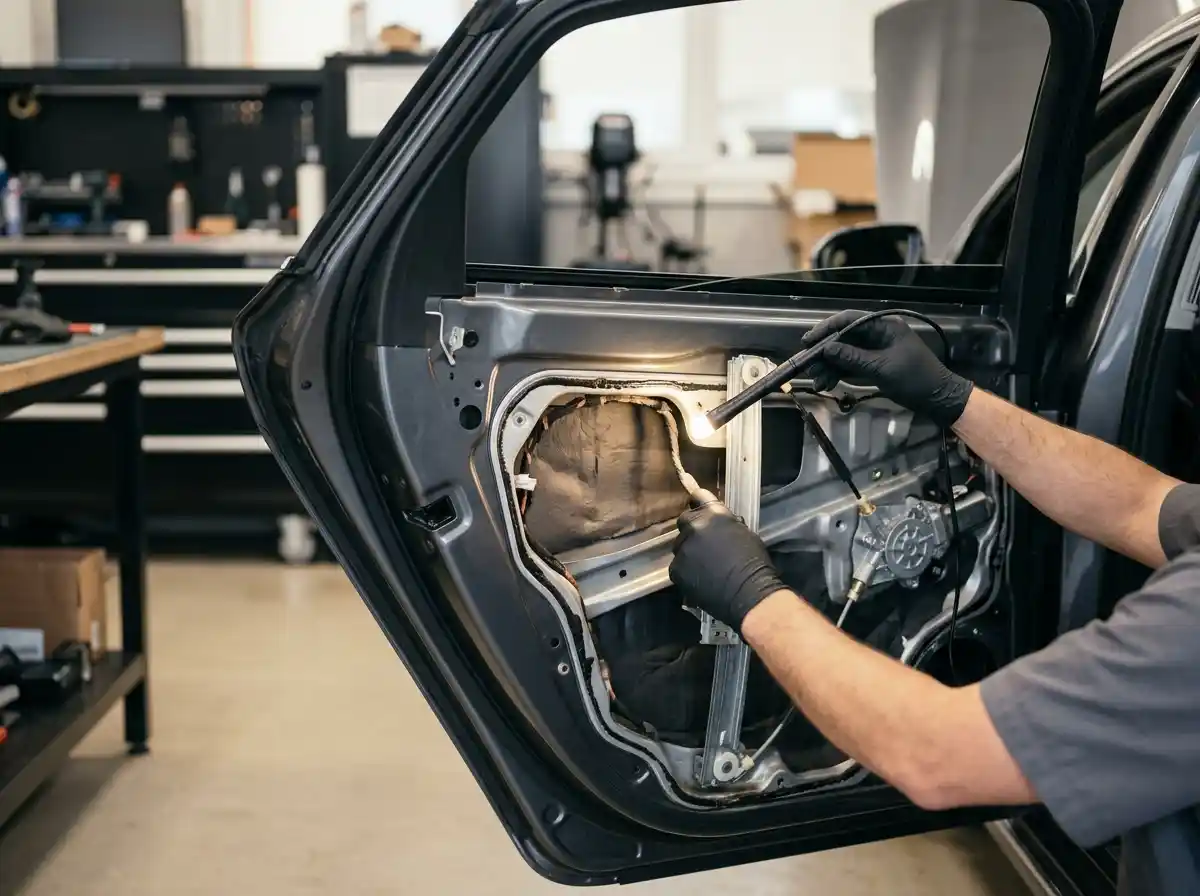
Door trim and fixings
Loose clips, a displaced trim panel or a new rattle can follow door deformation. Removal and refitting should account for fragile fasteners and existing wear rather than treating every loose part as new collision damage.
Window mechanism
Glass should travel smoothly and sit correctly in its seals. Slow movement, scraping, uneven seating or unexpected wind noise can justify a closer look at the regulator, guide and channel relationship.
Latch and striker
A latch adjustment may improve closure, but the reason for a changed position still matters. Door shape, hinges, opening geometry and seal compression should be considered before adjustment becomes the only repair.
Wiring and switches
Window, lock, mirror or speaker faults after impact should be recorded. Diagnosis should identify the affected circuit or component instead of assuming that every electrical symptom comes from the visible dent.
Seams and edges
Door hems and adjoining edges can hide splits, flaking coatings or previous repairs. Edge condition affects whether reshaping remains sensible and how corrosion protection should be reinstated.
Restraint warnings
If a warning appears or an airbag deployed, the vehicle needs appropriate specialist diagnosis. Body appearance alone cannot confirm the condition of airbags, sensors, seat-belt systems or control modules.
Drive or arrange recovery?
Use function and symptoms, not appearance alone
A vehicle that starts and moves is not automatically suitable to drive. Do not force a damaged door closed or repeatedly operate glass that is binding. Arrange appropriate assistance if a door will not latch securely, glass is loose or broken, a panel contacts a tyre, fluid is leaking, steering behaviour changed significantly, a safety warning is displayed, or an airbag deployed.
Minor surface damage with normal door operation may still be suitable for a careful workshop visit, but only the person with the vehicle can observe the immediate condition. If uncertain, describe the symptoms and share photographs before moving it.
Stop and seek advice
Insecure door or glass, tyre contact, fluid leak, strong steering change, deployed restraint or a concerning warning.
Record before movement
Full side, wheel position, road debris, warnings, door behaviour and any liquid beneath the vehicle.
Staged inspection
Six decisions turn visible damage into a repair scope
Each stage should answer a question. Findings at one stage decide whether added access, parts pricing or specialist diagnosis is needed.
Record the assembled side
Photograph the complete impact area, panel gaps, reflections, glass, trims and wheel position. Note the owner’s description of new closure, noise, warning or driving symptoms.
Test relevant functions
Where safe, check door opening, closing, locking and glass travel. Compare seal contact and obvious left-to-right or front-to-rear gap changes without forcing damaged parts.
Trace adjoining zones
Follow the damage into the fender, quarter, sill, pillars and wheel-adjacent area. Look for a change in body line, lower trim position, arch clearance or opening shape.
Plan justified access
Remove trim or components only when access is needed to assess the inner condition, prepare a repair, confirm a part or explain a symptom. Document newly visible findings.
Choose repair or replacement
Consider material, stretching, tears, edge damage, mounting points, access, previous work, part price and the amount of refinishing needed for each option.
Confirm finish and handover
Recheck gaps and functions before final refinishing where practical, then inspect reassembly, paint reflection, sealing and agreed functions at collection.
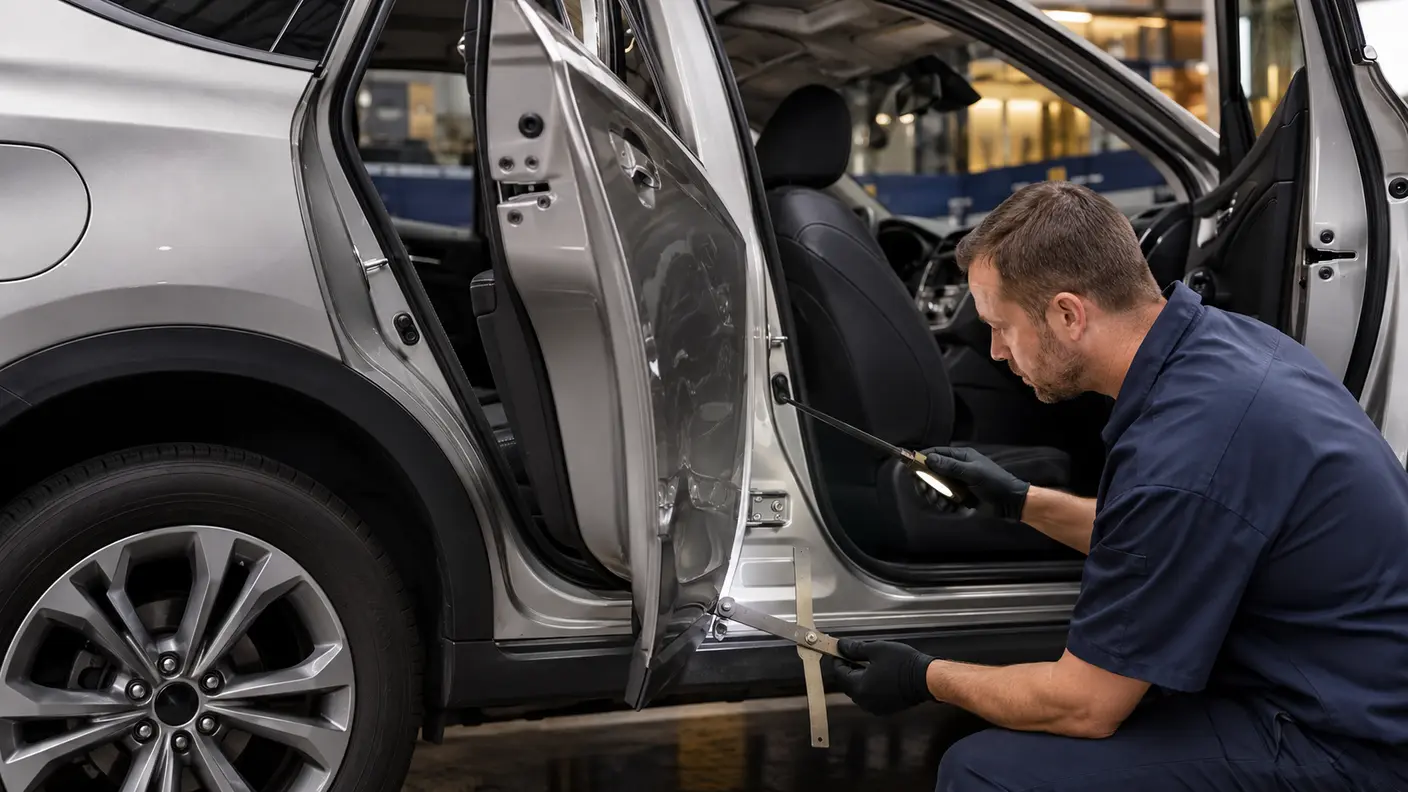
Openings tell the story
Door gaps are evidence, not decoration
A gap that narrows at the top and widens at the bottom may tell a different story from a single local dent. The hinge side, latch side, roof edge and sill edge are viewed together. Closure effort and seal contact add functional evidence to the visual pattern.
Hinges and latches can sometimes be adjusted, but adjustment is not a substitute for diagnosing displaced metal or a changed opening. The repair route should explain which part was reshaped, repaired, replaced or adjusted, and why that route is expected to restore a consistent relationship.
Pillar or sill concerns require cautious language until inspection confirms them. A visible crease near a pillar does not prove deeper structural change. Equally, a door that still closes does not prove that every adjacent area is undamaged. Measurement, access and the vehicle-specific repair information determine what further work is appropriate.
Four side relationships
The door does not repair in isolation
Body lines, openings, lower protection and wheel clearances connect the affected panels visually and functionally.

Door, fender and mirror
A front door strike can continue into the front fender or mirror mount. Mirror functions, trim fit and the fender-to-door gap should be recorded. If a mirror contains electrical or driver-assistance features, any warning or function issue needs appropriate diagnosis rather than a cosmetic assumption.
Rear door and quarter panel
The rear door line continues into the fixed quarter panel and wheel arch. A repair that restores the door but leaves a distorted arch reflection or uneven gap will still look incomplete. Parts access and blending may affect the scope.
Sill, rocker and lower trim
Lower side damage can be hidden by mouldings or appear smaller because it is below normal eye level. Creases, torn mounting points, coating damage and jacking-area changes should be recorded. The finish plan should include suitable protection for repaired exposed metal.
Wheel, tyre and suspension-adjacent signs
A strike close to a wheel deserves wider attention if clearance, stance, steering, vibration or tyre condition changed. These symptoms do not identify a specific failed part. They indicate that driving concerns should be assessed separately from the paint repair.
Seatbelts, airbags and restraint mounts
A side collision can involve curtain or seat airbags, seatbelt pretensioners, seat mounts or restraint-system warnings. Deployment or a new restraint warning is not a trim issue. The affected restraint components and mounting areas need the appropriate diagnosis, repair method and verification before handover.
Blind-spot radar and side driver assistance
Mirrors, quarter areas and rear bumper corners can contain blind-spot radar or other driver-assistance hardware. A changed bracket, replaced panel or warning after impact may create a model-specific diagnostic or calibration requirement that should be kept separate from the cosmetic repair scope.
EV battery and high-voltage proximity
On electric and hybrid vehicles, the sill and floor can sit close to the battery enclosure and high-voltage routing. A heavy lower-side or underbody strike, visible enclosure damage, coolant loss or a high-voltage warning requires vehicle-specific safety assessment before ordinary panel repair proceeds.
Repair or replace?
The cheapest panel line is not always the lowest total
A sound comparison includes labour, access, inner condition, parts, fitting, paint and the risk of discovering that an early assumption was wrong.
Repair may be sensible when
- The material and shape can be restored without excessive stretching.
- Edges, hems and mounting points remain suitable for repair.
- Inner access and corrosion protection can be managed appropriately.
- The repaired panel can meet the required fit and finish.
- The labour and paint plan remain proportionate to replacement.
If paint is intact, the dent is suitable and access is available, paintless dent removal may be assessed before conventional repair and repainting. Sharp creases, edge damage, stretched metal and blocked access can rule it out.
Replacement may be considered when
- The panel is torn, severely stretched or damaged through critical edges.
- Mounting, hinge or latch areas cannot be restored dependably.
- Inner and outer damage makes repair labour disproportionate.
- A correct part offers a clearer route to fit and durability.
- Vehicle-specific repair information calls for replacement.
A replacement door shell is not the whole price. Transfer or replacement of glass, trim, seals, handles, wiring and other fitted items may be required. Parts condition, correct variant and paint scope should be defined before approval.
Paint and surface continuity
Judge the repaired side as one long reflection
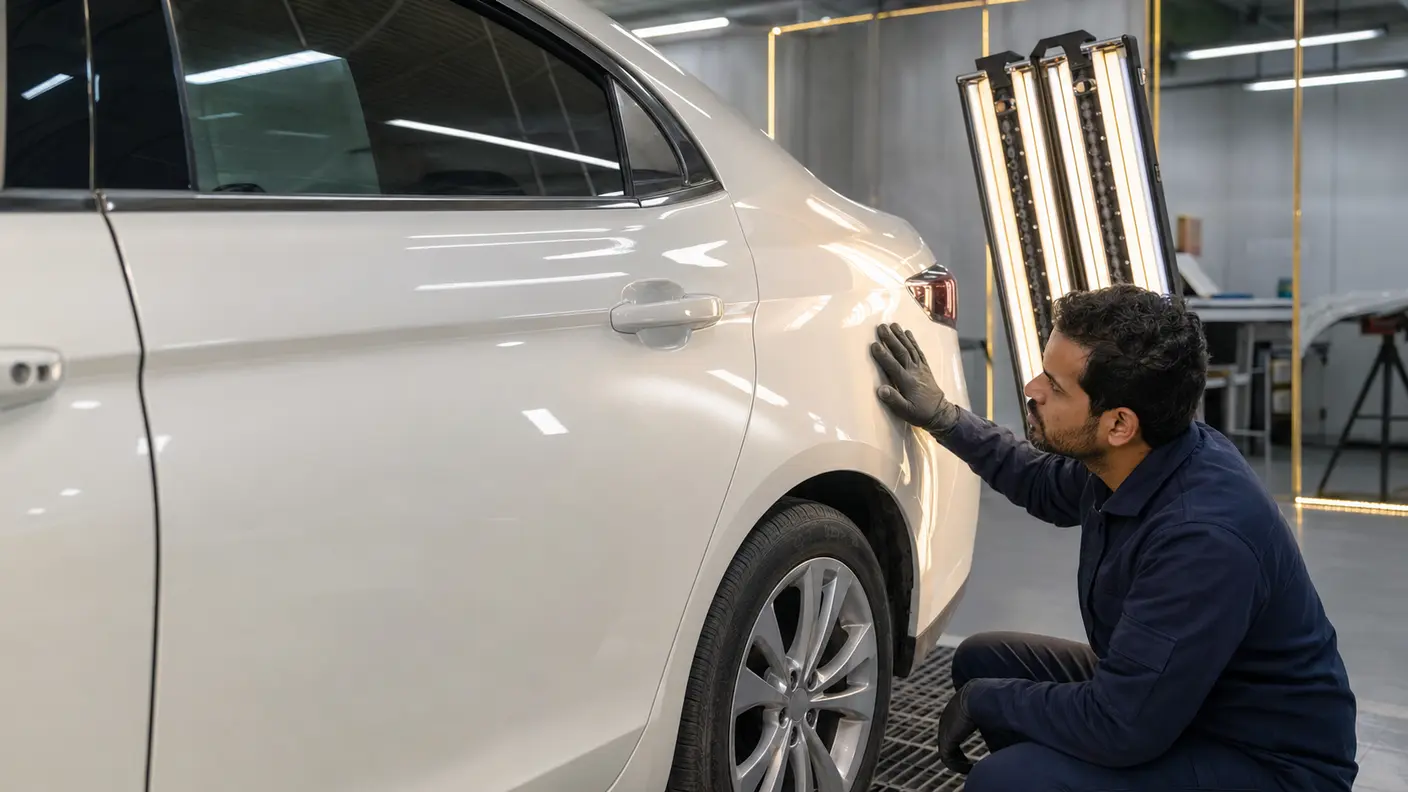
A side panel is read under long reflections, not from one straight-on position. Low spots, waves, sanding marks, texture changes and a poor body line can become clearer as the viewer moves along the vehicle. The final check should include several heights, angles and strong neutral lighting.
Colour planning depends on the paint code, actual vehicle colour, age, prior refinishing, metallic or pearl orientation and the relationship with adjoining panels. Blending may be proposed when it supports a consistent visual transition, but it should be identified in the estimate rather than hidden inside a generic paint charge.
Fit should be settled before paint wherever practical. A door or trim edge that still needs movement after refinishing creates avoidable risk. Our car painting service explains the preparation and refinishing stages used for broader panel work.
Indicative Dubai repair costs
Side-impact cost depends on how many layers were involved
These bands are planning guides, not quotations. Vehicle, material, paint, part price, previous repair, controlled access and concealed findings can move a job outside the range.
Minor scratch or shallow dent
Small local damage may fall within this guide when the paint, edge, access and adjoining gap remain straightforward.
Door or fender repair
The approved accident-cost guide places typical door or fender repair in this broad band. Sharp creases, material, dismantling and blending are key variables.
Door glass or body glass
Glass type, channels, seals, regulator concerns and any related specialist requirement can change the line substantially.
Multiple panels, sill or pillar findings
Dismantling, measurement, metal work, parts, protection and refinishing must be scoped after inspection. Broader side repairs can exceed simpler panel bands.
Airbag or restraint-related work
If restraints deployed or a relevant warning is present, correct specialist diagnosis must define the parts, programming and vehicle-specific requirements.
What a useful estimate should identify: each repaired or replaced panel, dismantling assumptions, glass and trim lines, paint panels, any proposed blend panels, current-price parts, tax treatment and every provisional item that depends on access. Ask how long a parts price remains valid. Insurance coverage is separate from the physical repair requirement.
Insurance and supplements
The first estimate may not be the final authorised scope
Photographs of the assembled vehicle may not show the inner door condition, broken fixings or the reason for a closure problem. When authorised access reveals additional collision damage, the workshop can document the finding and prepare a supplementary estimate for review. Added work should be tied to new evidence, not inserted without explanation.
Keep the police report or applicable incident record, claim number, scene photographs, insurer messages and details of new symptoms. Ask the insurer which repair route is permitted, whether an excess applies, what parts basis is covered, how pre-existing damage will be treated and whether added approval is required after dismantling. The insurer decides policy coverage. The repair assessment explains the vehicle condition and proposed work. For the claim workflow itself, see our insurance accident repair guide.
Before access
Record assembled gaps, damage, warnings, functions and customer-reported changes.
After access
Photograph newly visible findings and identify the affected estimate line.
Before added work
Confirm revised price, parts basis and outstanding approval.
Parts and repair timing
A dependable completion date follows three gates
A shallow door dent and a multi-panel side impact should not receive the same early promise. Timing becomes clearer after scope, parts and approval are known.
Scope gate
Inspection and justified access determine whether the repair stays with an outer panel or expands to trim, glass, opening, sill, quarter or specialist diagnostic work.
Parts gate
Correct side, body style, trim level, glass tint, wiring variant and current UAE availability matter. A similar-looking part is not automatically the correct part.
Approval gate
Insurance supplements may wait for review. Customer-paid work should also pause for acceptance when new findings materially change the agreed estimate.
The working period may include dismantling, metal or panel work, trial fitting, preparation, paint curing, reassembly and final checks. Ask for milestone updates: inspection complete, parts confirmed, repair route agreed, refinishing complete and handover checks underway. If timing changes, the useful explanation is which gate changed and what action follows.
Side repair handover
Walk the complete repaired side before collection
Compare the finished vehicle with the agreed estimate in daylight or strong neutral light where possible. Review both appearance and the functions affected by the repair.
- View the side from front, rear and low reflection angles.
- Compare the upper and lower gaps around repaired doors.
- Open and close each affected door several times.
- Confirm latch, lock, handle and relevant window operation.
- Listen for a new rattle during door operation.
- Look at seals, glass channels and trim seating.
- Follow the body line through fender, doors and quarter.
- Inspect sill and lower moulding fit from end to end.
- Check wheel-arch liner and tyre clearance visually.
- Compare paint colour and texture from several angles.
- Ask which components were repaired, replaced or reused.
- Review exclusions and documented pre-existing damage.
- Confirm specialist reports if separate diagnosis was required.
- Request paint aftercare advice for the completed system.
If a concern appears during handover, show it before leaving so it can be compared with the estimate and repair record. Fresh-paint washing, polishing or protection guidance depends on the materials and curing process used, so ask for advice specific to the completed repair.
Frequently asked questions
Side impact repair questions in Dubai
Can a side impact damage more than the door skin?
Yes. Depending on impact direction and severity, adjoining doors, hinges, latches, openings, the sill, pillars, glass, quarter panels, fenders or wheel-adjacent areas may also need assessment. This is not automatic for every dent.
How do you check for hidden damage after a side impact?
The process begins with the assembled vehicle, gaps, functions and symptoms. Controlled trim or component removal is considered when the location, severity, access need or operating concern justifies it. Newly visible findings should be documented.
Can a dented car door be repaired instead of replaced?
Often, but the decision depends on material, stretching, crease position, edge and inner condition, mounting points, access, previous repair and total labour. Replacement may be considered when dependable restoration is not practical.
Is paintless dent removal suitable for side-impact damage?
It may suit some shallow dents when paint is intact, metal is not excessively stretched and access is available. Sharp creases, damaged edges, cracked paint or wider opening changes can make conventional repair more appropriate.
Why does my door close differently after an impact?
The door shape, hinge position, latch relationship, seals or surrounding opening may have changed. Adjustment alone should not be assumed to solve the cause before the relevant relationships are inspected.
Should the sill and pillars be inspected?
They should be considered when the impact position, visible creasing, gap changes or closure symptoms point towards them. A mark near a pillar does not by itself prove deeper structural damage, so inspection and suitable measurement guide the next step.
What if the window or lock stopped working?
Record the symptom and avoid repeatedly operating glass that binds. The relevant mechanism, wiring, switches, channels or fitted components may need diagnosis. A cosmetic repair alone should not be assumed to resolve an electrical or mechanical fault.
Can I drive after a side collision?
Do not drive if a door will not latch, glass is insecure, a panel touches a tyre, fluid leaks, steering changes significantly, an airbag deployed or a concerning warning is displayed. When uncertain, arrange appropriate assistance.
How much does side impact repair cost in Dubai?
Minor dents or scratches may be AED 299 to AED 1,000, while typical door or fender repair may be AED 1,000 to AED 3,000. Multiple panels, sill, pillar, restraint or concealed findings require inspection. These are guides, not quotations.
Will insurance pay for hidden side-impact damage?
Coverage depends on the policy and insurer decision. If authorised access reveals related damage not visible initially, the workshop can document it and submit a supplementary estimate for review where the claim process allows.
How long does side-impact repair take?
Timing depends on inspection, dismantling, parts, approval, repair complexity, paint, curing and reassembly. A reliable estimate is easier after the scope and current parts availability are confirmed.
What should I inspect when collecting the vehicle?
Review gaps, door operation, locks, handles, windows, seals, trim, paint reflection, colour transition, sill fit and visible wheel-arch clearance. Compare repaired and replaced items with the final estimate and ask about paint aftercare.
Arrange an inspection in Al Quoz 4
Start with the whole side, not one close-up dent
Send a full side photograph, closer views, panel gaps and any warning or function change. We can explain what the images show and what still needs in-person assessment.
An image-based indication remains provisional until the vehicle, relevant functions and any justified concealed areas are inspected. Parts prices and availability can change.