
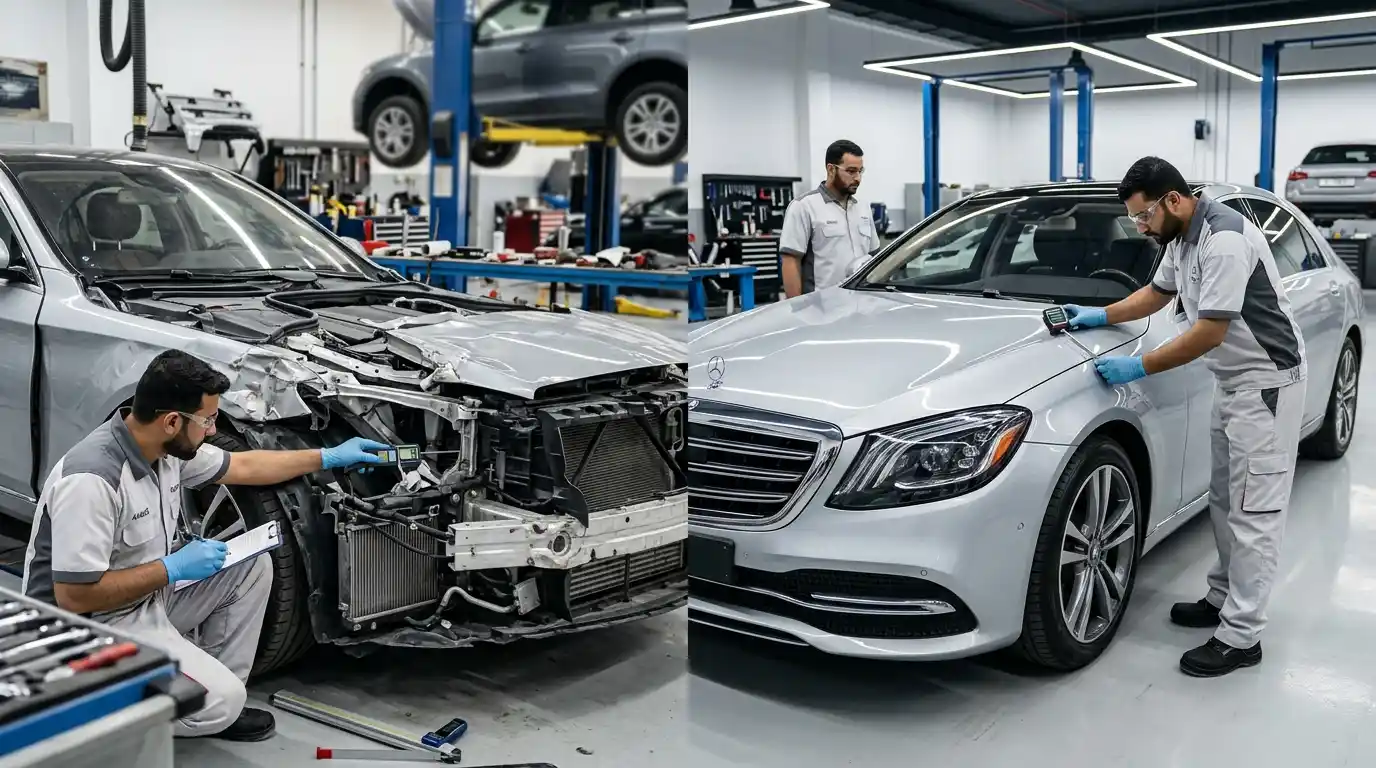
Proof that explains the decision, not only the shine
Auto Body Repair Case Studies
A useful auto body repair case study shows the starting damage, inspection evidence, repair-versus-replacement decision, work performed, complications, checks and result. A before-and-after pair without that context is advertising, not a technical case.
This page is the evidence hub for approved Bodyshop.ae repair records. Cases are added only when job details and images can be verified, reviewed and published without exposing customer information.
Evidence gate
No invented cases and no anonymous miracle repairs
Bodyshop.ae will not present a scenario, generated demonstration or unverified photograph as a completed customer repair. Each published case needs a workshop record that connects the vehicle, damage, approved scope and outcome. Number plates, faces, documents and personal details are removed unless permission is recorded.
The record also needs limitations. A case can show that one bumper crack was repairable without proving that every crack should be repaired. A measured rail correction on one model does not establish a procedure for another structure. The reader should be able to see which facts are transferable and which remain vehicle specific.
Cases support the exact commercial service they demonstrate. Cosmetic panel and bumper evidence connects to auto body repair service; collision and structural records connect to accident repair service; refinishing evidence connects to car painting service. That relationship helps the reader move from proof to the relevant inspection rather than treating the case as a universal instruction.
Until an individual case passes the evidence and privacy gate, its card remains unpublished. This protects the site from thin, duplicated or misleading proof pages and prevents several URLs from competing for the same generic service keyword.
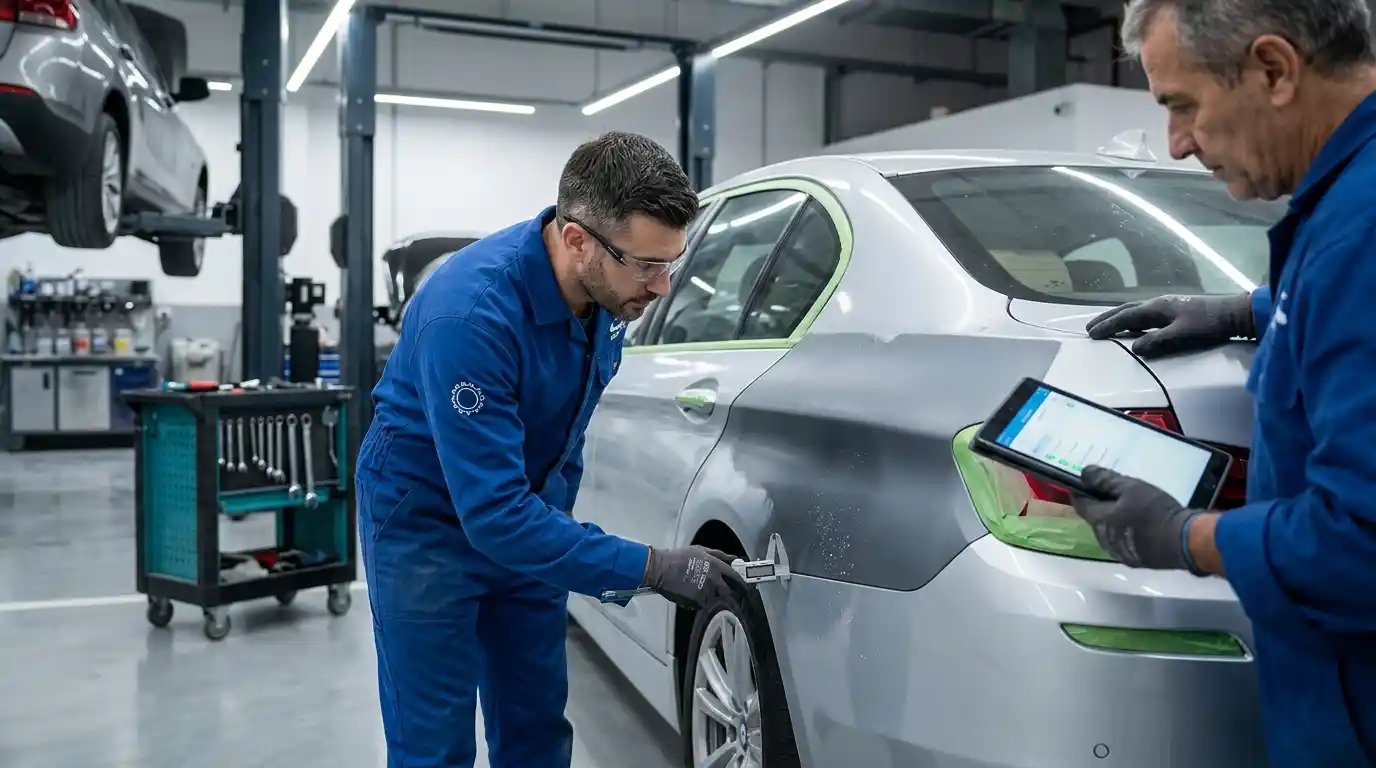
Browse by repair decision
Case categories answer different owner questions
Dent and panel shape
Shows whether paintless dent repair, conventional metal correction or panel replacement was chosen, with access and paint condition explained.
Bumper and attachment repair
Separates surface damage, plastic deformation, cracks, tabs, retainers, sensors and replacement decisions.
Solid, metallic, pearl and matte paint
Documents coating diagnosis, colour samples, blend boundaries, texture and multi-light handover checks.
Multi-panel accident repair
Follows the impact path, controlled disassembly, hidden findings, parts, body correction, reassembly and claim-related milestones.
Measurement and chassis work
Includes initial and final dimensions, repairability information, correction or replacement, joining and corrosion protection.
Sensor and ADAS-aware repair
Records fitted equipment, scan findings, disturbed components, calibration prerequisites, responsibility and completion evidence.
Case evidence scorecard
Use this test before trusting a repair example
A strong case does not need to reveal customer data or every workshop secret. It does need enough connected evidence to support its conclusion.
| Evidence field | Minimum useful content | Warning sign |
|---|---|---|
| Vehicle context | Make, model, approximate age or relevant construction without personal identifiers | Generic car language that could describe any repair |
| Starting damage | Wide view, close detail, impact direction and visible limitations | Only an after image or a cropped scratch |
| Inspection | What was checked, what required access and what remained uncertain | A diagnosis stated from one photograph |
| Repair decision | Why repair, replace, refinish, measure or calibrate was selected | Cheapest or fastest route presented without criteria |
| Work performed | Named panels, parts, materials and process stages | A polished result with no explanation of the layers below |
| Complication | Hidden damage, part delay, prior repair or scope variation when one occurred | Every case appears perfect and identical |
| Quality checks | Finish, fit, attachment, geometry, scan or calibration evidence relevant to the job | Looks good used as the only acceptance test |
| Outcome and limits | Verified result and what the case does not guarantee for another vehicle | Universal price, timing or safety claim |
Publishing workflow
How an approved repair becomes a case study
The workshop record comes first. The page structure is built around the evidence rather than forcing every job into the same story.
-
Stage 01
Select a distinct decision
Choose a repair that teaches something useful, such as repair versus replacement, hidden damage, material limits, colour matching or calibration.
-
Stage 02
Collect the job record
Gather intake photographs, estimate, authorised variations, parts, technician notes, measurements, scans and finish checks that actually belong to the vehicle.
-
Stage 03
Remove personal data
Mask number plates, names, contact details, documents, location clues and faces unless recorded permission covers publication.
-
Stage 04
Verify the sequence
Confirm that images and notes show the real order. Do not use an unrelated workshop photo to illustrate a stage that was not documented.
-
Stage 05
Write the repair decision
Explain alternatives considered, evidence used and limitations. Avoid claiming that the same route fits all vehicles with similar-looking damage.
-
Stage 06
Complete technical review
A workshop reviewer confirms materials, processes, measurements, electronics, safety wording and final result.
-
Stage 07
Approve commercial details
Any price band, timing, warranty, insurer or partner statement receives manager approval before it appears.
-
Stage 08
Connect and maintain
Link the case to its service and relevant brand page, add inbound links, then review the record when procedures or claims change.
Connected repair record
A damage map, repair plan and supplement tell one traceable story
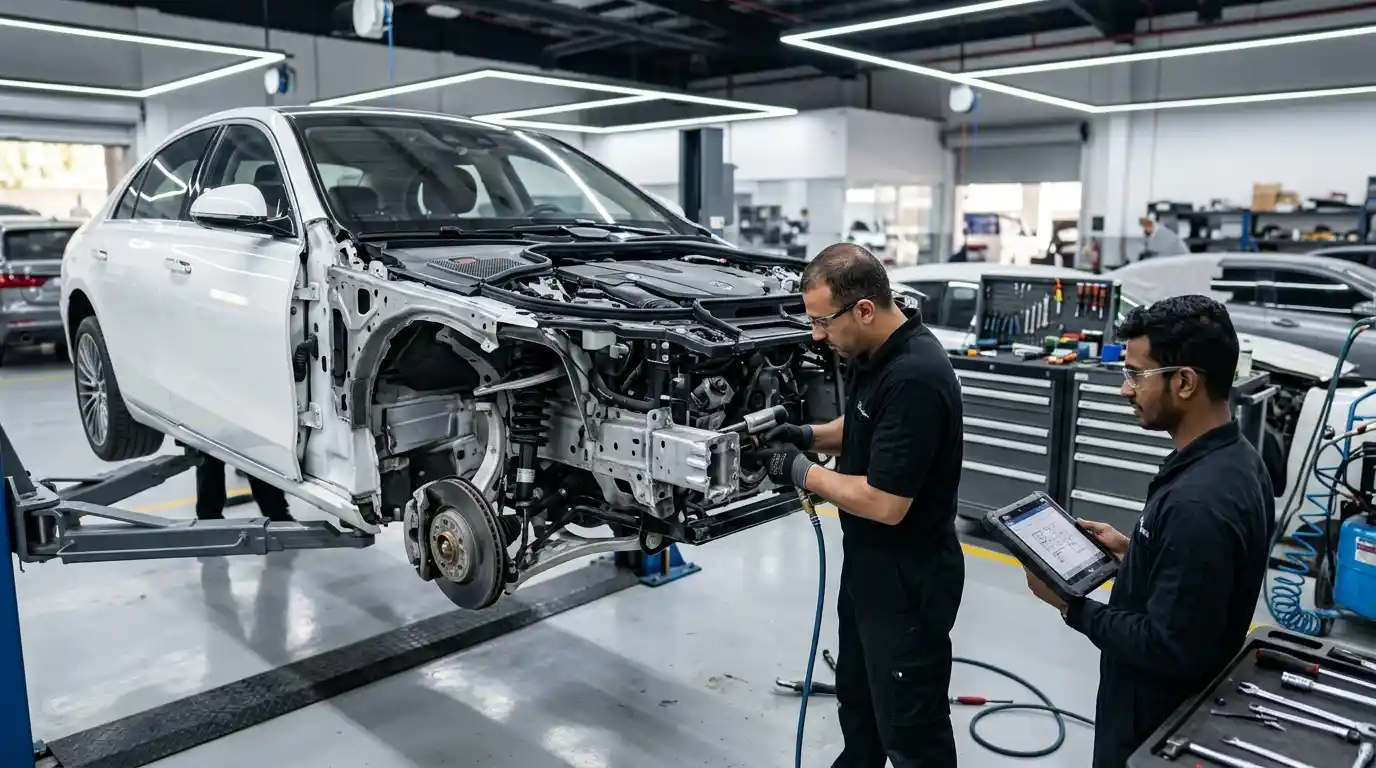
The intake damage map names each visible panel, attachment, opening, lamp, wheel-area concern and warning indication. It also records the impact direction and areas that could not be inspected without disassembly. That map prevents close-up photographs from losing their position and gives the estimate a shared reference. It should distinguish observed damage from suspected hidden damage rather than presenting both as confirmed.
The initial estimate translates the visible record into a proposed repair plan. It lists repair, replacement, refinishing, measuring, scanning, calibration, parts handling and conditional operations. A credible case explains why the chosen route was supported by access, material, damage severity and available procedure. It should also name an alternative that was rejected when that decision teaches the reader something useful.
Controlled disassembly can reveal a broken absorber, displaced reinforcement, torn mounting point, rail-end deformation, wiring damage or earlier repair. The supplement links each new finding to a photograph or measurement, revised operation, cost or timing effect and customer or insurer approval. Hiding the supplement makes the case look artificially simple and removes one of the most useful lessons in collision repair.
Repair-stage evidence follows the approved plan. Images are labelled by operation rather than presented as a gallery. Measurement reports, weld or joint records, corrosion protection, plastic-repair stages, spray-outs, scans and calibration results are included when relevant. The record should not use equipment photographs as a substitute for the actual result produced on the vehicle.
Quality control closes each operation. Body shape, panel fit, attachment, coating foundation, colour, effect, texture, reassembly, diagnostics and final cleanliness have different acceptance criteria. The case identifies which checks applied and what evidence was retained. A polished after photograph can support the finish result, but it cannot prove hidden joining, correct dimensions or completed electronic work.
The handover section reconciles the invoice with the authorised repair plan and supplements. It records replaced parts, unresolved or referred work, aftercare, written warranty terms and final documents. Prices and timing are included only when approved and when their context is clear; they are not used to promise the same outcome for another model, impact or parts position.
For privacy, the published case removes number plates, names, policy information, addresses, document numbers and faces unless recorded consent permits them. Redaction should not remove the technical context that makes the case useful. Vehicle make and model are included only when verified and relevant to construction, paint, technology, parts or the repair method.
Case-to-case comparisons need fixed fields. Damage depth, material, access, prior repair, technology, parts route and approved finish boundary should be stated in the same language so readers can see why two similar-looking impacts received different plans. The comparison must not reduce repair quality to price or completion time, because hidden damage, approval delays and parts availability can change both without reflecting workmanship.
A published update should preserve the original record. If a later warranty inspection, customer concern or additional repair changes the outcome, the case is dated and amended instead of silently rewritten. That maintenance history helps the reader distinguish the handover result from a later event and prevents old evidence from supporting a claim it no longer proves.
Each individual case should have one dominant search intent based on the verified repair decision. A bumper-plastic case, pearl-match case and structural-measurement case should not all repeat the broad body-repair page. The hub summarises proof standards, the service page owns the commercial offer, and the case page supports a narrow evidence query. This structure controls cannibalisation while still allowing contextual links between proof and service.
A good case study reduces uncertainty by showing why the repair route was chosen.
The strongest cases include a decision that could have gone another way. They show the evidence that made one option defensible and another unsuitable.
A case can be visually modest and still valuable when its measurements, repair layers and handover checks are clear.
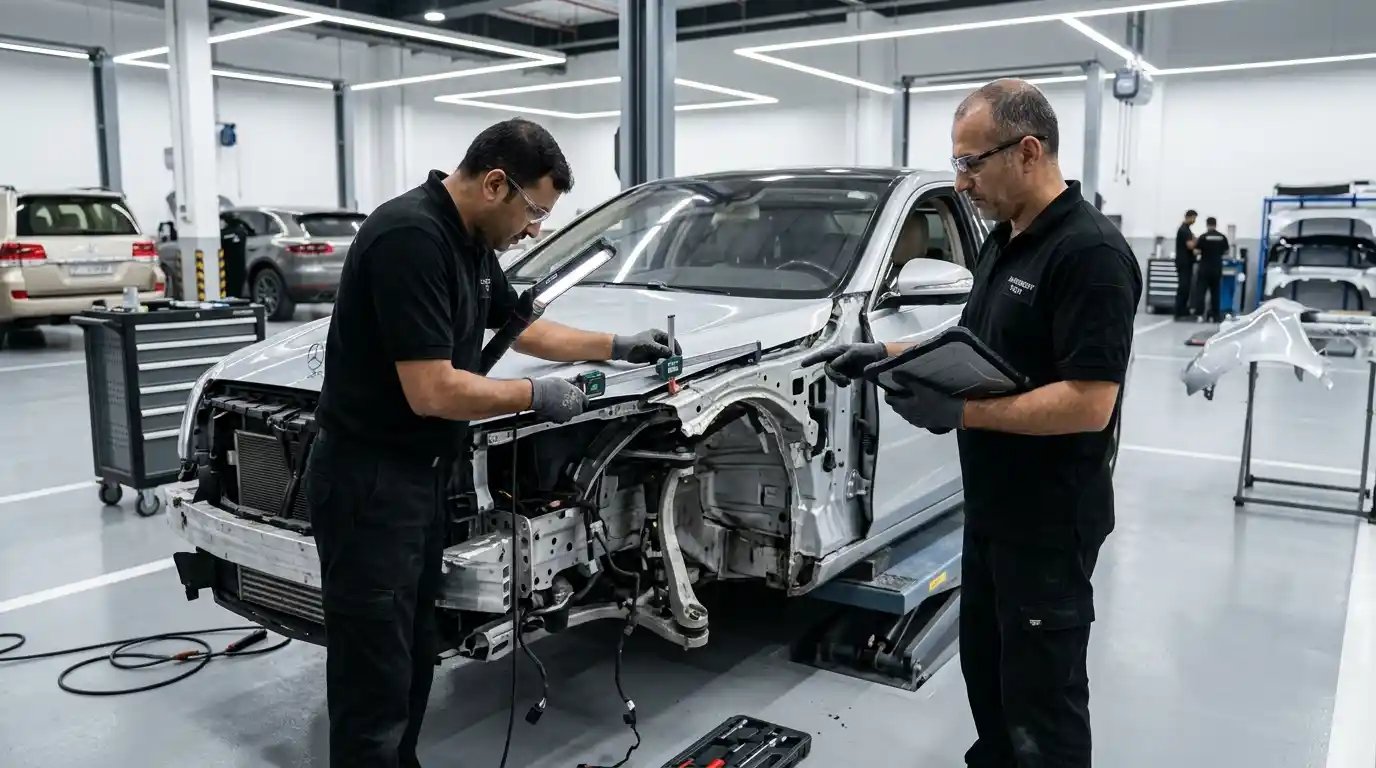
How to read repair photographs
Comparable angles make visual proof more useful
A before image taken close to the dent and an after image taken several metres away can hide remaining shape. Useful pairs repeat distance, angle, lens direction and lighting as closely as practical. Long reflections reveal body shape, while broad diffused light can reveal colour and texture without one bright highlight masking the surface.
Repair-stage images need labels. Bare metal, filler, primer, seam sealer, cavity protection and basecoat can look similar to a non-specialist when shown without context. The caption should state the operation, what the image proves and what remains to be checked.
Structural evidence is not limited to dramatic bench photographs. A measurement report, documented replacement boundary, restored joint and corrosion-protection stage can be more valuable than an image of pulling equipment. Sensor-aware cases should also show the scan or calibration record rather than only a target board.
The final image should be supported by handover evidence. Fit, finish, attachment and function are separate checks. A clean reflection does not prove a secure bumper tab, correct wheel geometry or completed camera calibration.
When two cases look similar, compare their decision variables rather than their colour or model. Damage location, material, access, previous repair, fitted technology and part availability can change the correct route.
Case-file anatomy
Every future case card will carry these reader cues
The layout may vary by job, but the visible labels prevent a photo gallery from being mistaken for technical proof.
Damage
- Vehicle and repair area
- Impact or defect description
- Visible symptoms
- Inspection limitations
Decision
- Alternatives considered
- Repairability evidence
- Approved scope
- Conditional work
Execution
- Body or plastic operations
- Parts and materials
- Paint and blend boundaries
- Technology handling
Verification
- Fit and finish checks
- Measurements or alignment when relevant
- Scan or calibration evidence
- Outcome and honest limits
Use proof before authorisation
Ask for evidence relevant to your damage
Send the vehicle, impact area and the decision you are unsure about. We can explain what evidence should exist for that repair and whether an approved comparable case is available.
Published evidence library
Auto body repair case studies should connect evidence to a repair decision
The records below are live Bodyshop.ae resources you can inspect now. They are included because each one documents a specific evidence type used in body repair. Unless a resource is explicitly labelled as a customer case file, it should be read as a published repair-evidence record rather than a claim about one identified customer vehicle.
Paintless dent removal before-and-after evidence
Our published PDR guide includes a before-and-after visual repair example and explains the controlled metal-correction process used when the original paint can be preserved.
Chassis measurement and repairability record
The chassis-repair resource shows how impact mapping, three-dimensional measurement, material identification, repair-versus-replacement decisions and final verification belong in one structural repair record.
Paint matching from code to spray-out
The paint-matching process records the evidence behind a colour decision: paint-code checks, variants, electronic readings, spray-out cards, blend planning and multi-light inspection.
Repair-stage and handover verification
The quality-control record connects intake, disassembly, structural work, refinishing, reassembly, diagnostics and handover so a final appearance is not treated as the only proof of repair quality.
Accident repair evidence from report to collection
The accident-repair checklist shows the document trail that a complete collision case should retain, including report details, estimate changes, hidden damage, insurer decisions, calibration evidence and collection checks.